
 |
|
|||||||
| Projects Tell us about your cars mods, past, present and future! |
 |
|
|
Thread Tools |
|
#1
|
|||
|
|||
|
Here's a few pics of how the job is going so far
Manifold off and in a sorry state, so flaky and all the silver you can see is where the original paint just fell off from holding it. 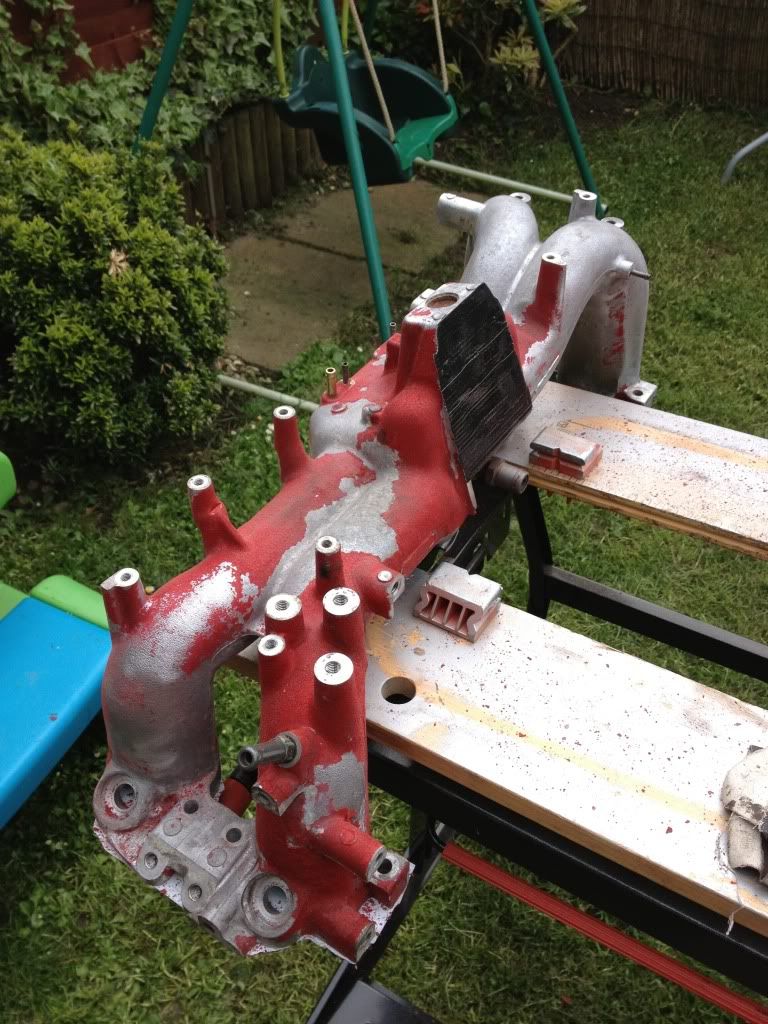 After a good wash and a scrub with some nitromors. Took a fair few hours to get it all off. 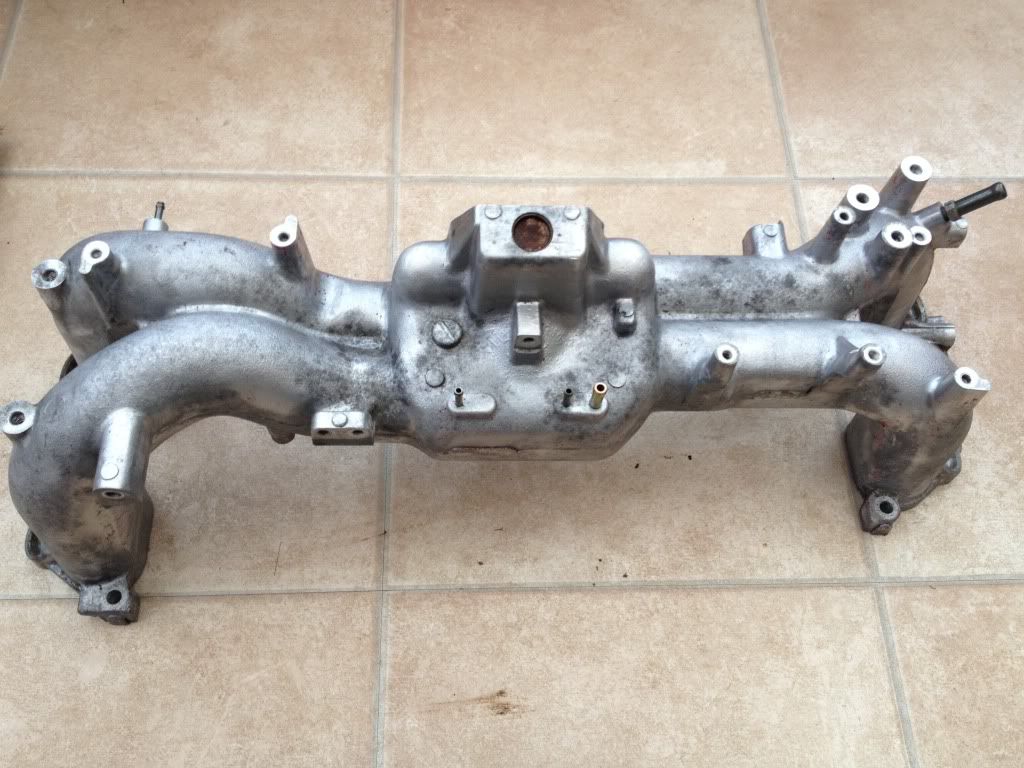 Took the mani to work for priming with VHT paint. Put in some random bolts from stores to protect the threads. 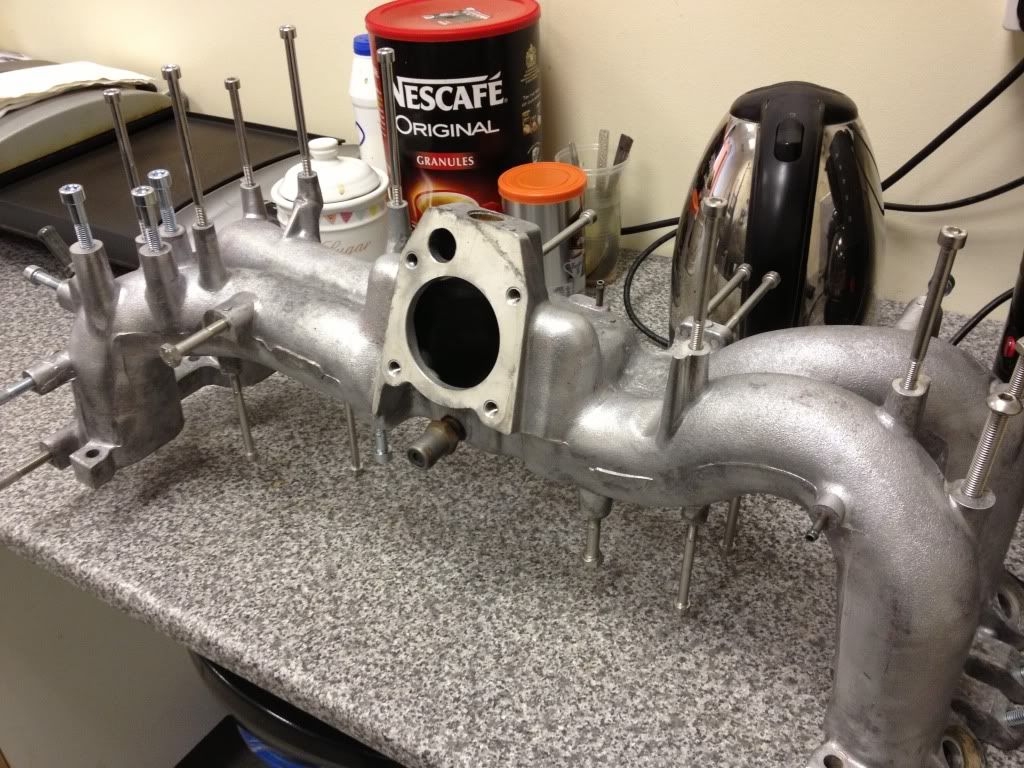 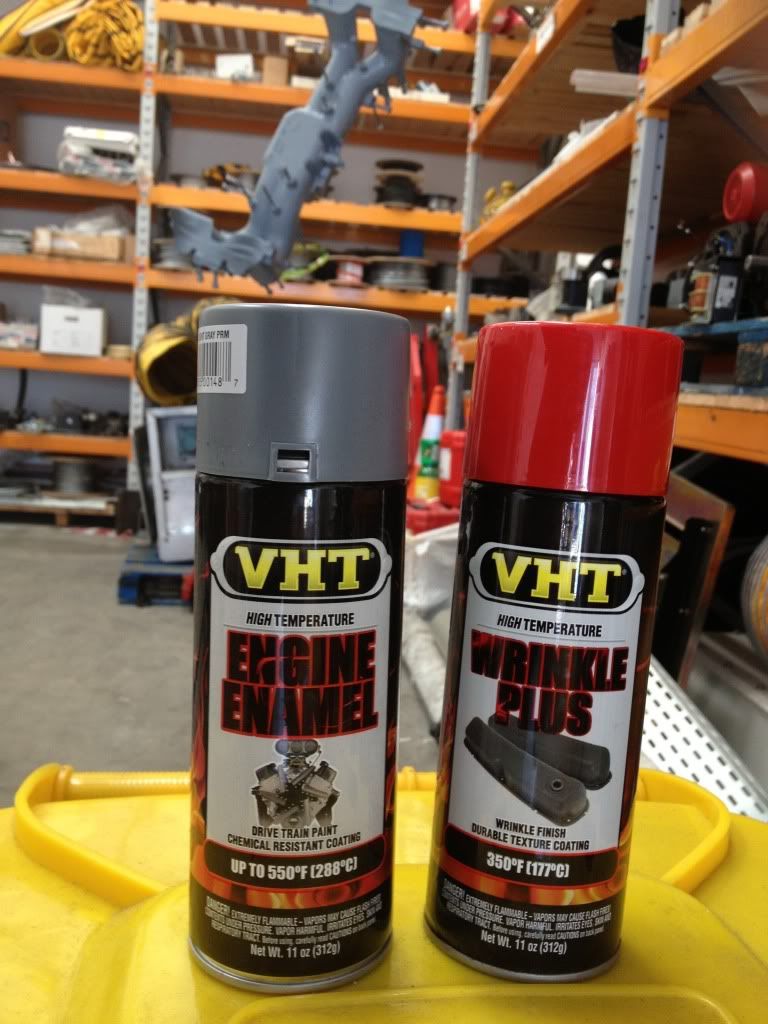 It was then brought home and left for a day to dry properly, then painted with the crackle red. This paint gets everywhere and a mask is recommended as it feels horrible with over spray up your nose!!!! The red crackle paint is very tricky to use and awkward to get everywhere on a manifold evenly. Drys very Matt but takes a long time for the crackle effect to show. 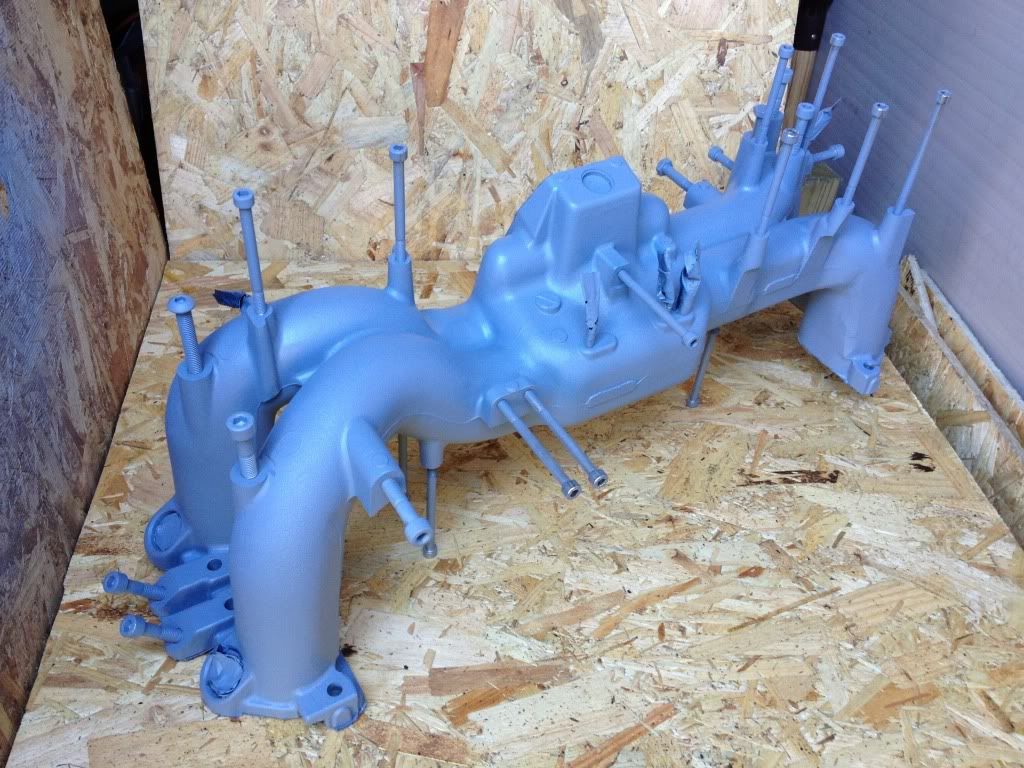 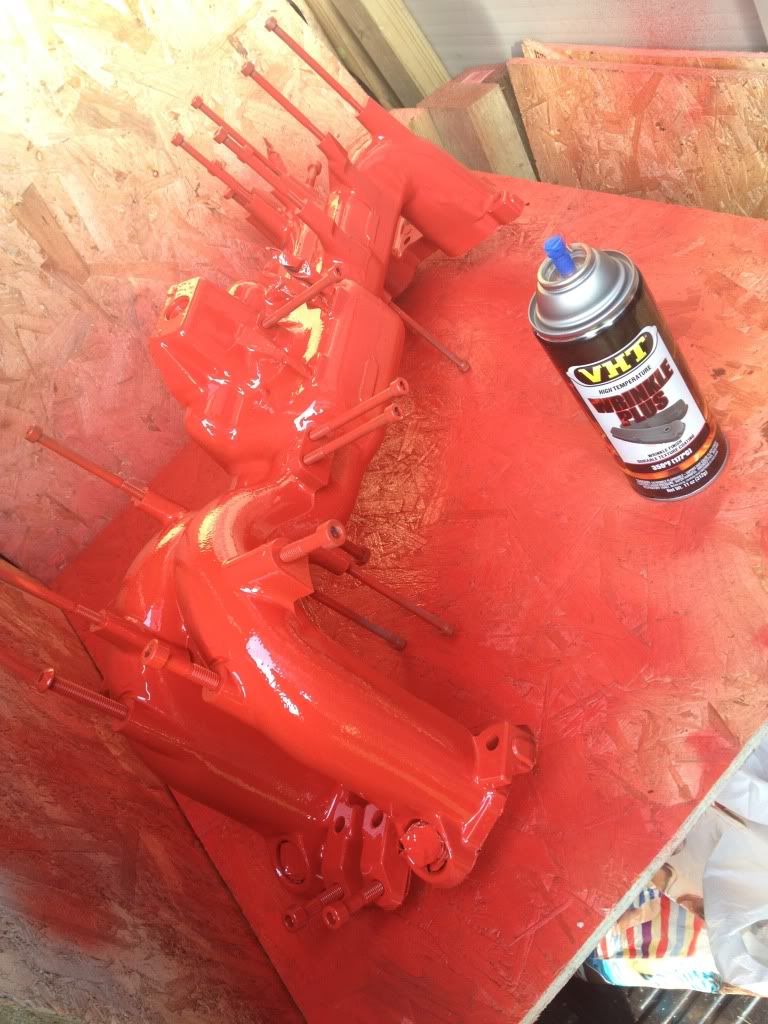 And as it stands tonight with the new japspeed inlet hose which is huge compared to the OE one. A tight fit and a few smaller exit pipes needed trimming down as they were to Long but it was a very easy job. The only other thing I had to do was alter a metal pipe bracket underneath as it fouled on the new inlet but again this was an easy mod with a little dremel. 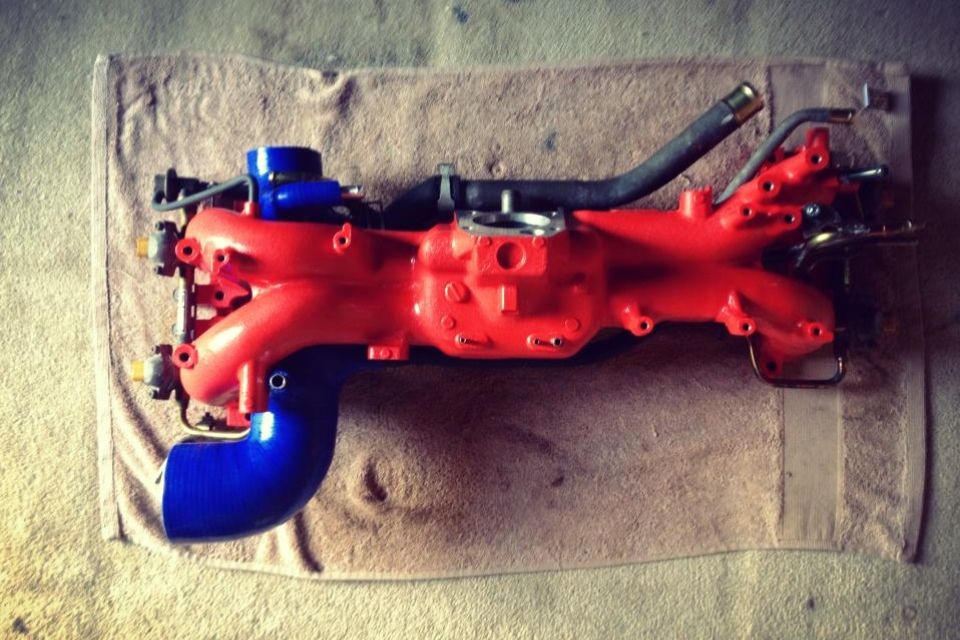 I still think the largest entry part of the Intake hose needs to be cut back but I will wait till its all back in near the end of the week and mod as required. A new Stanley blade gives a very clean sharp cut.
__________________
Cooper man!!!!! Last edited by majorscooby; 05-06-2013 at 10:04 PM. |
|
#2
|
||||
|
||||
|
Crackle paint is horrible to spray.
I normally ignore all the warnings on spray can's but with this crackle stuff you really need to adhere to them. You may have to fabricate a connection to the Airfilter/MAF assemble because IIRC the standard black hose doesn't connect very well to the japspeed/samco. I had to use an SFS/Samco hose and half pulled the ally sleeve out of the japspeed/samco to secure the hose clips of both hoses. When cutting the silicon hose, tighten a hose clip in the desired position for the cut, then run a new bladed Stanley knife around the edge of the hose clip. This gives a nice straight cut, but make sure the clip/join on the hose clip is at the bottom of the hose because you will get a little ridge/bump in the cut where the knife skirts around the clip/join. |
|
#3
|
|||
|
|||
|
Funny you should mention the alloy sleeve part as Ive had to order a 70mm insert sleeve by 80mm long ( will cut down to what i need ) from jc race and rally as the one supplied does fit in the new hose lovely and keeps it ridged but doesn't give enough alloy material for the flexy 45 degree joiner to clamp too. £12 next day delivery so hopefully I may have it finished before the weekend.
__________________
Cooper man!!!!! |
|
#4
|
|||
|
|||
|
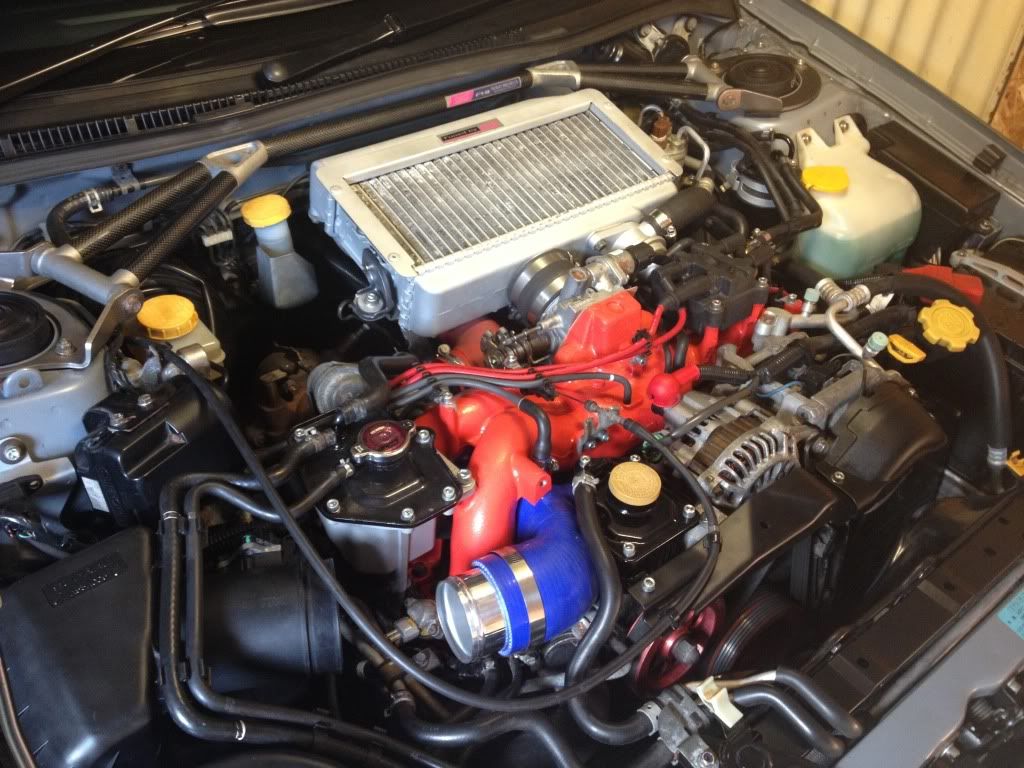
Engines all back together. Just waiting for a reducer from air box to inlet pipe then she's good to go. I have made a make shift joiner pipe so I can start her and give her a test drive to make sure there's no leaks. So far all is good.
__________________
Cooper man!!!!! |
|
#5
|
||||
|
||||
|
Looks great Rich,

|
|
#6
|
|||
|
|||
|
__________________
Cooper man!!!!! |
|
#7
|
||||
|
||||
|
Done a really nice job there
 . I do have a Sti one to sort for mine ,was thinking of getting it powder coated but may be not. . I do have a Sti one to sort for mine ,was thinking of getting it powder coated but may be not.
|
|
#8
|
|||
|
|||
|
Does look alot better. I've thought about doing mine but not really sure how to or where to start. So ill be keeping an eye on this

__________________
Turbo chatter is awesome |
|
#9
|
|||
|
|||
|
Cheers guys. It's really not that hard just a little time consuming and you get a little back ache from leaning over the engine bay. The red crackle spray is pretty good but goes everywhere so dont spray it in your comservatory!!! and as somebody has said to me the quality of finish is all in the prep, so it's worth taking your time.
I replaced the inlet to engine gaskets with subaru genuine oe but you can get 10mm thermal spacers if you worried about inlet temps ( i wasnt ) i made a throttle body to inlet gasket with some good quality gasket paper of the same thickness and a scalpel. The best tip I can give if your going to attempt it is label a few of the fuel lines for reconnection as there are a few close together and take plenty of pics on your phone for reference when putting back together. Other than that its not to bad a job just a little fiddly.
__________________
Cooper man!!!!! |
|
#10
|
||||
|
||||
|
Well done rich does make a huge difference tothe look
|
|
#11
|
|||
|
|||
|
Thanks tim.
__________________
Cooper man!!!!! |
|
#12
|
|||
|
|||
|
Quote:
__________________
Turbo chatter is awesome |
|
#13
|
||||
|
||||
|
Looks good!
Tip with the VHT - use a hot air gun to dry it for a fuller wrinkle finish (and a lot quicker too) I warmed all my pipes before spraying as well. 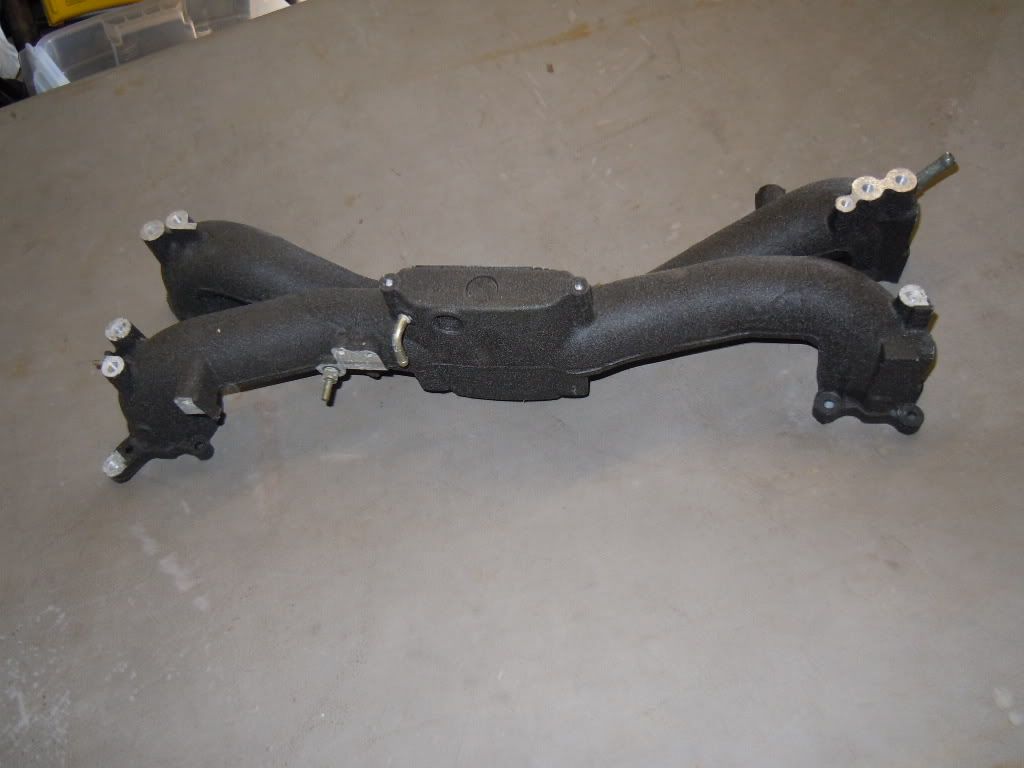
__________________
2005 Spec B 6MT - KiDO tuned (~270Bhp)
Custom exhaust - Cosworth filter - Samco Intake - Tints - Bilstein B8/B6 & STI springs - SuperPro ALK - Whiteline positive shift kit, rack mounts, rear adjustable camber bushes, front ARB mounts & strut brace, 20mm rear ARB with AVO mounts, - Hardrace Gearbox and pitch mounts - Prodrive PFF7's - Front Brembos - Kenwood CarPlay - 1/2 carbon grille - STI front splitter Last edited by SpecB; 16-06-2013 at 02:11 PM. |
|
#14
|
|||
|
|||
|
Yeah Im liking the hot air gun method nick. Mine did wrinkle but not as much as the original paint that was on it, still pleased though with the outcome.
I read on the can that its a slowly drying paint, so I painted it and left it in the shed for 2 days to dry then thought the heat from the engine after a few drives would fully cure it. Another tip to anybody taking a badly flaking inlet off, be careful not to drop or get the old flakes of paint into the 4 inlet ports of the engine or other wise you will have to do what I did and modify the Hoover hose with a piece of small washer hose and Hoover them out like a dental nurse!! PITA. Lol
__________________
Cooper man!!!!! |
|
#15
|
||||
|
||||
|
Good job Rich..

__________________
Keep it on the black stuff and leave the pit boards alone |
|
#16
|
|||
|
|||
|
__________________
Cooper man!!!!! |
|
#17
|
|||
|
|||
|
Finally the 90-70mm blue silicone reducer pipe turned up today from viper performance after nearly 3 weeks of waiting!!!
Took the car out today for a gentle warm up run as it hasnt moved in that time then had a little play and all is running fine. 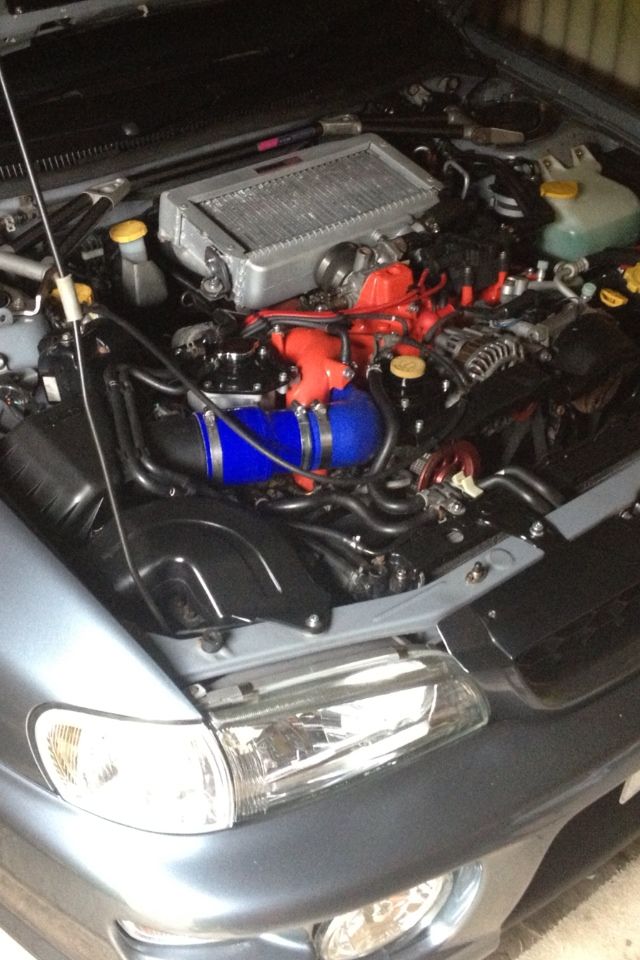
__________________
Cooper man!!!!! |
|
#18
|
||||
|
||||
|
Looking good Rich!! worth the wait??
|
|
#19
|
||||
|
||||
|
Looks very good Rich.
__________________
2001 Bugeye - Project Black/Red, 1997 JDM Type R, 1995 V1 WRX, Defender Tithonus MOD Styleeee! |
|
#20
|
|||
|
|||
|
Cheers guys, yeah pipe fitted well after a little trim at one end ( tad too long ). the fact that the reducer is straight i had to bend the inlet pipe round a tad for it to fit nicley which in turn does cause a slight restriction in the pipe but no more than the OE one. if it niggles me i still have the oppotunity to get a sweeping pipe at a later date.
was itching to get out in it today, had a few four wheel twitchy moments exiting a couple of roundabouts.
__________________
Cooper man!!!!! |
|
#21
|
||||
|
||||
|
Looking awesome mate.
|
|
#22
|
|||
|
|||
|
Cheers kris, we must try and get out for a blast soon.
__________________
Cooper man!!!!! |
|
#23
|
||||
|
||||
|
Great job bud, how many coats did it take in the end?
__________________
1.6 Terzo........ Non turbo.............http://www.surreyscoobies.co.uk/foru..._vehicle&id=87 |
|
#24
|
||||
|
||||
|
Looks good Rich, always thought about doing mine on the old wagon as the flaking was really annoying! looks like a great job.
__________________
Somewhere drinking Coffee Mapped and maintained by FBTuning 07595 493581. |
|
#25
|
||||
|
||||
|
All my pipe work had at least two coats to get the desired finish.
__________________
2005 Spec B 6MT - KiDO tuned (~270Bhp)
Custom exhaust - Cosworth filter - Samco Intake - Tints - Bilstein B8/B6 & STI springs - SuperPro ALK - Whiteline positive shift kit, rack mounts, rear adjustable camber bushes, front ARB mounts & strut brace, 20mm rear ARB with AVO mounts, - Hardrace Gearbox and pitch mounts - Prodrive PFF7's - Front Brembos - Kenwood CarPlay - 1/2 carbon grille - STI front splitter |
|
#26
|
|||
|
|||
|
It did take a few coats to get the desired finish. Bare in mind it's a very slow drying paint and does require some decent heat to get it to wrinkle. Just left in a cold garage won't get the results you need or want. Ideally i would of liked to leave it for a few days in a hot airing cupboard but the paint stinks real bad!! Worth doing though even if it doesnt quite crinkle as the flaky paint is horrid.
__________________
Cooper man!!!!! |
 |
| Currently Active Users Viewing This Thread: 1 (0 members and 1 guests) | |
|
|