
 |
|
#1
|
|||
|
|||
|
Some of you will have seen this on the other Scooby forum but a quick "fill in" as i'm new to the forum.
I bought the car as a 2.1ltr stroker built by OMA in Ireland that, as I understand, was part ex'd in at Hurst Cars. The brief spec was 2.1 stroker, forged rods and pistons with EJ257 nitrated crank, APR studs MD321 turbo and generic front mount Blitz Nur Spec R muffler and mid pipe, HKS front pipe. uprated intank pump, 740cc side feeds and Sytec fuel pressure reg Alcatek ECU and Greddy Profec B boost control BC coilovers, Rota 18" wheels and Late model STI 4 pot Brembo conversion 6 speed conversion from Jap spec C and diff to suite. Not a bad spec and I would have been happy with it as it was had it not gone a little wrong. But here is the car as purchased. 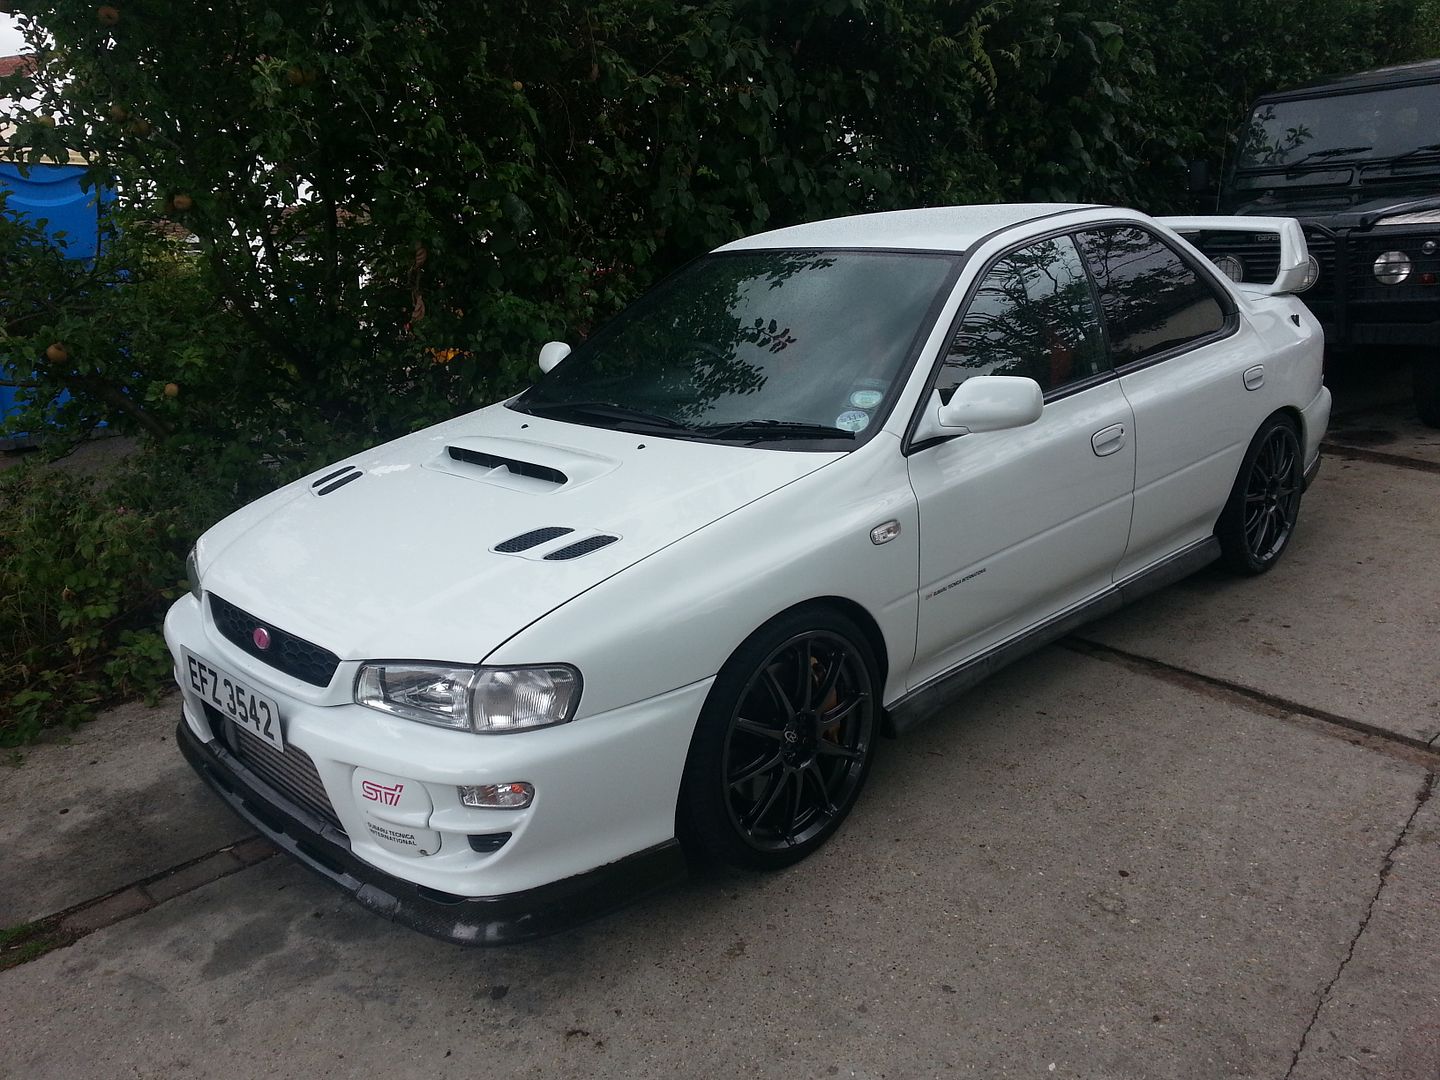 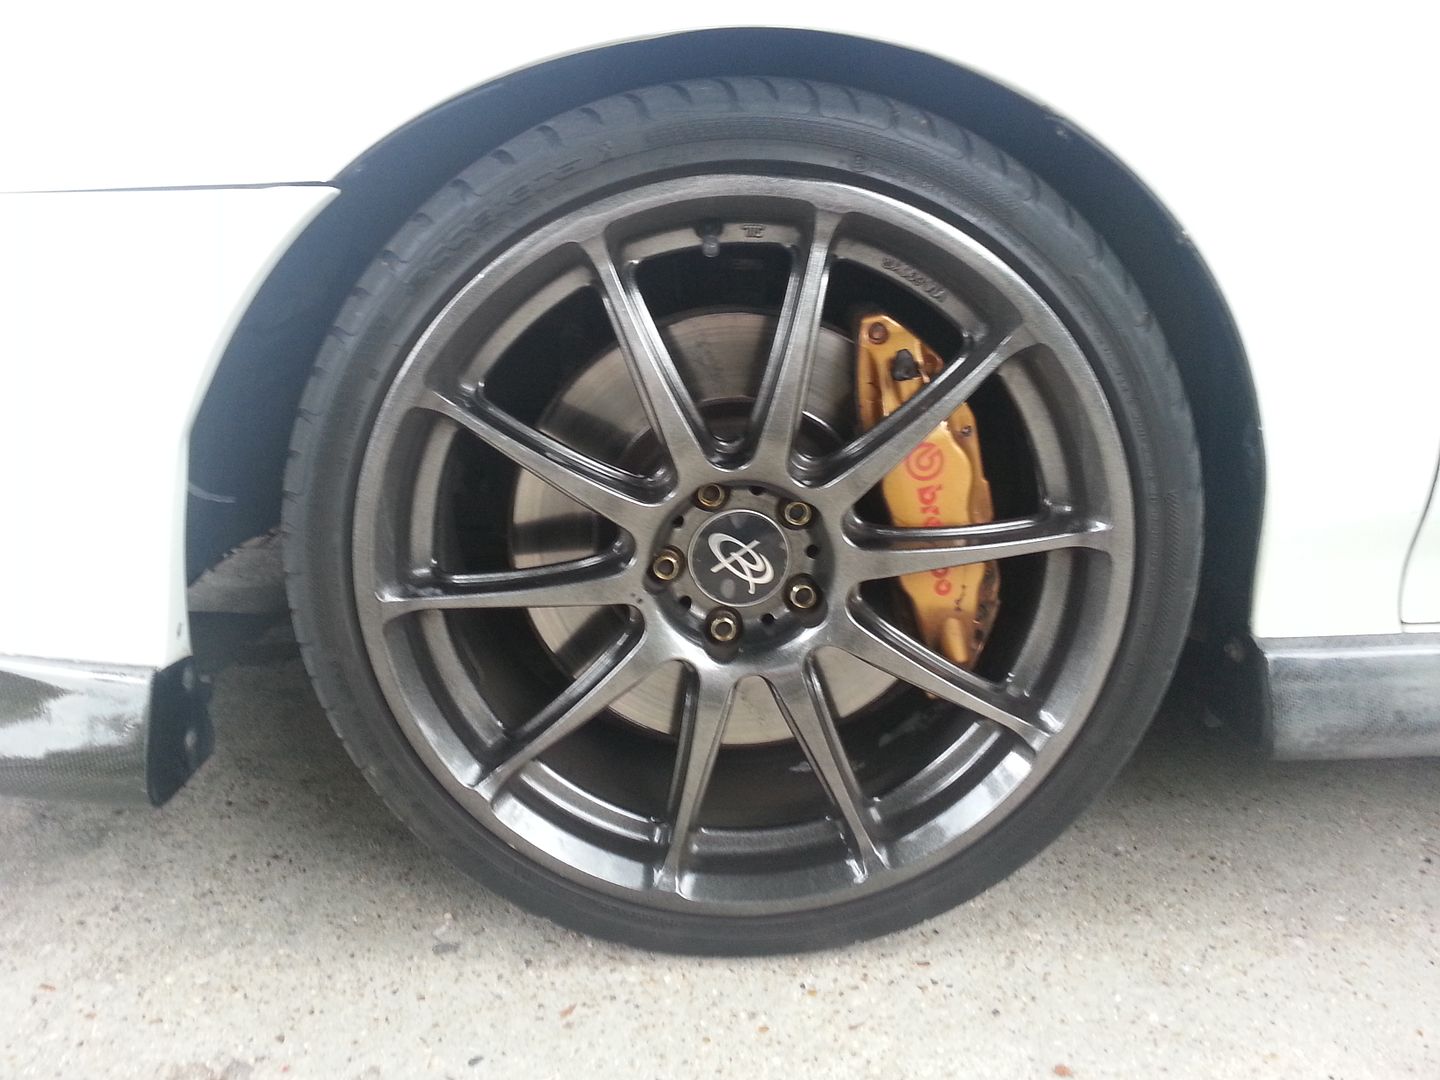 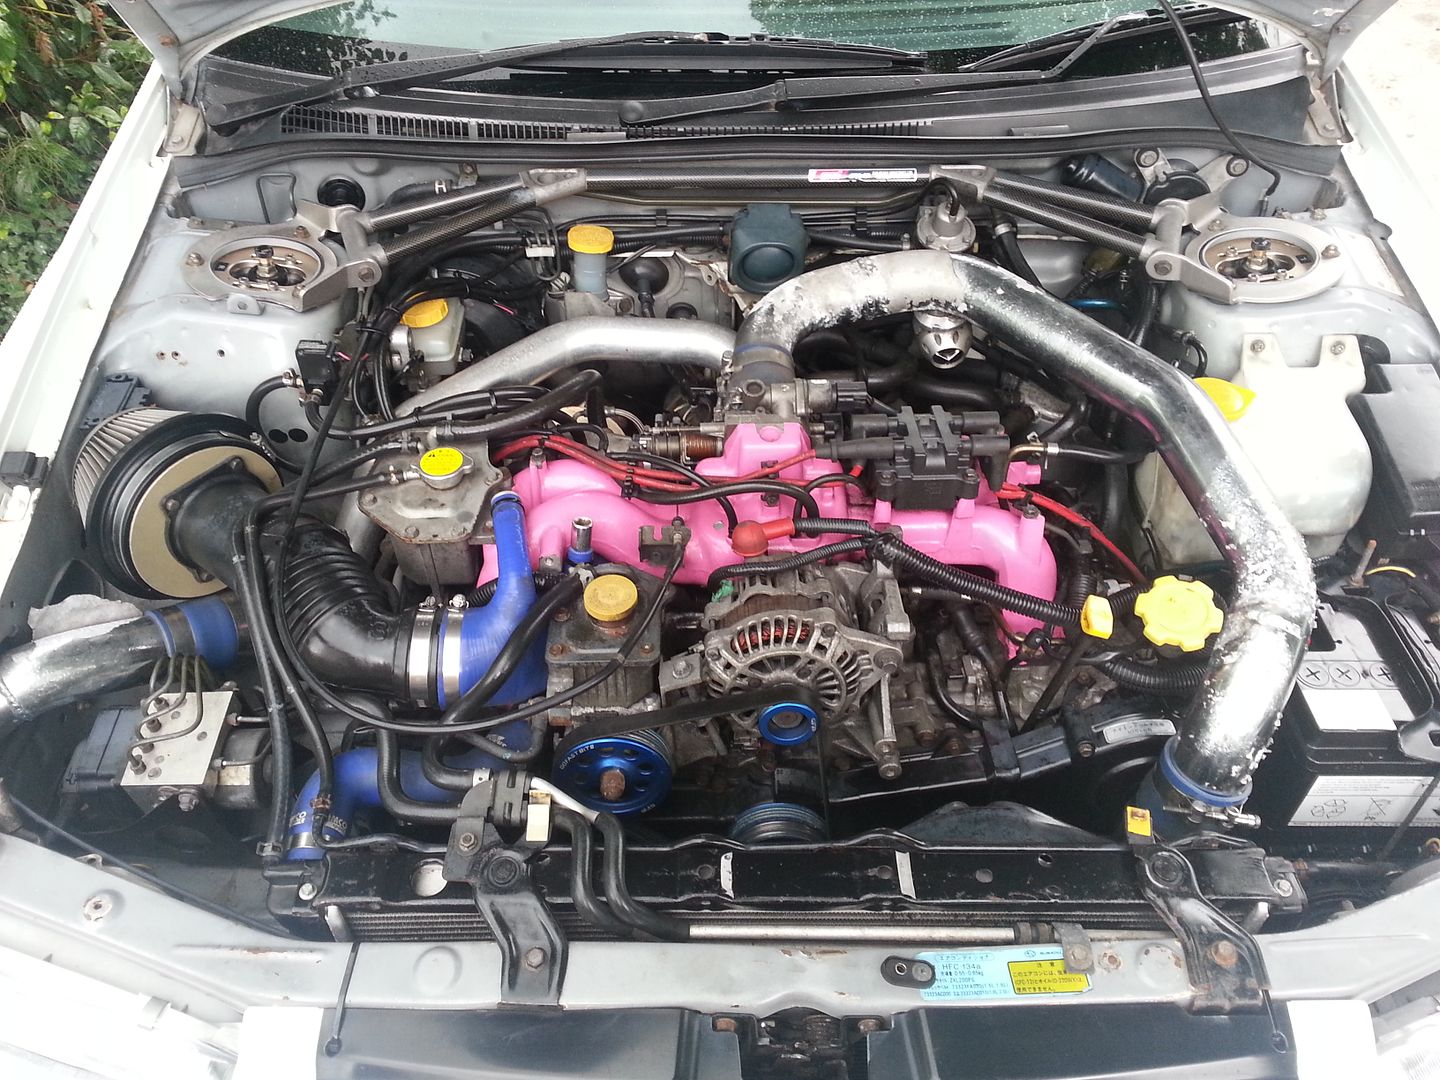 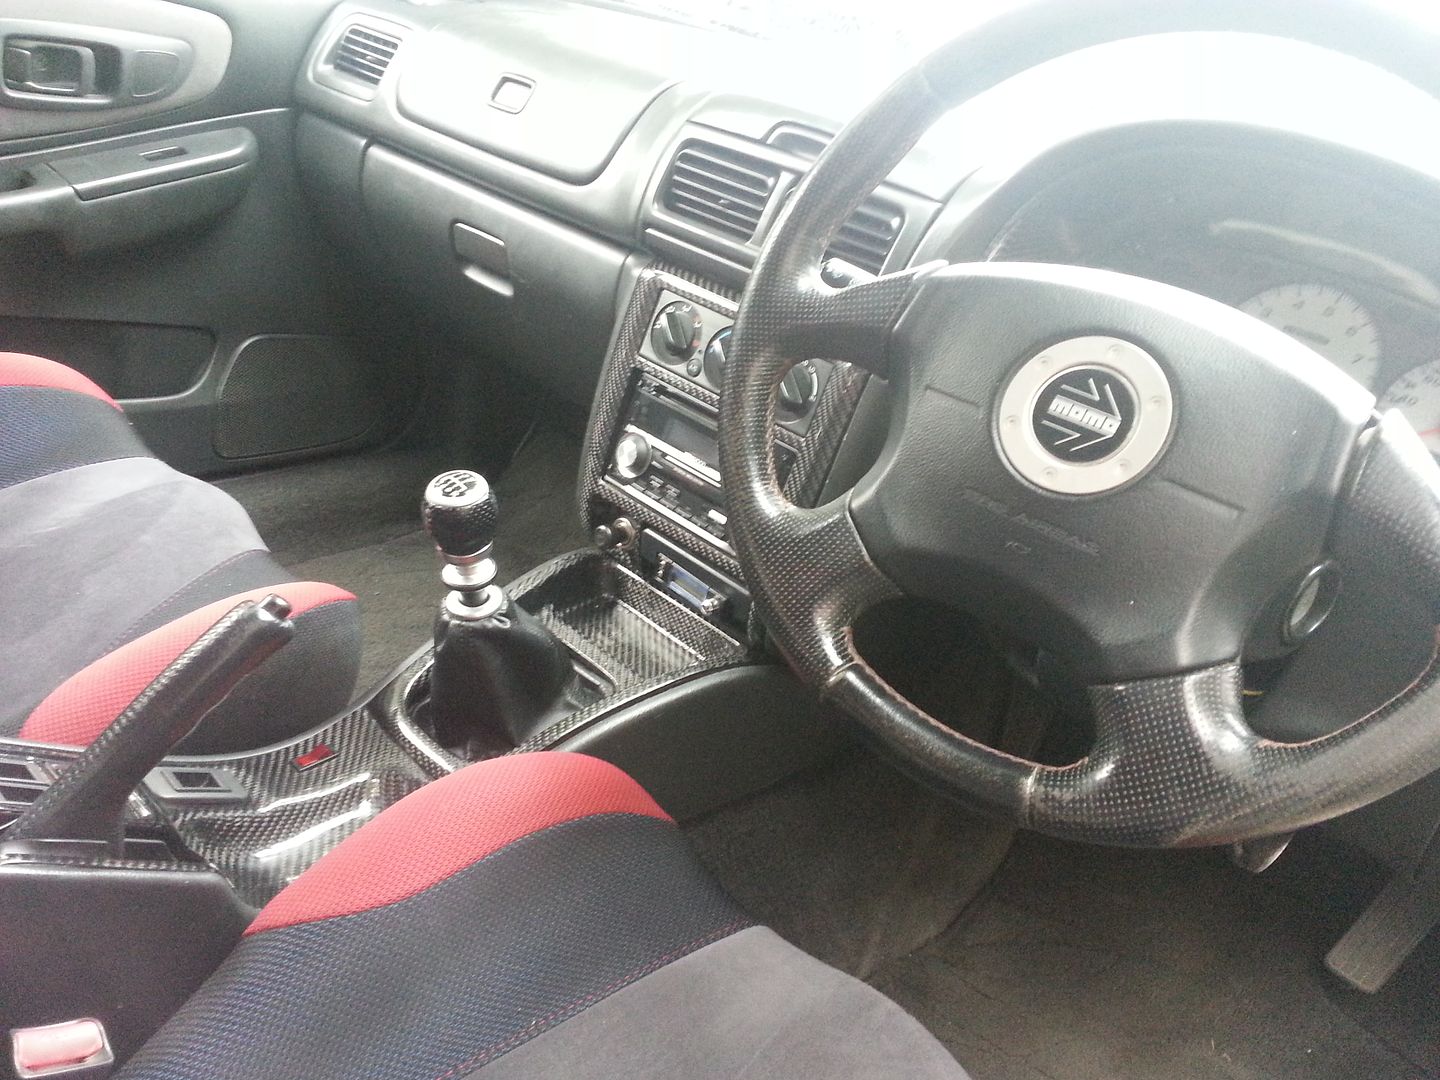 The Nur spec had been completely gutted inside so the noise was.... well shall we say extreme as I was in essence unsilenced. Mad for a fun drive home in any case. Even for me however it was too loud. So I pulled the Nur Spec off and made up a new temporary fit. 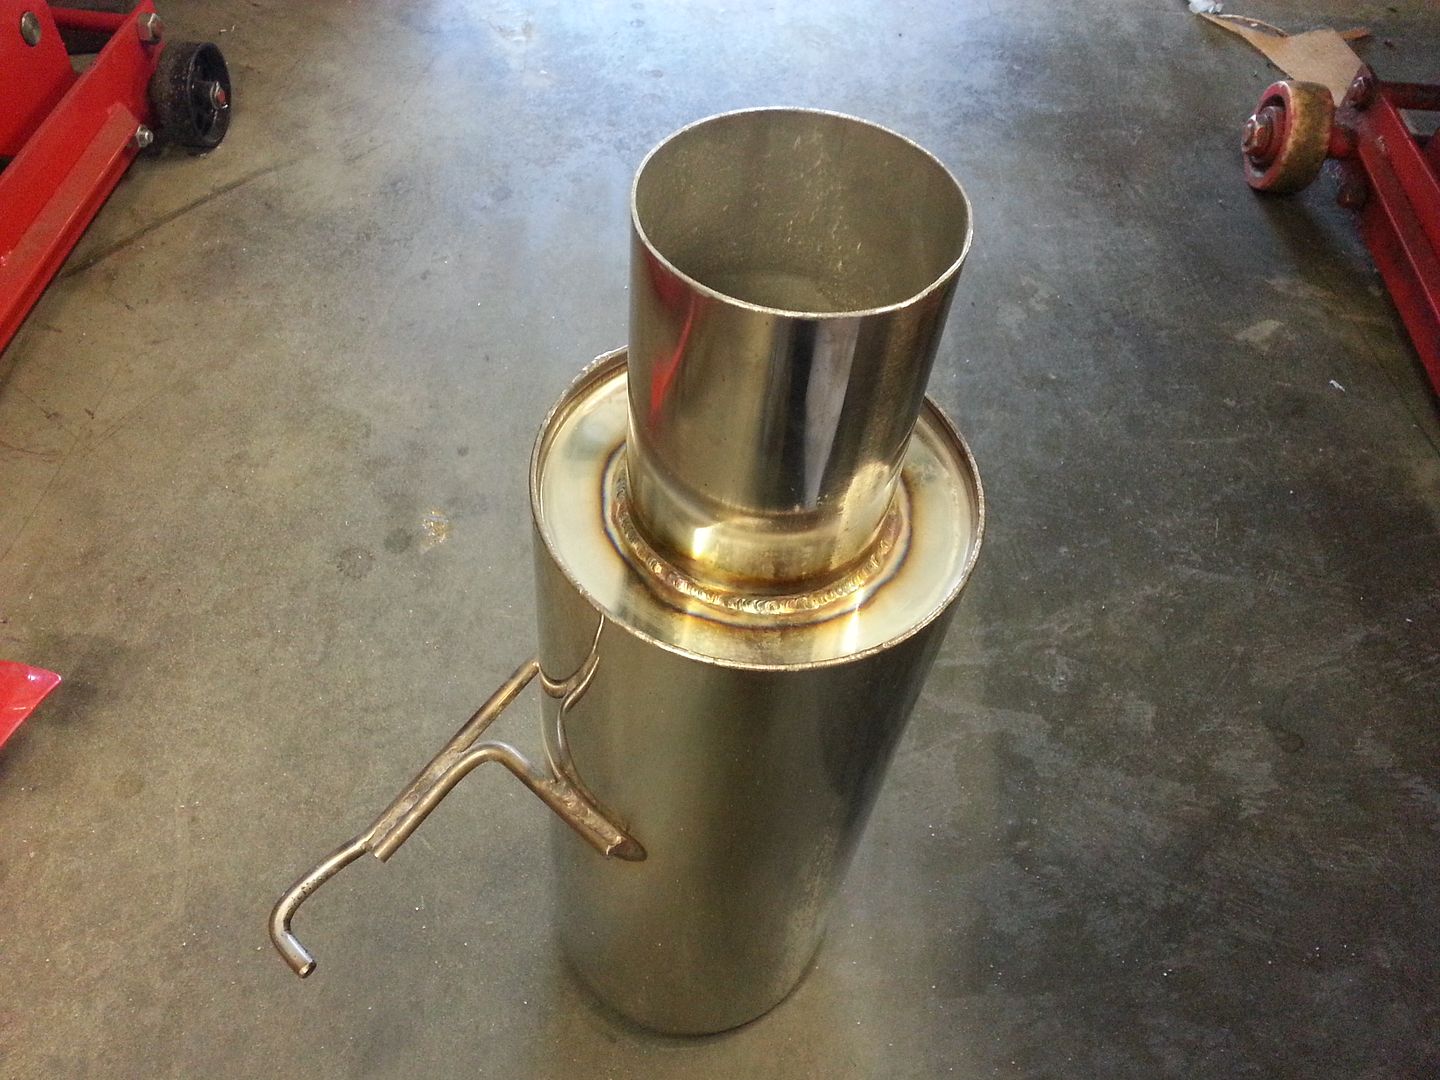 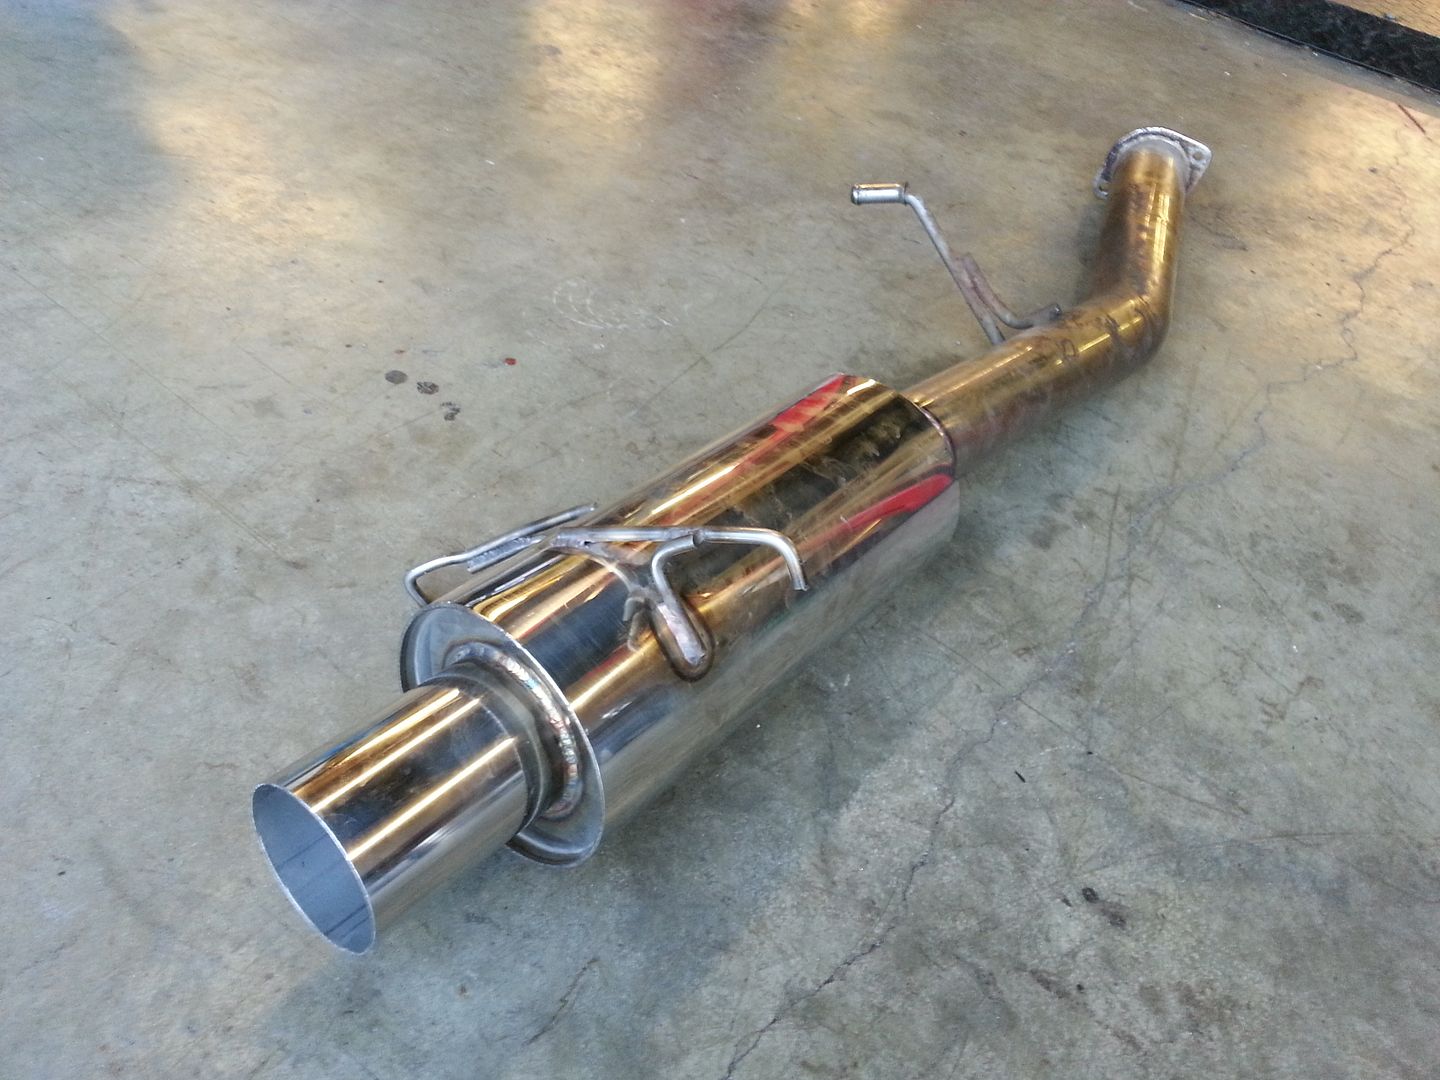 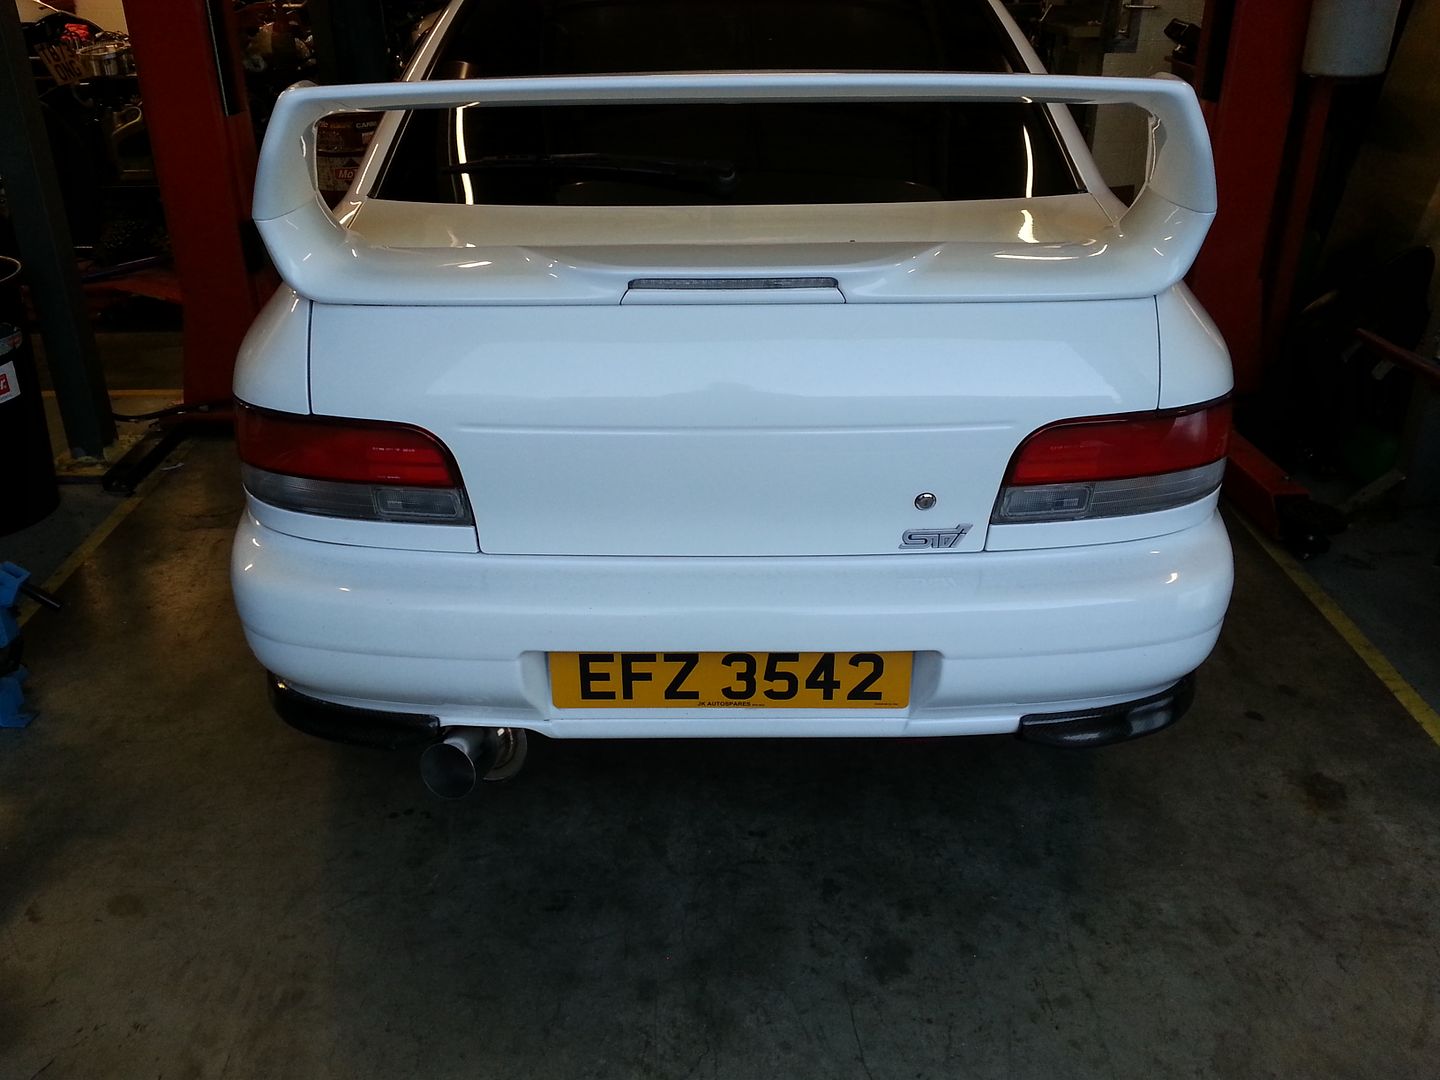 Also changed the Blitz filter for a BMC which require a new bit of pipe 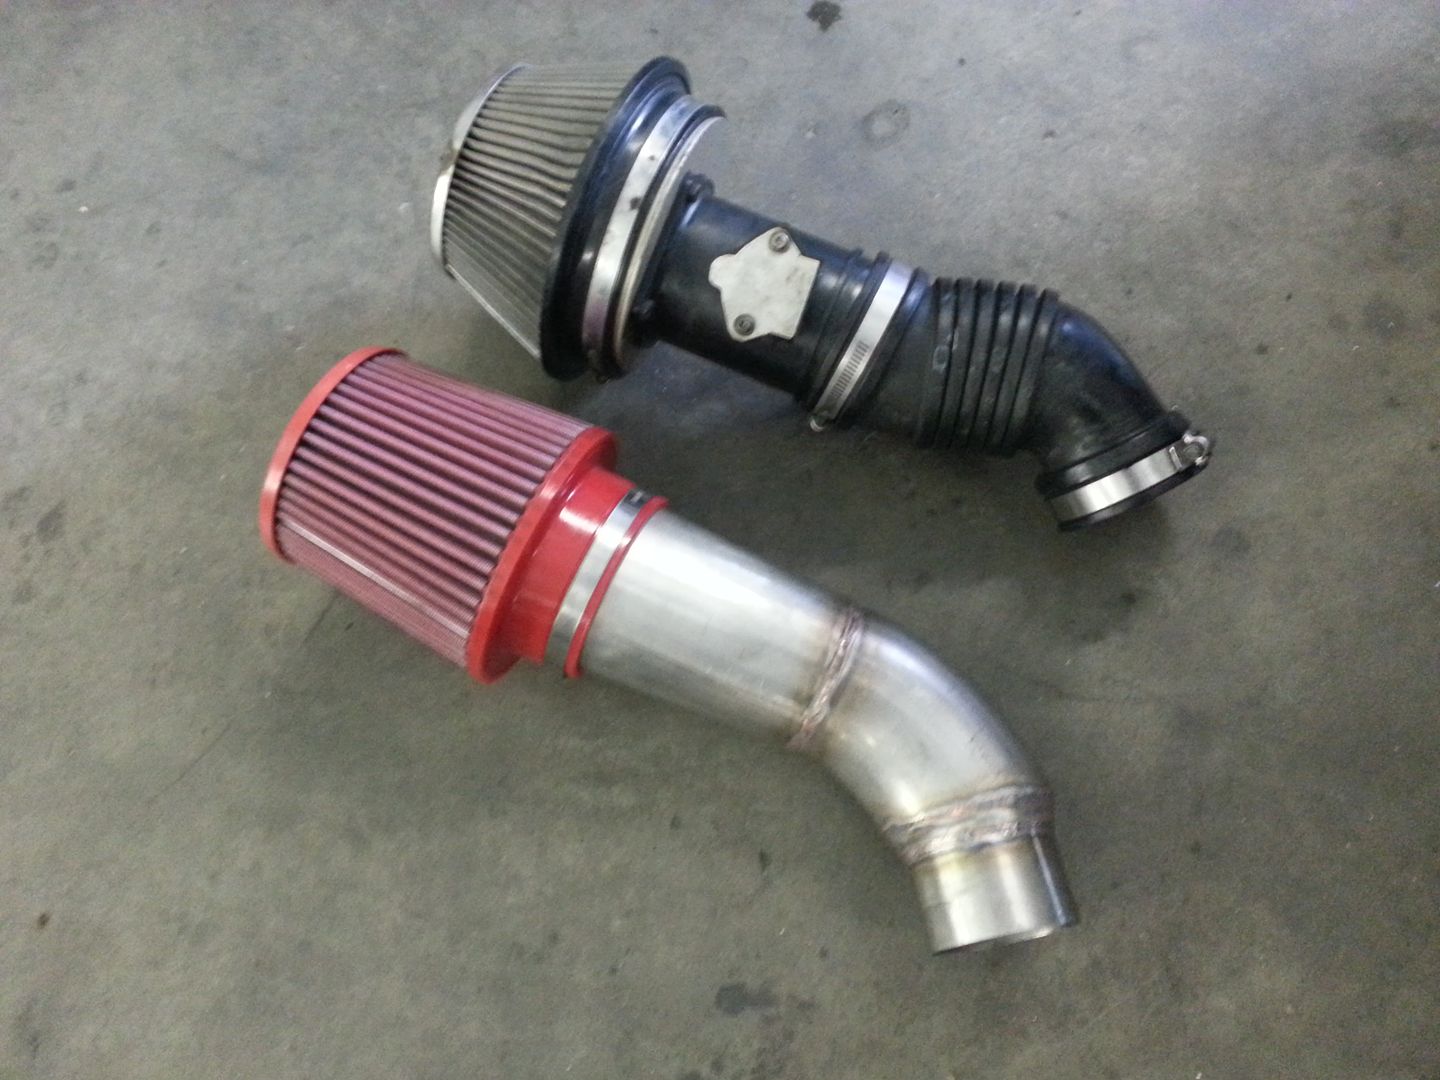
|
|
#2
|
||||
|
||||
|
Looks good and a 2.35 will serve you well
__________________
Eat, Sleep, Race , Repeat |
|
#3
|
|||
|
|||
|
I then got some inlet manifold spacers from CDF as I had plans to rotate the inlet manifold. and mess around with the turbo location to get the intercooler pipe work shorter. Do that went a little like this:
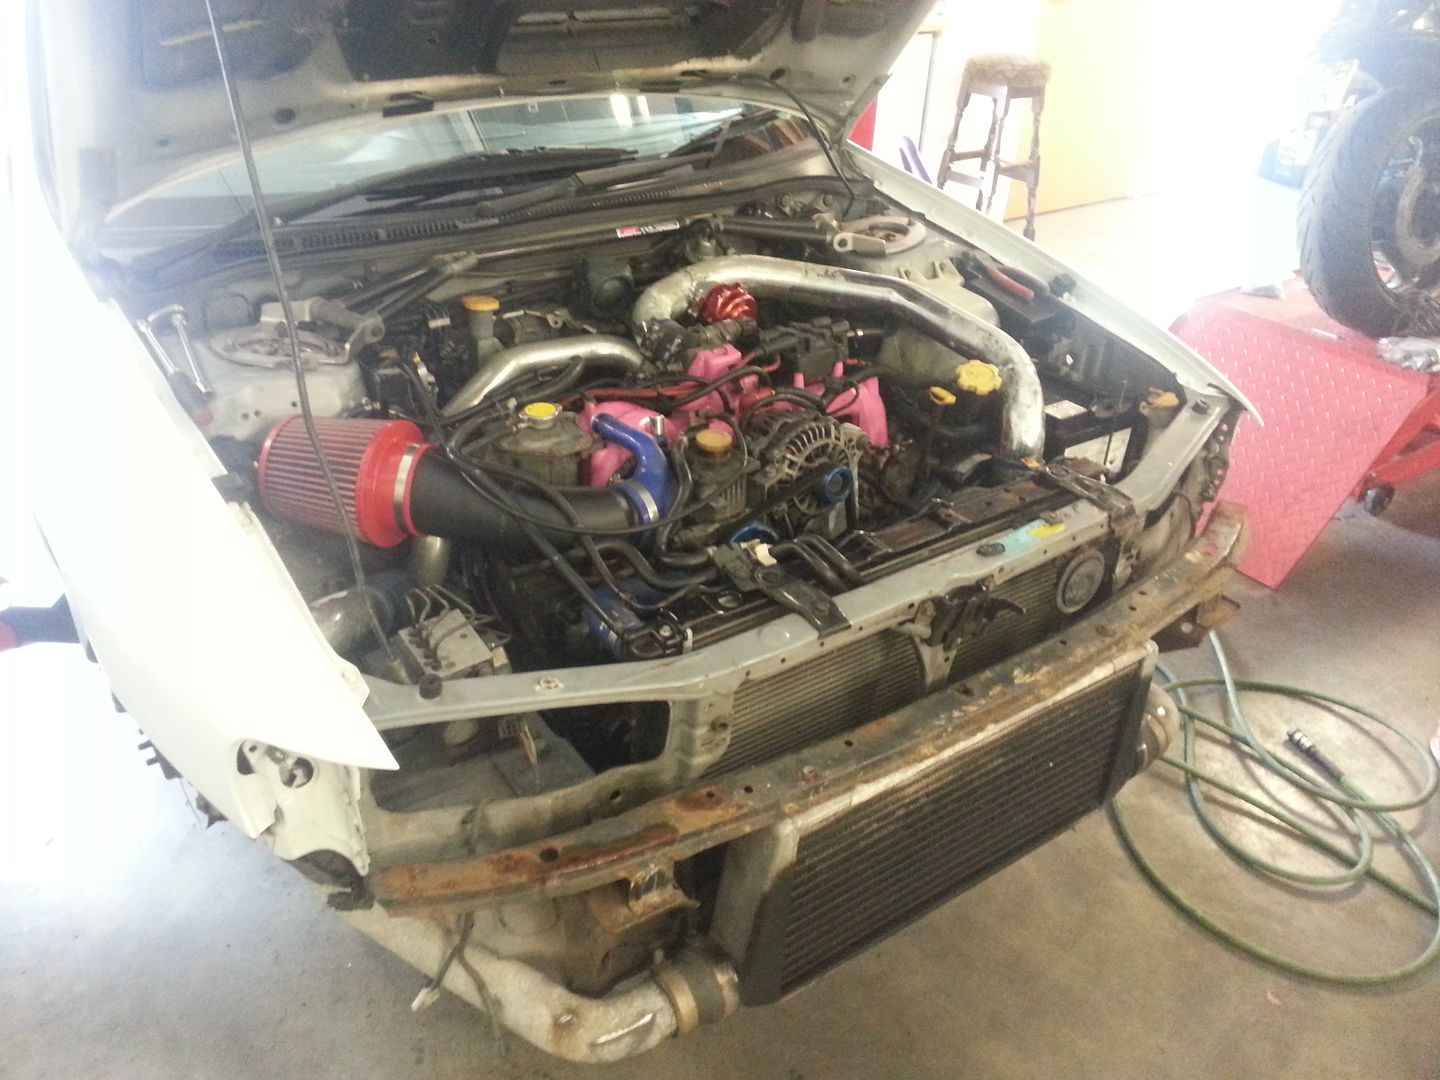 Spacers 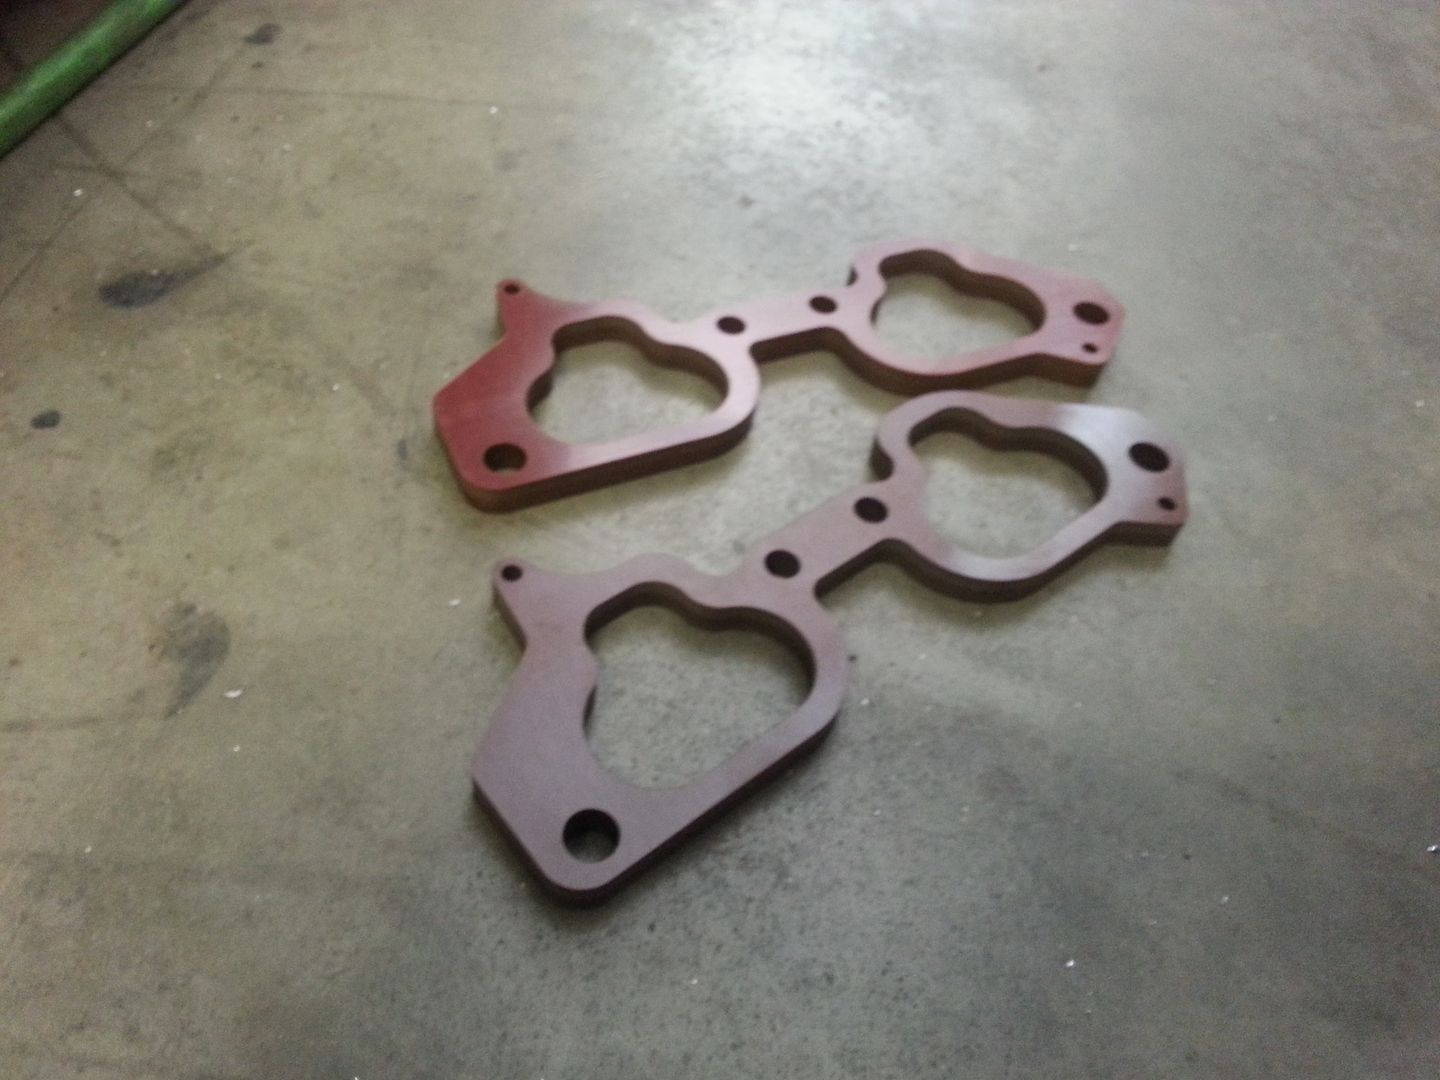 A few bits of the wiring had to be lengthened for the idle control valve and TPS. I also removed the power steering at this point because the pump was faulty. 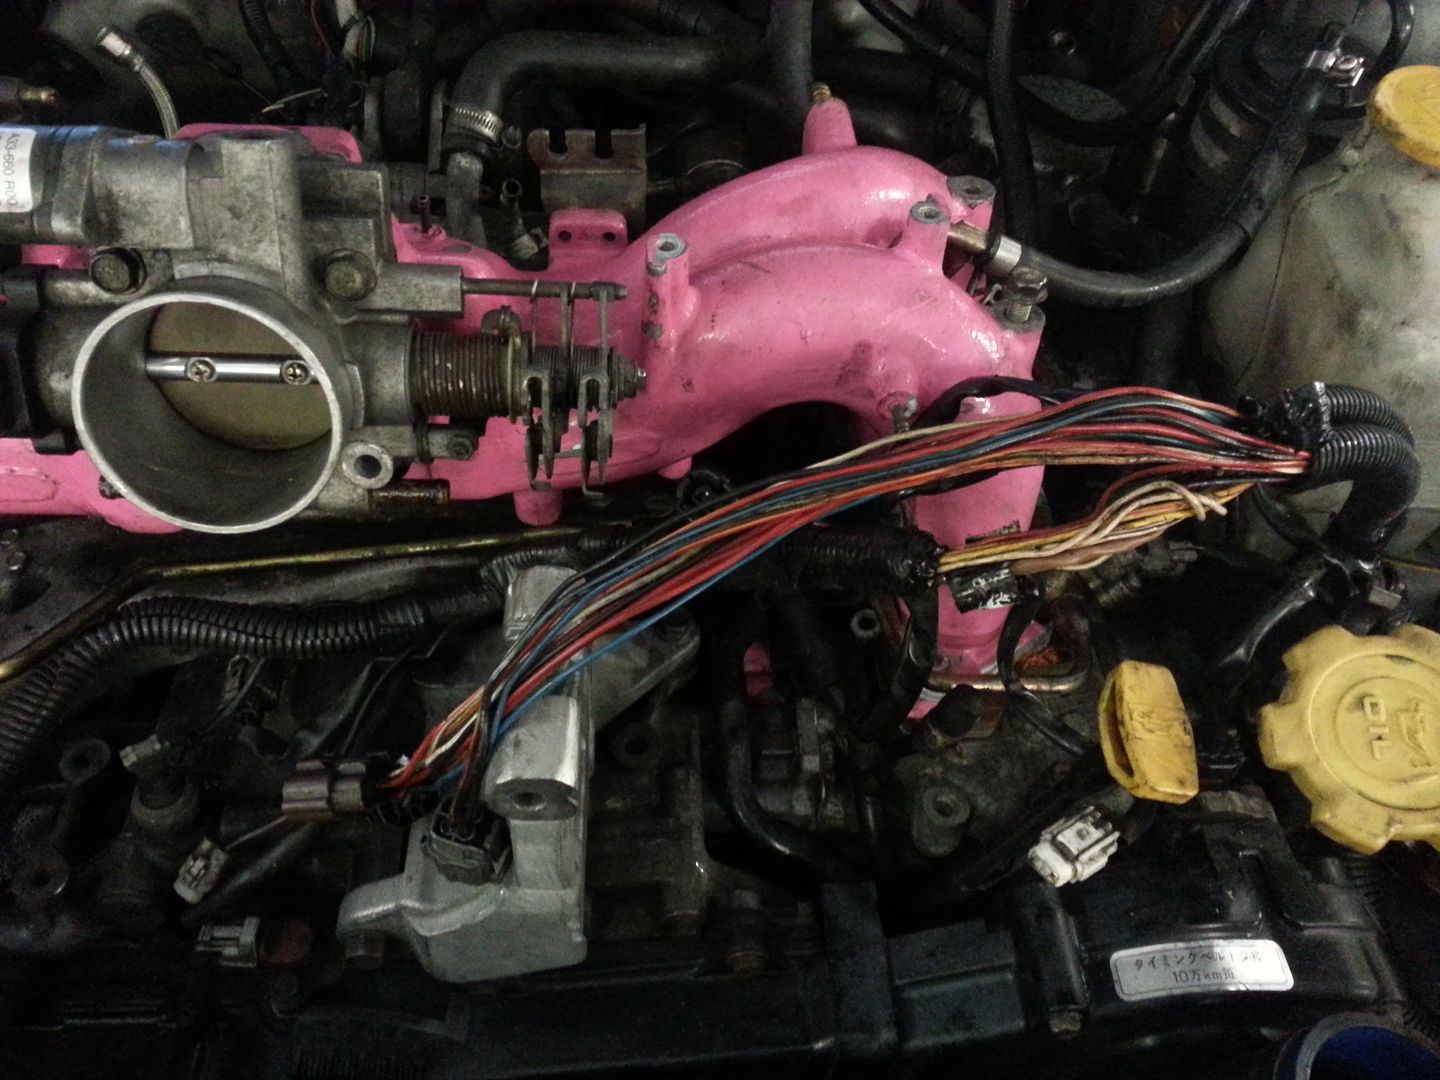 Ended up like so: 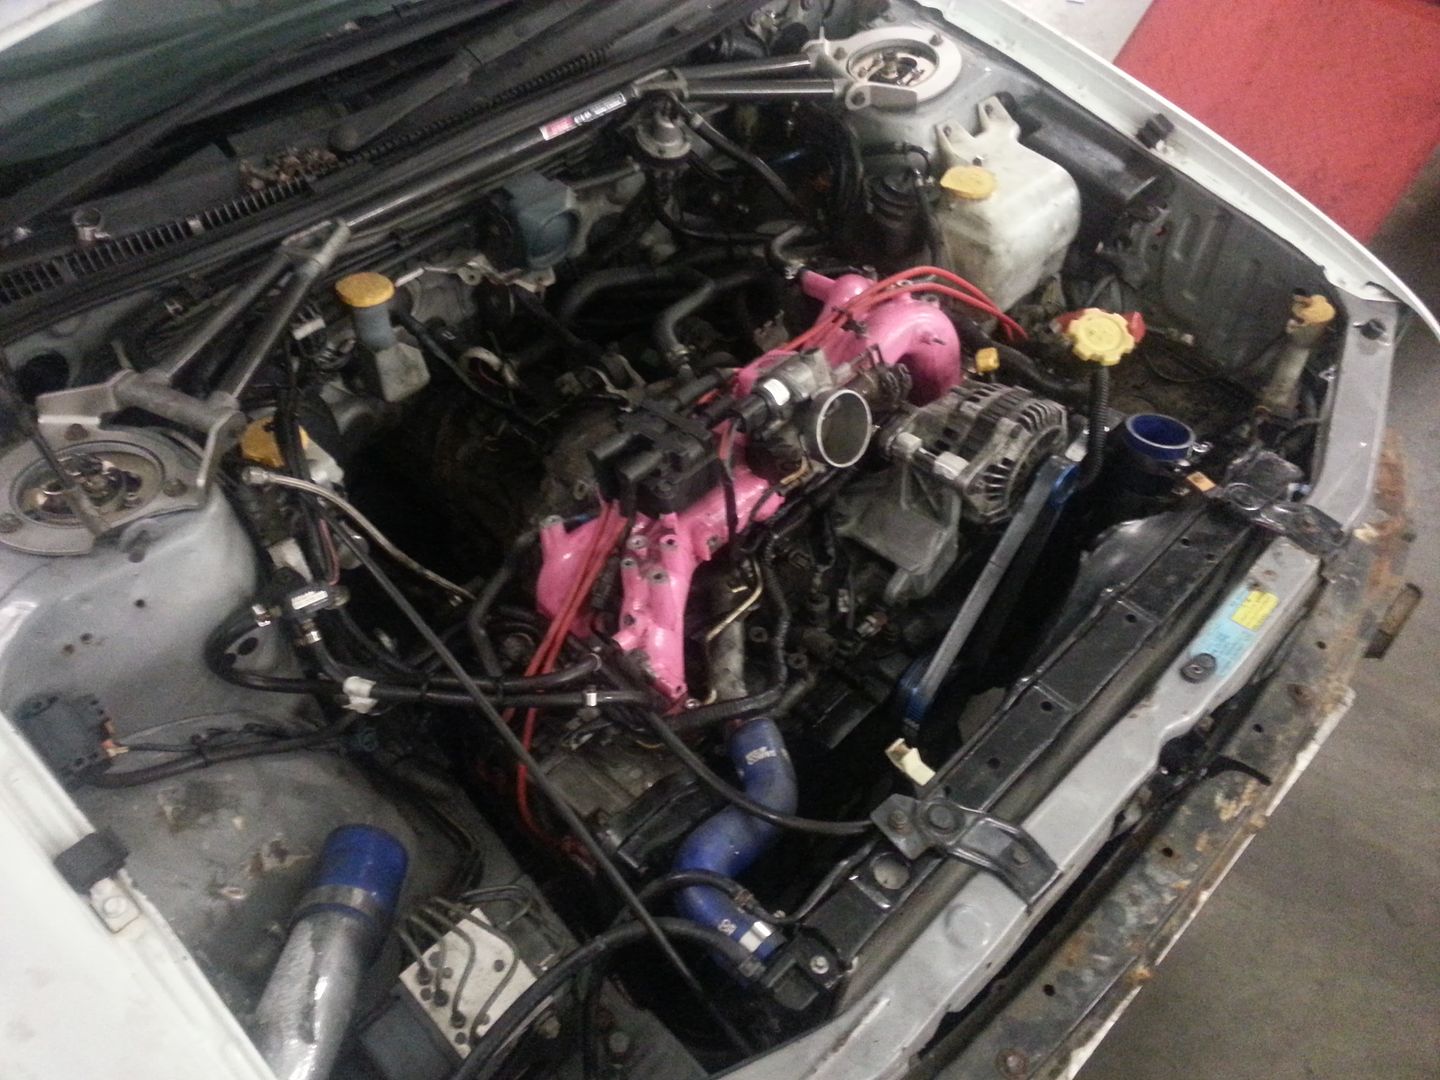 As I mentioned a touch of turbo messing was in order. I converted the MD321 over to an external gate as I was getting boost creep in virtually every gear and also rotated the turbo around to loose the U bend in the I/C pipe work on that side. I also remade the top part of the down pipe to an 'open neck' version. 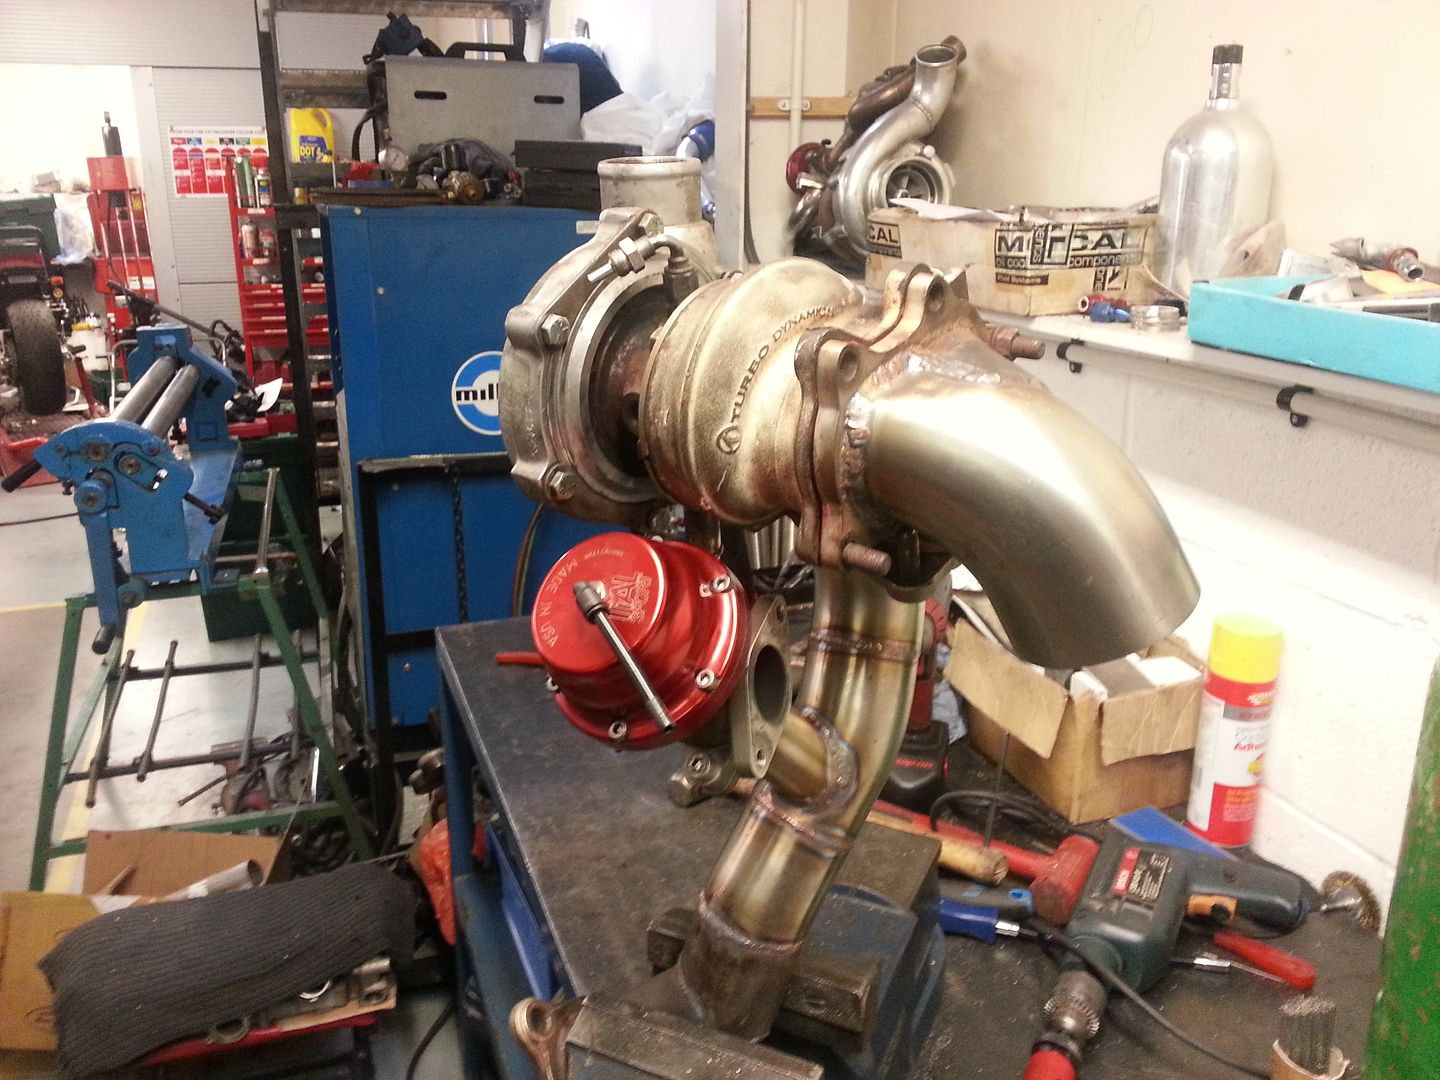 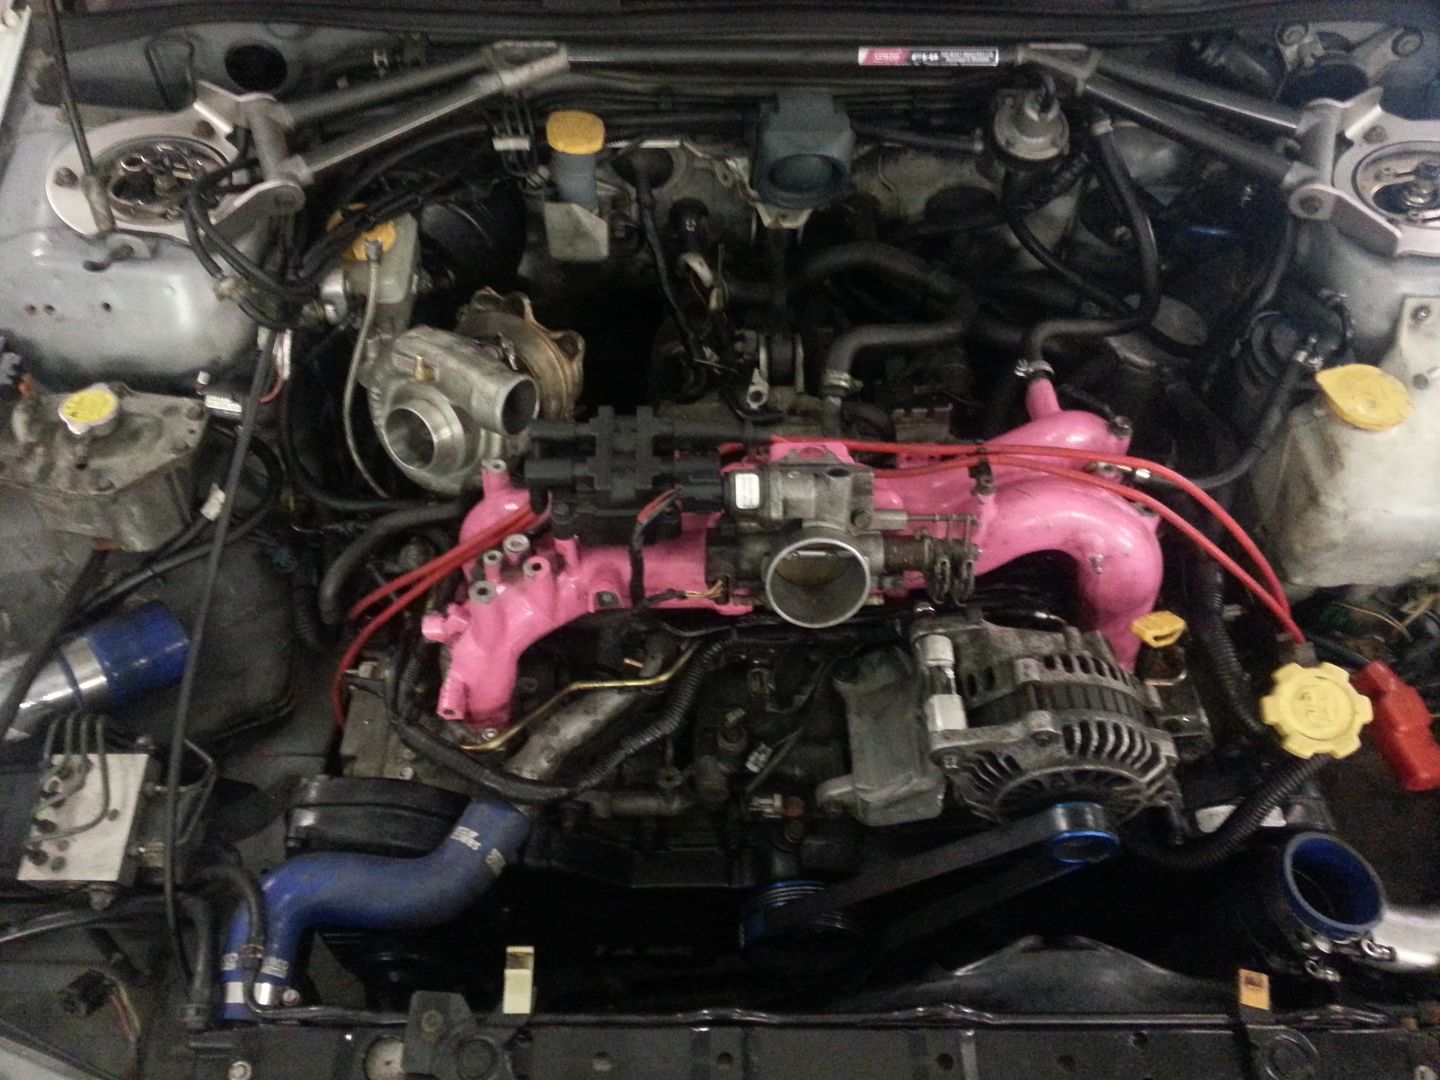 The final result was : 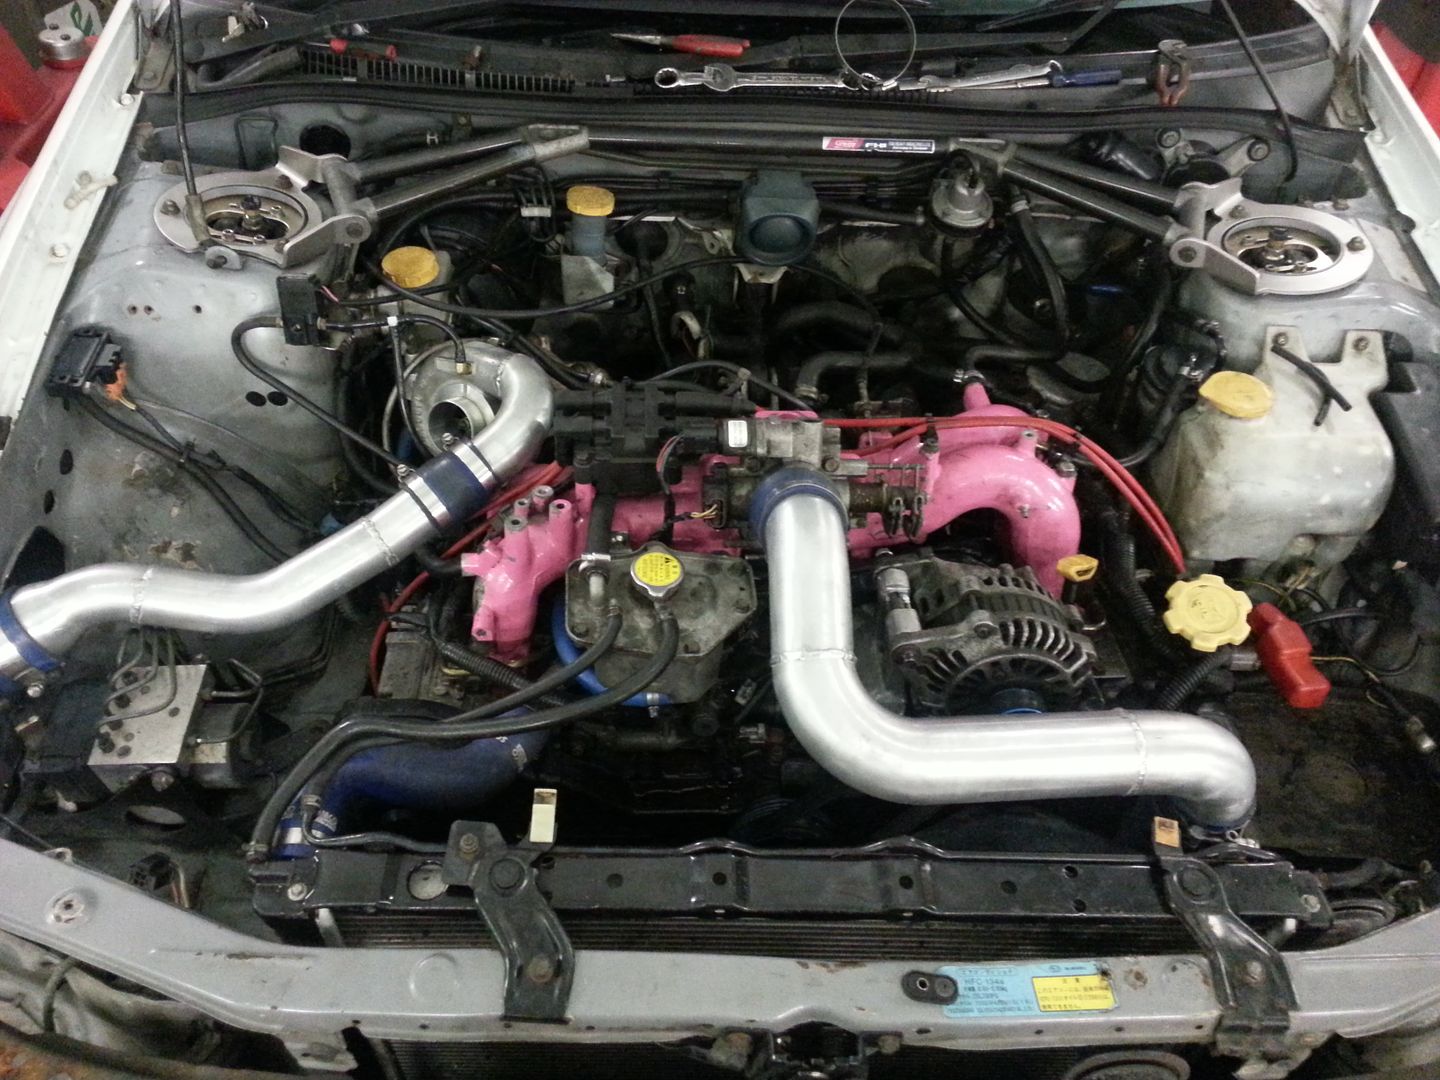
|
|
#4
|
|||
|
|||
|
|
|
#5
|
|||
|
|||
|
Unfortunately some months later the car developed a knock form the bottom end and then eventually let go on the way home from work one night. The following weekend I set about the strip down.
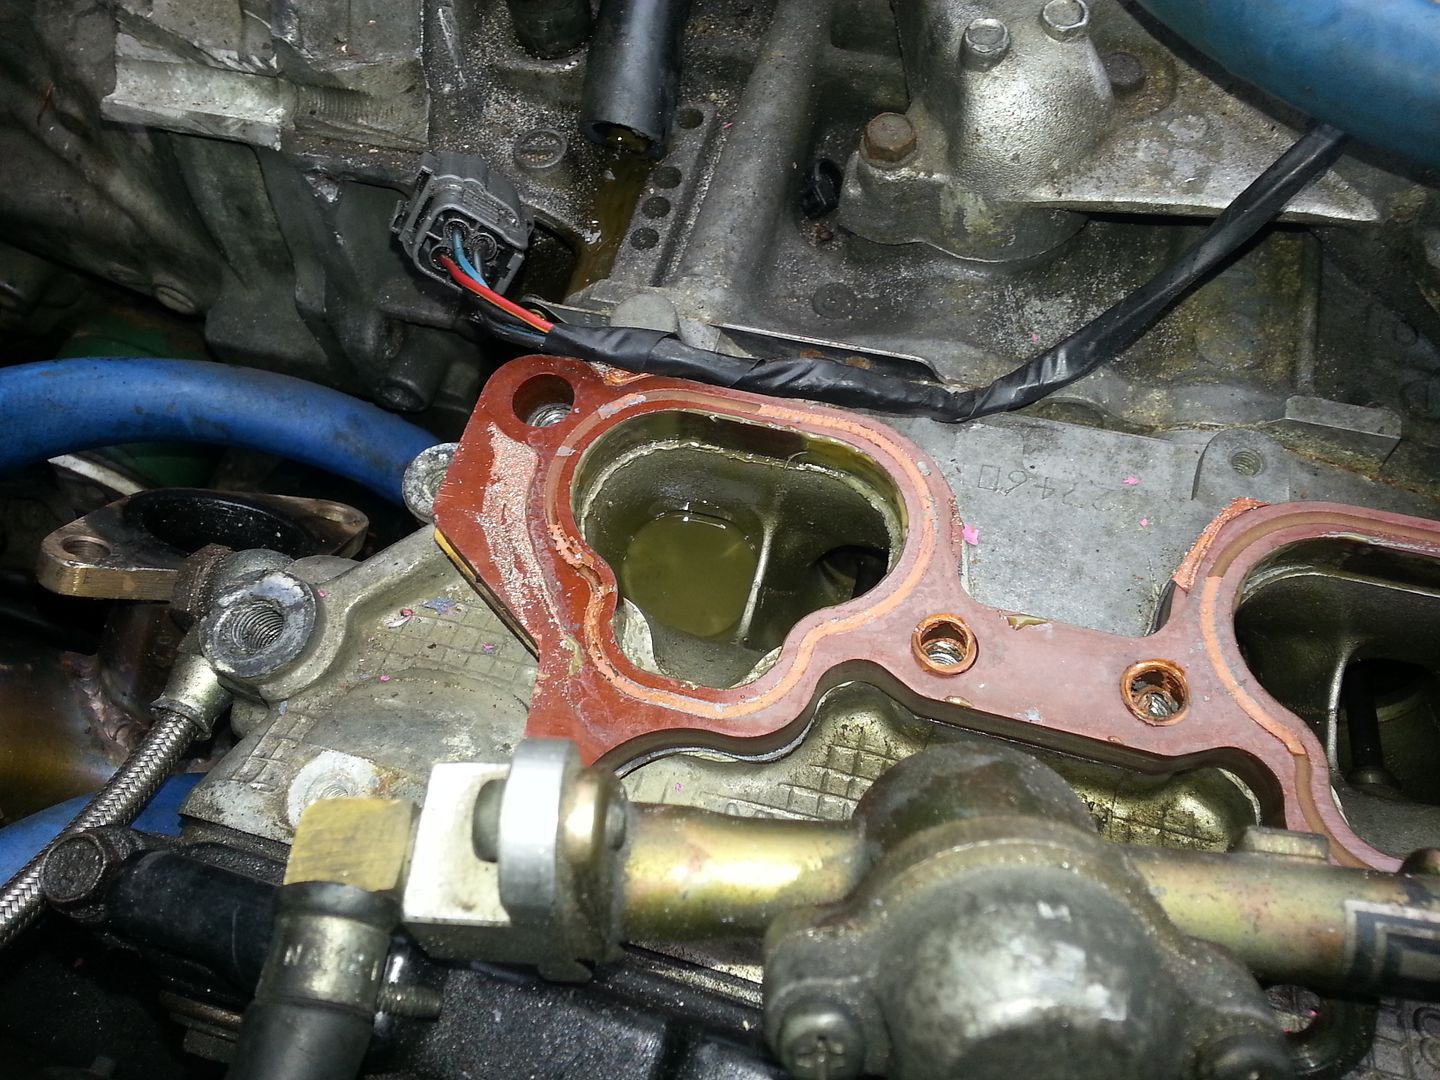 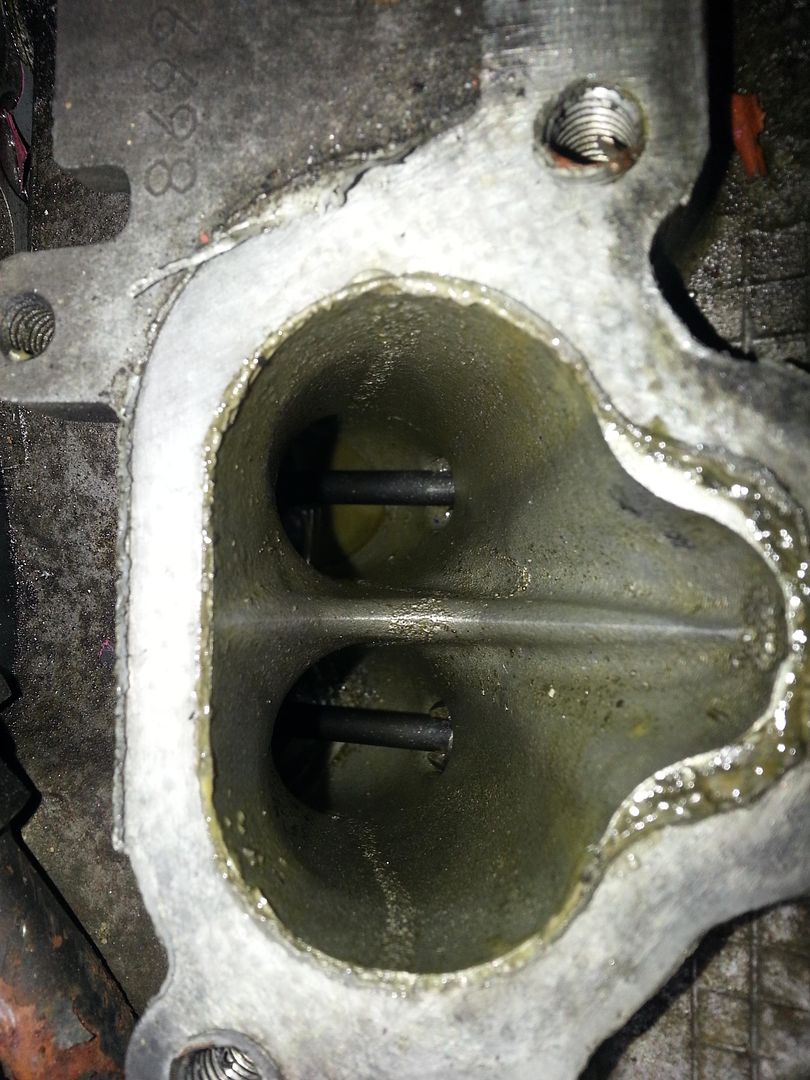 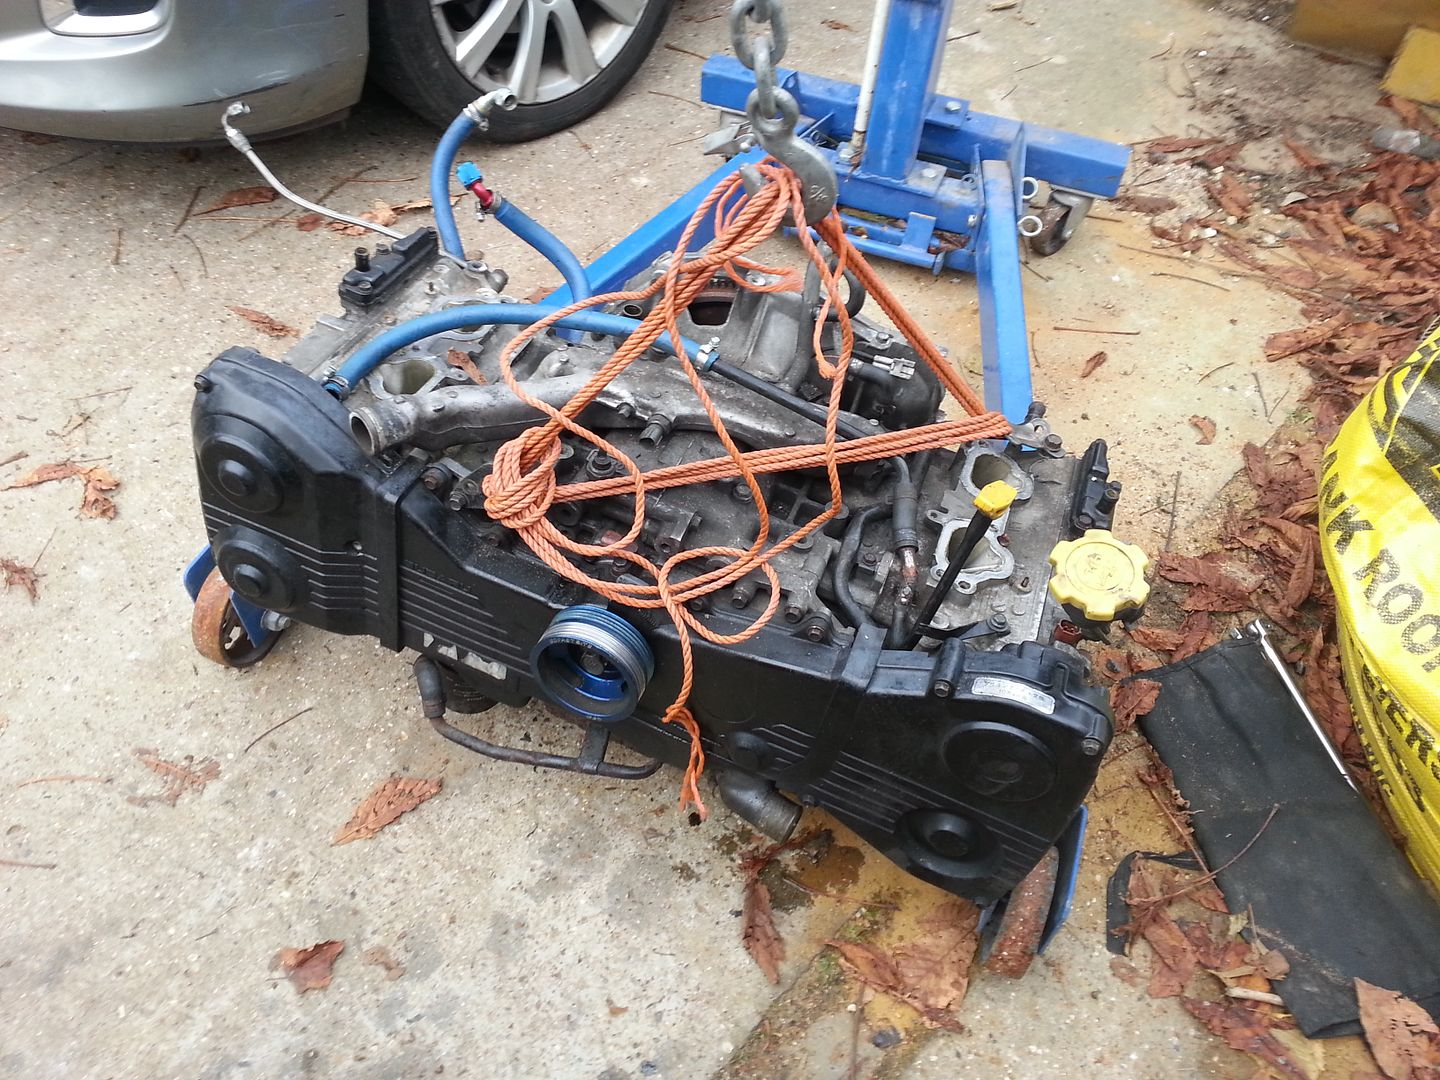 Then took the motor up to the shop and got stuck in 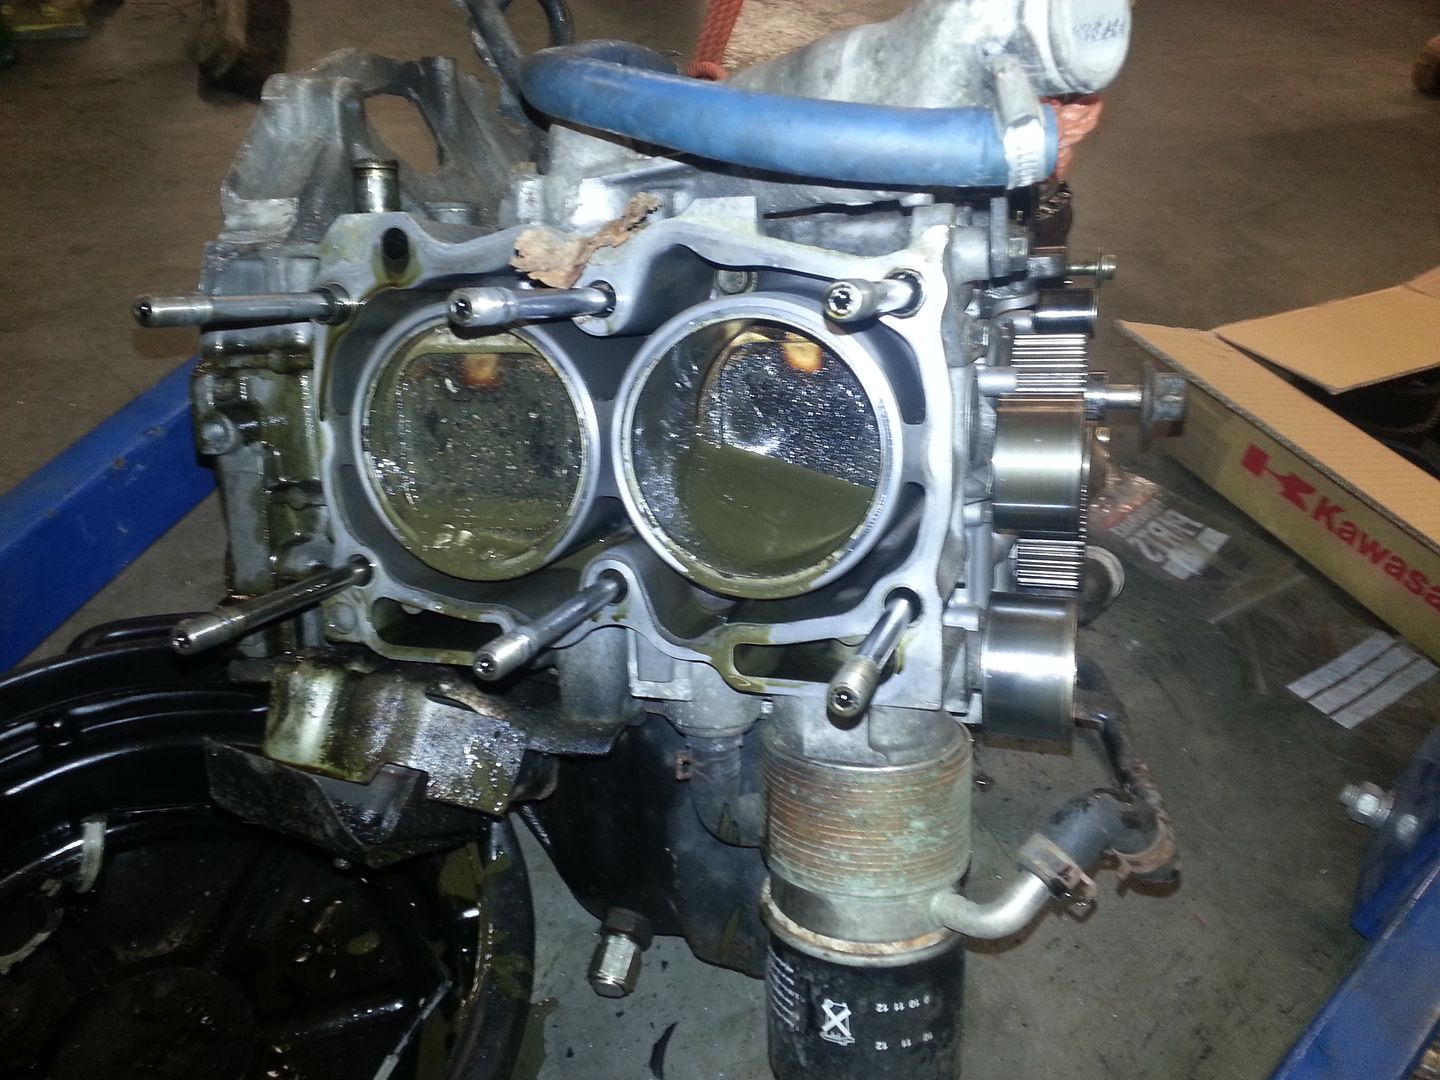 Shouldn't be water in that bit! And there should be a piston in this bit!!! 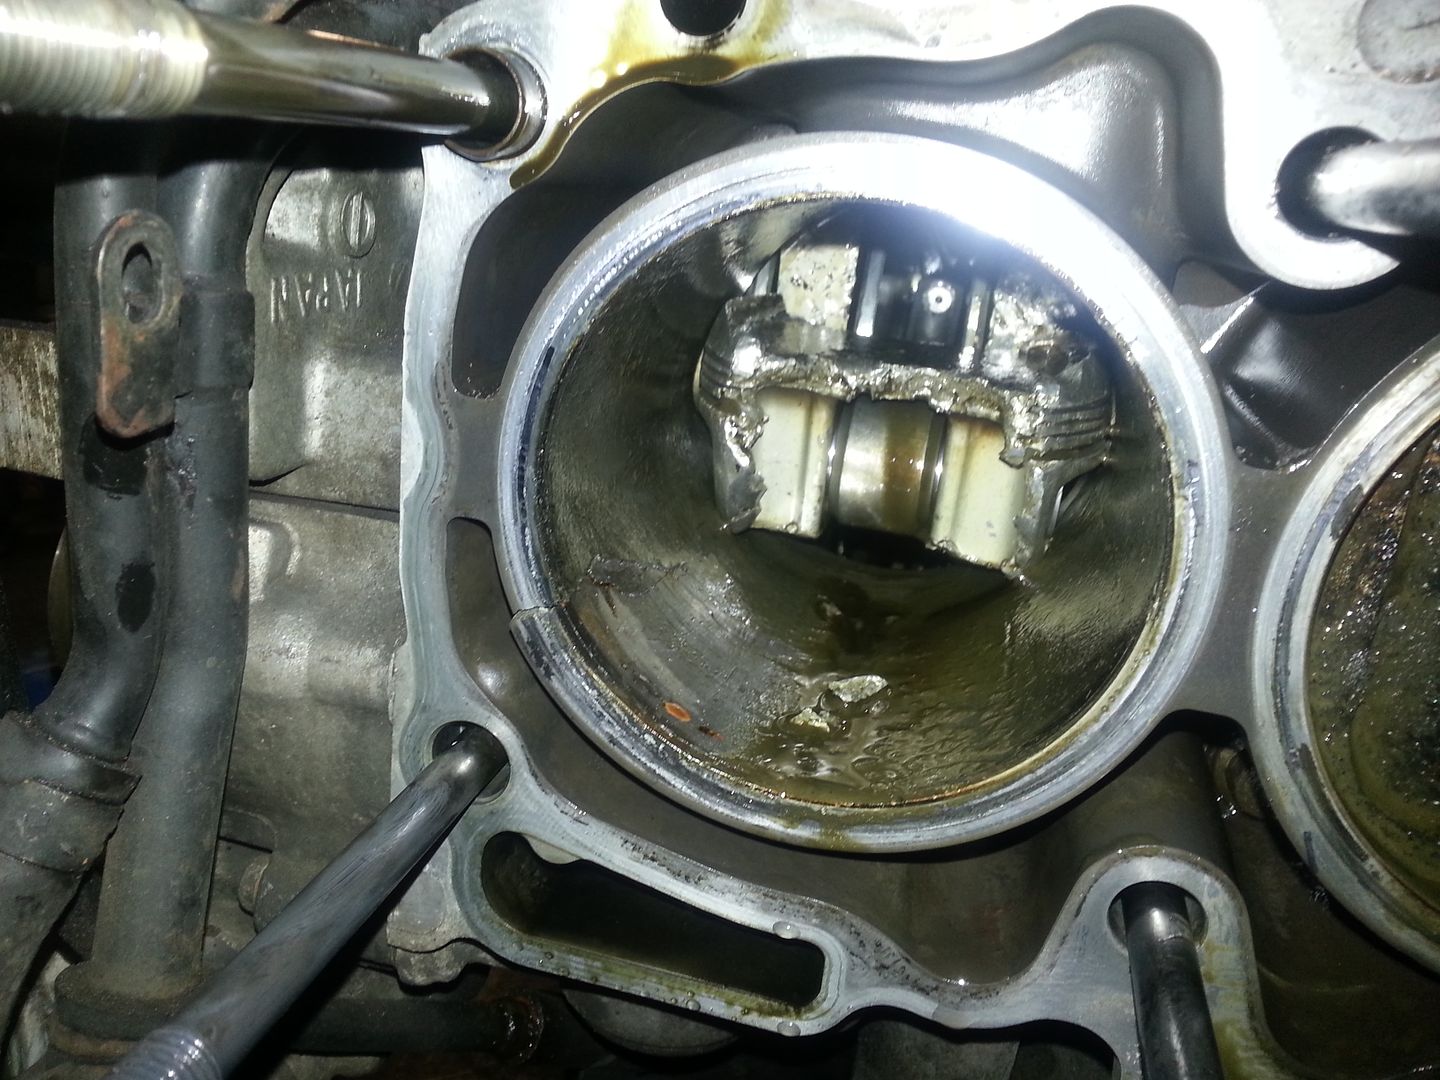 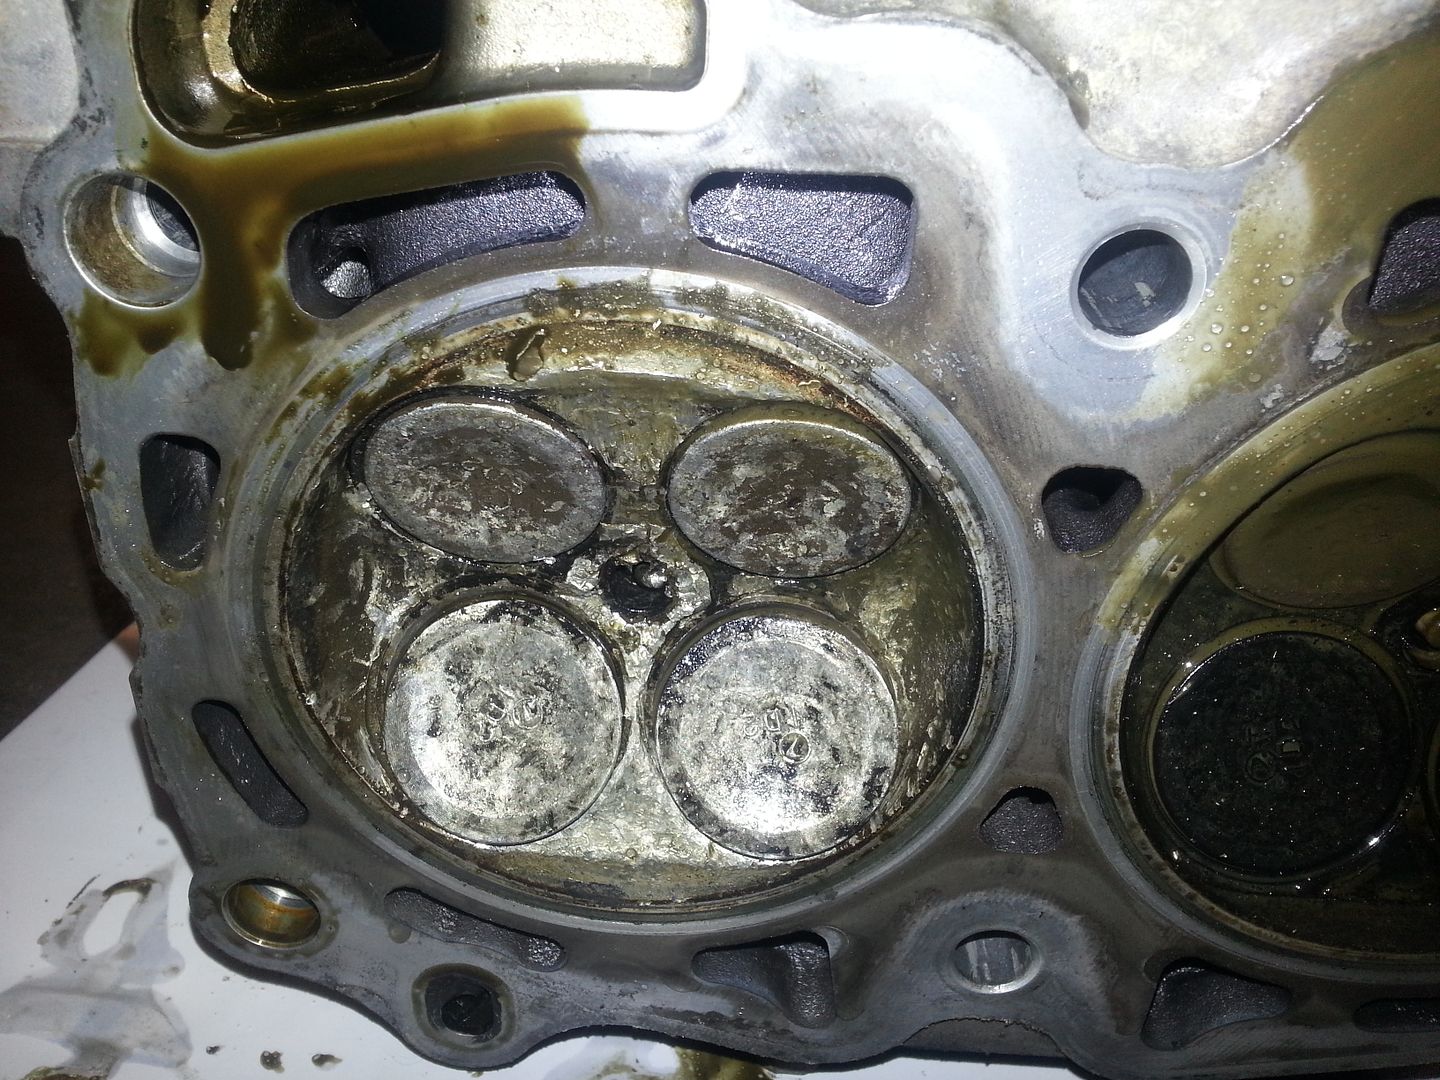 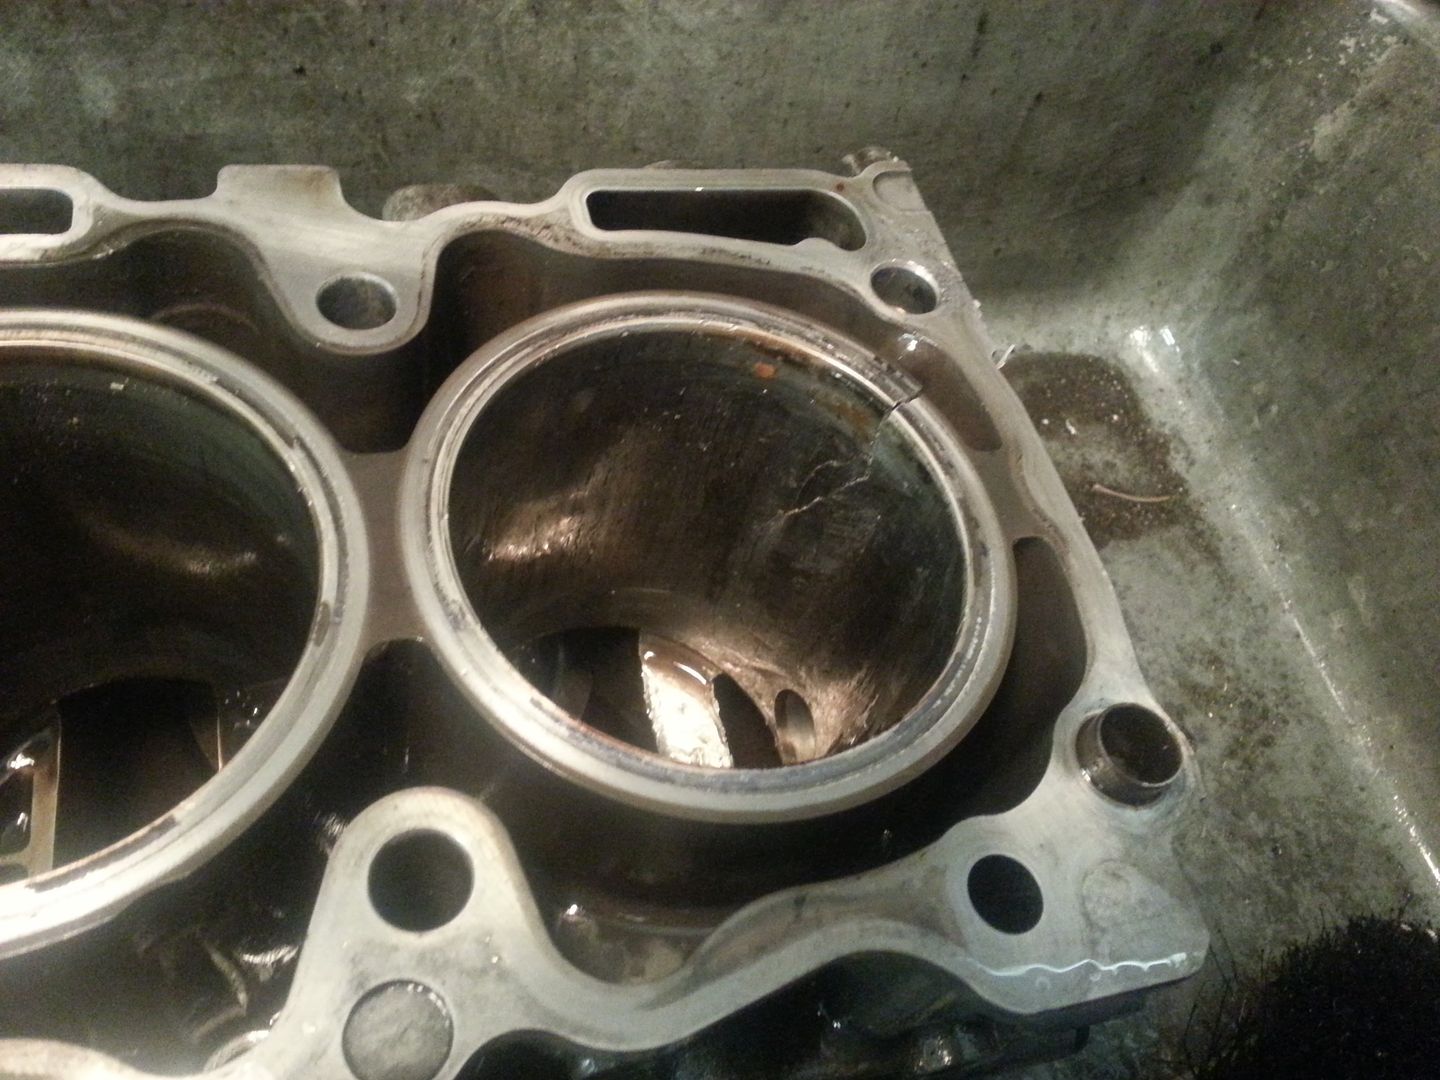 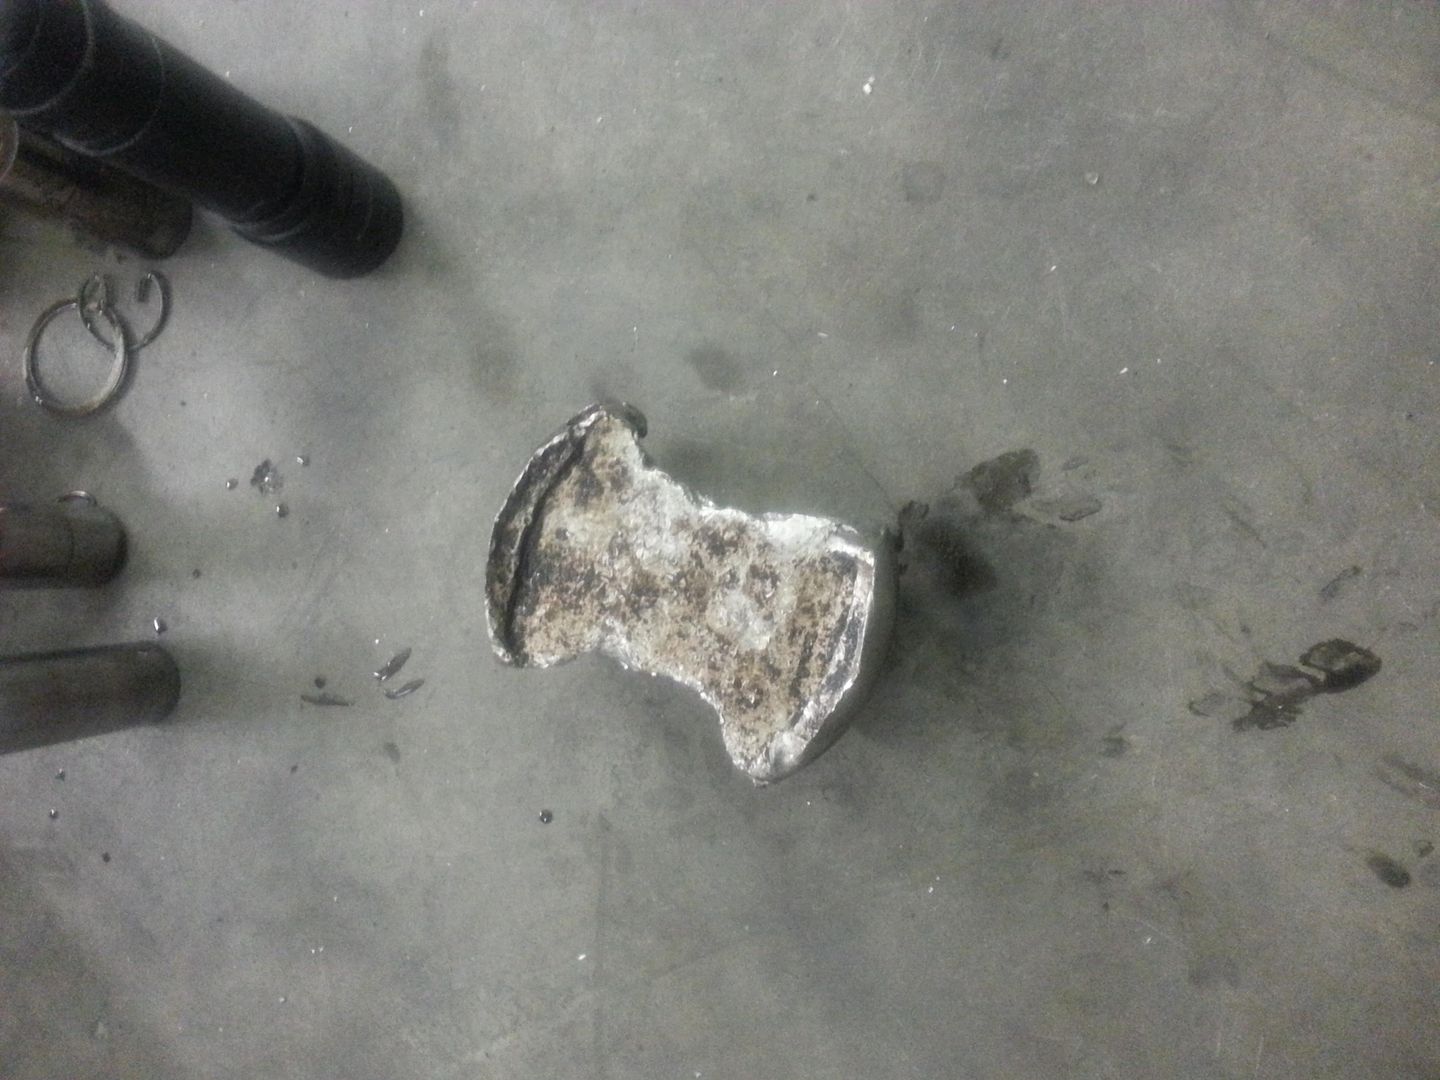 Needless to say that the motor was trollied! |
|
#6
|
|||
|
|||
|
Given what I had spend on the car it had left me with not many choices I the way I could then move forward to rebuild the car. I have used a lot of parts I already had (some a bit over the top) but bought some more choice parts along the way.
And it started with this. A sterling find on ebay. 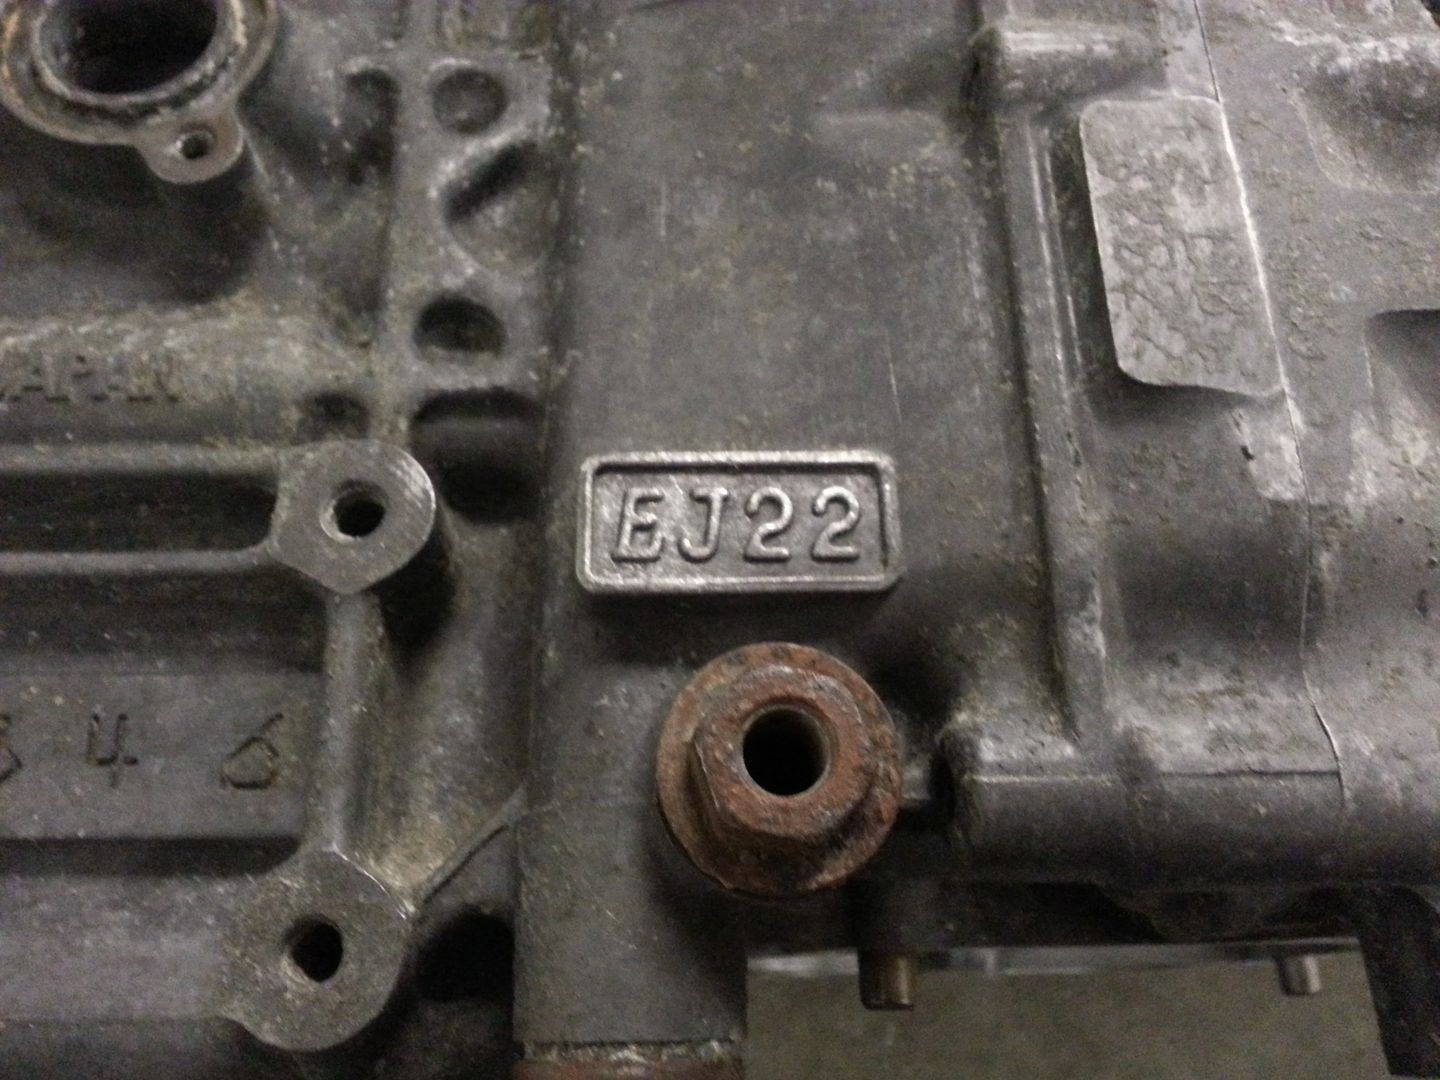 Gaskets and bearing where bought from RCM. ACL bearings, 14mm studs and thicker head gaskets. 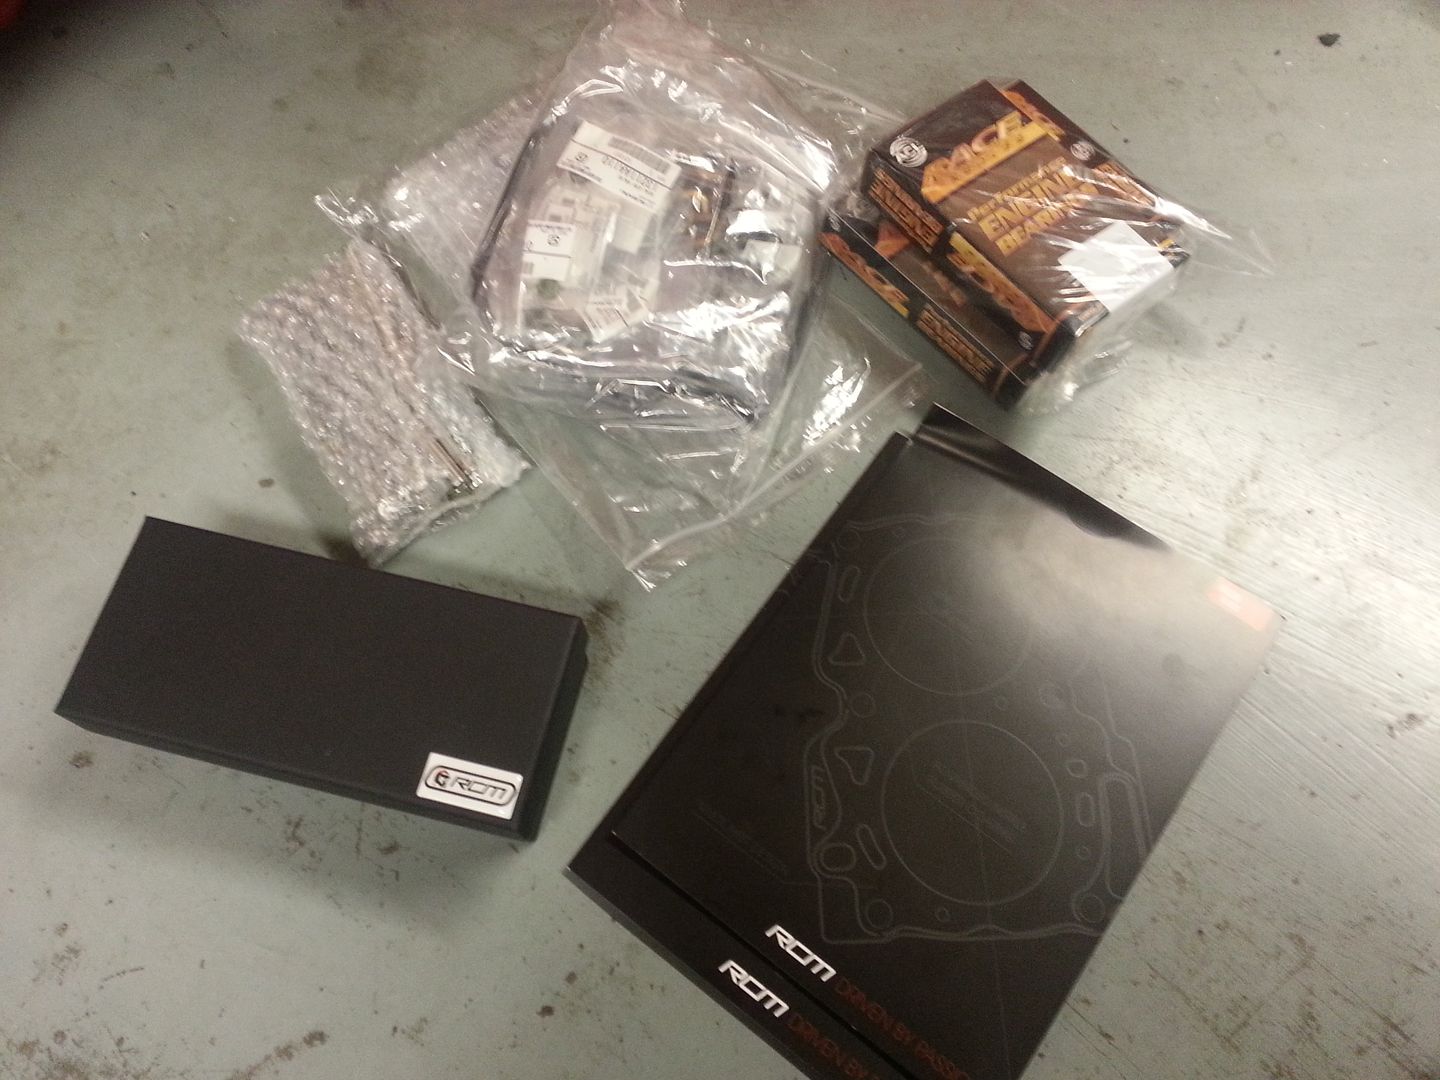 Pistons I got though Wiseco, we use them for other things. 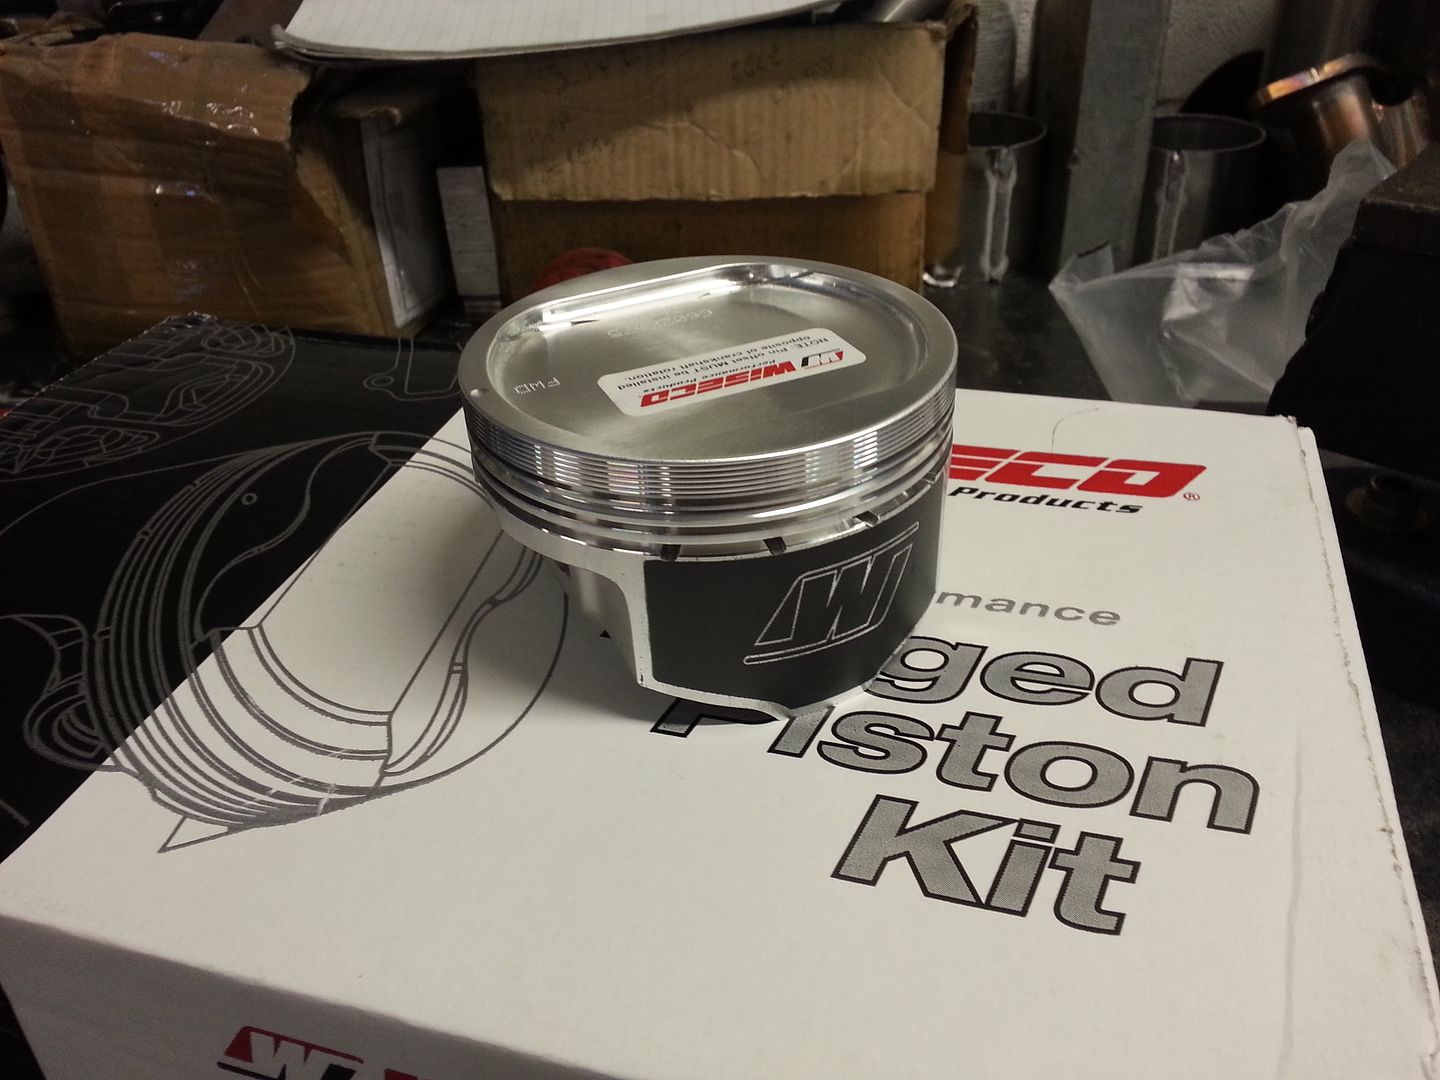 Now the block though and EJ22 was an open deck EJ motor. This could lead to the same liner issue that I had had before so I decided to 'pin' the barrels. This was done with ally dowels that where put into tight channels that where spark eroded in. 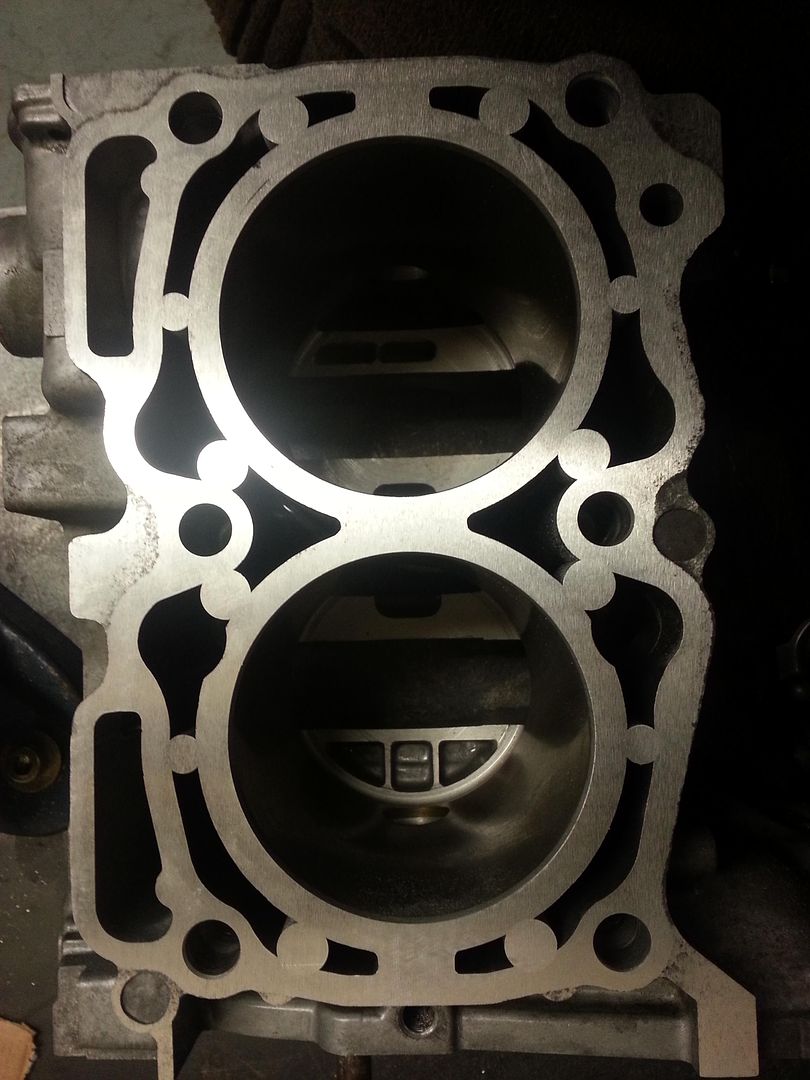
|
|
#7
|
|||
|
|||
|
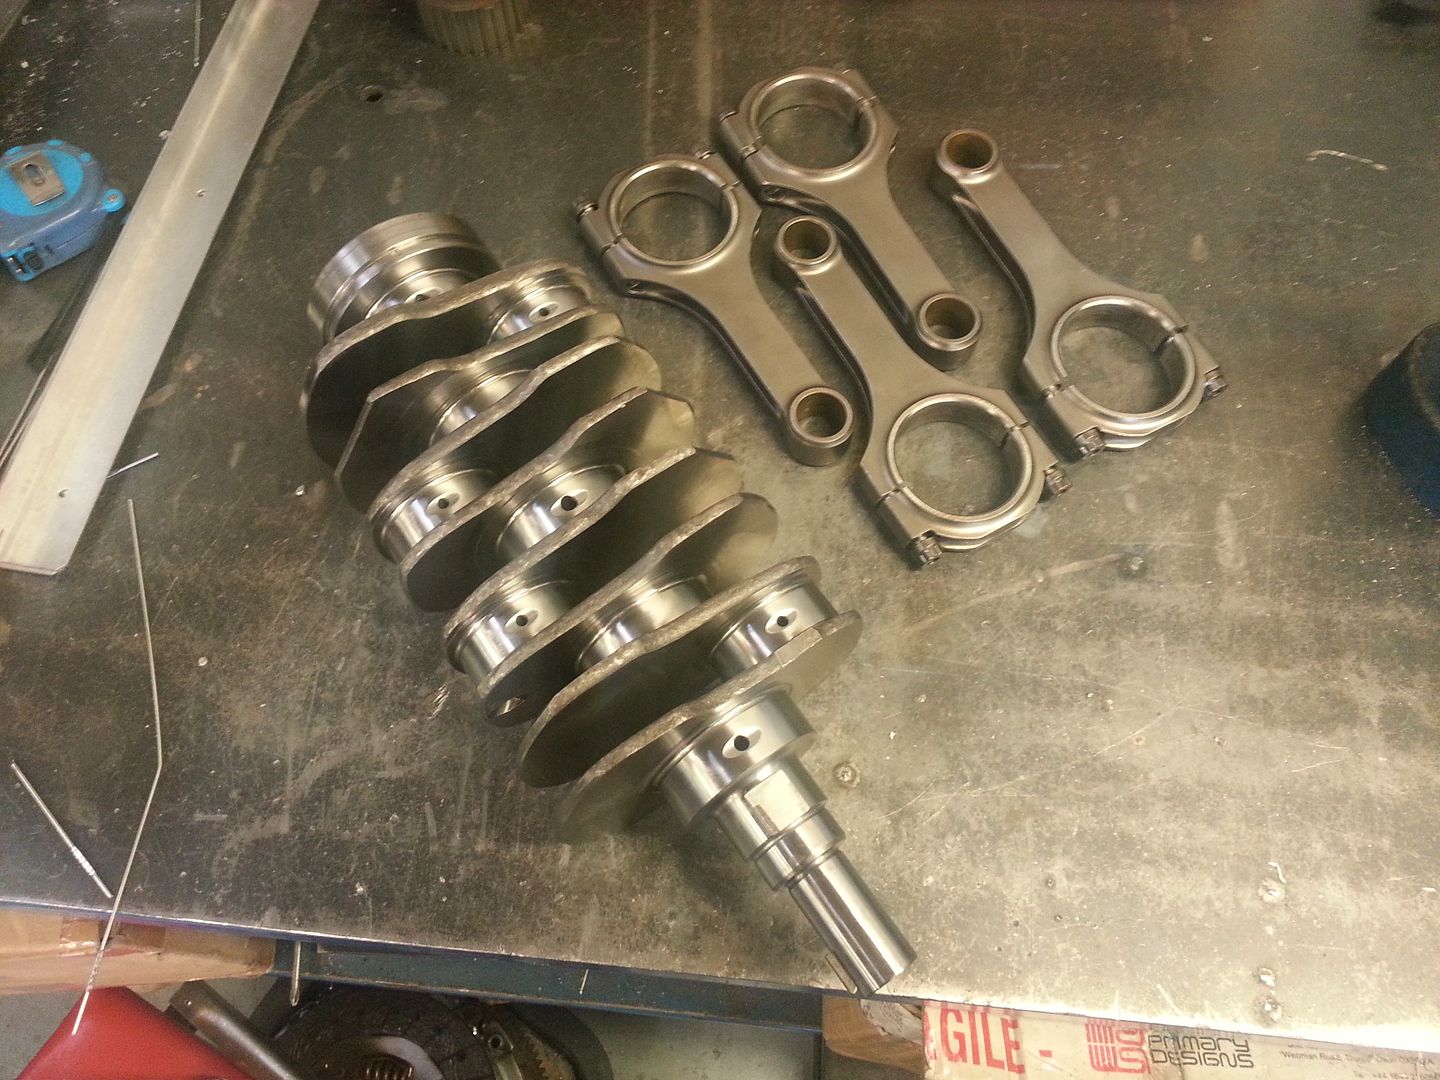
Crnak and rods went off to be inspected by a specialist as I didn't have the funds to buy new in the grand scheme of the build. They where dressed,cleaned and tolerance and where given the all clear for use.
 Oil pump was also trolled after the motor let go so that was replaced with a 12mm modified RCM item. 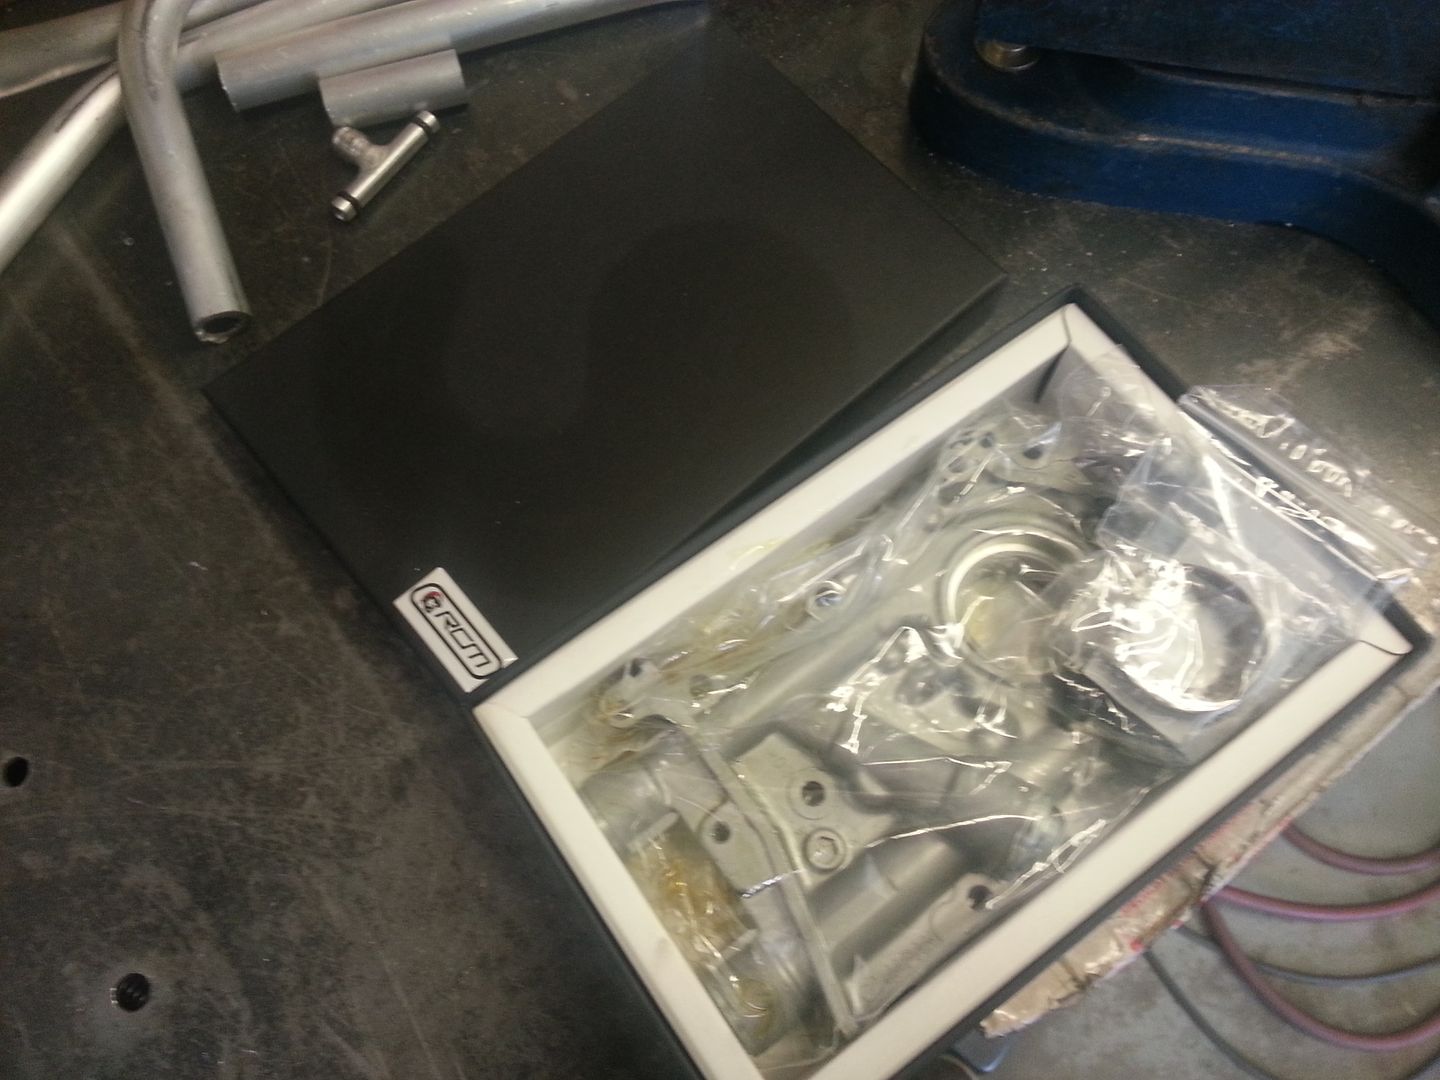 Fueling was also addressed with a set of 750cc RC injectors that I had, which will in due course be aided by a set of secondary injectors of the same size, a pair of Bosch 044 pumps, Holley hi flow FPR and then I decided to build a swirl pot for the boot so stop the whole system getting starved. The issue with the injectors was two fold. The current items where side feed and Hi impedance and the RC are top feed and low impedance. So I made some new rails using the Aeromotive billet rail and sourced a second hand AEM injector driver from CPL. 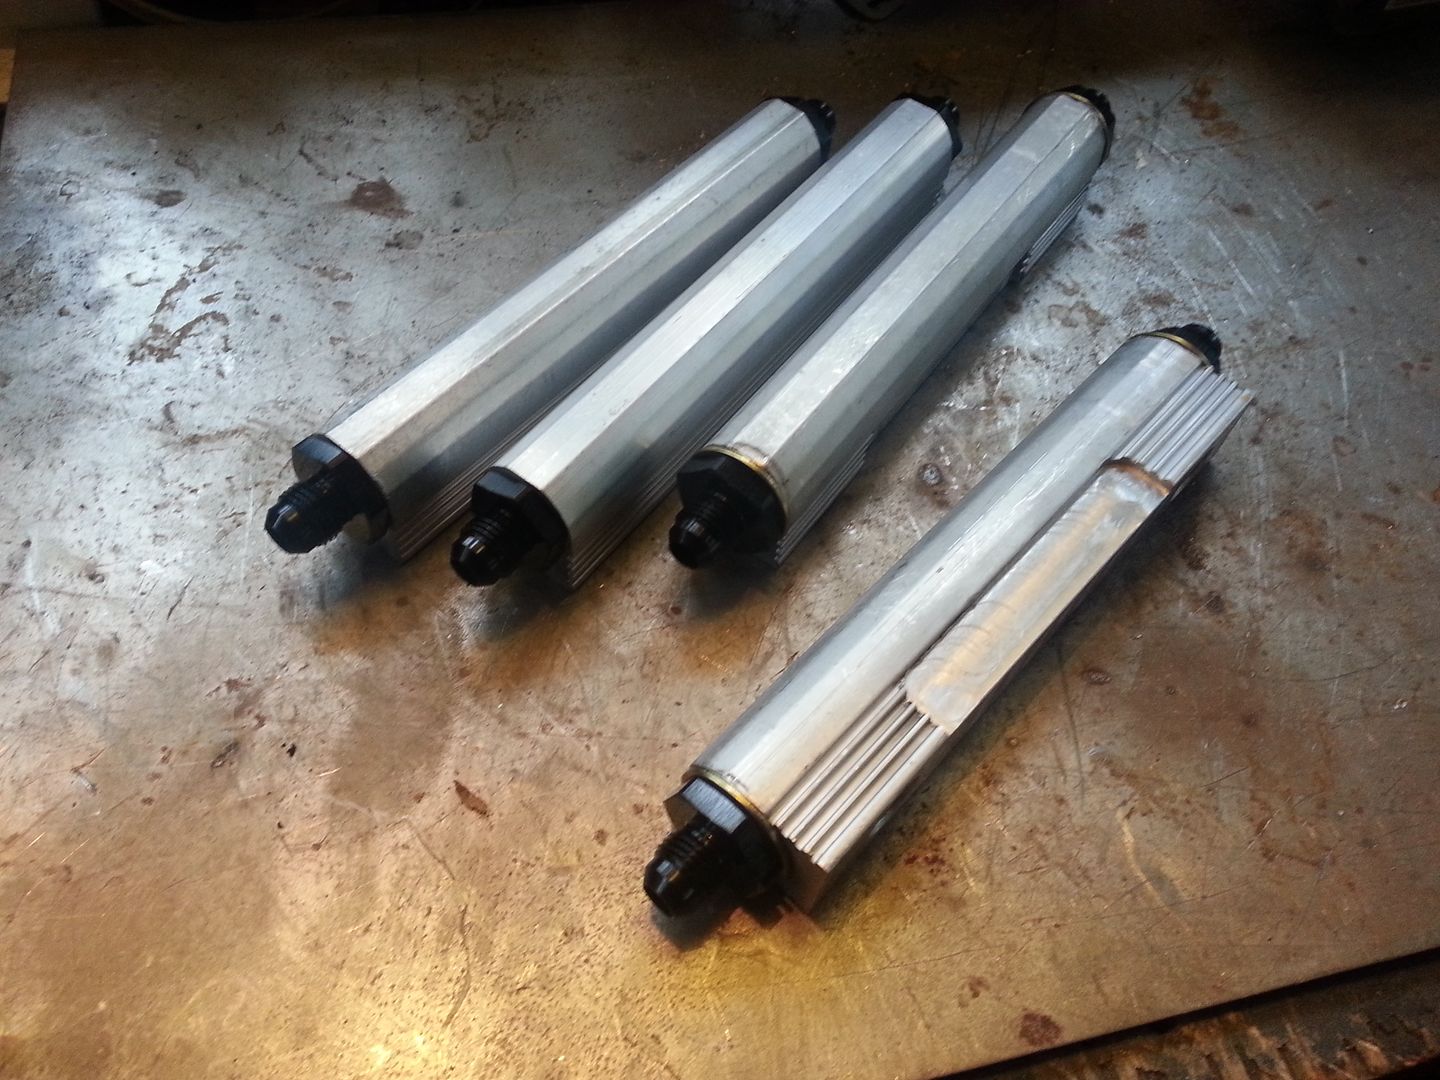 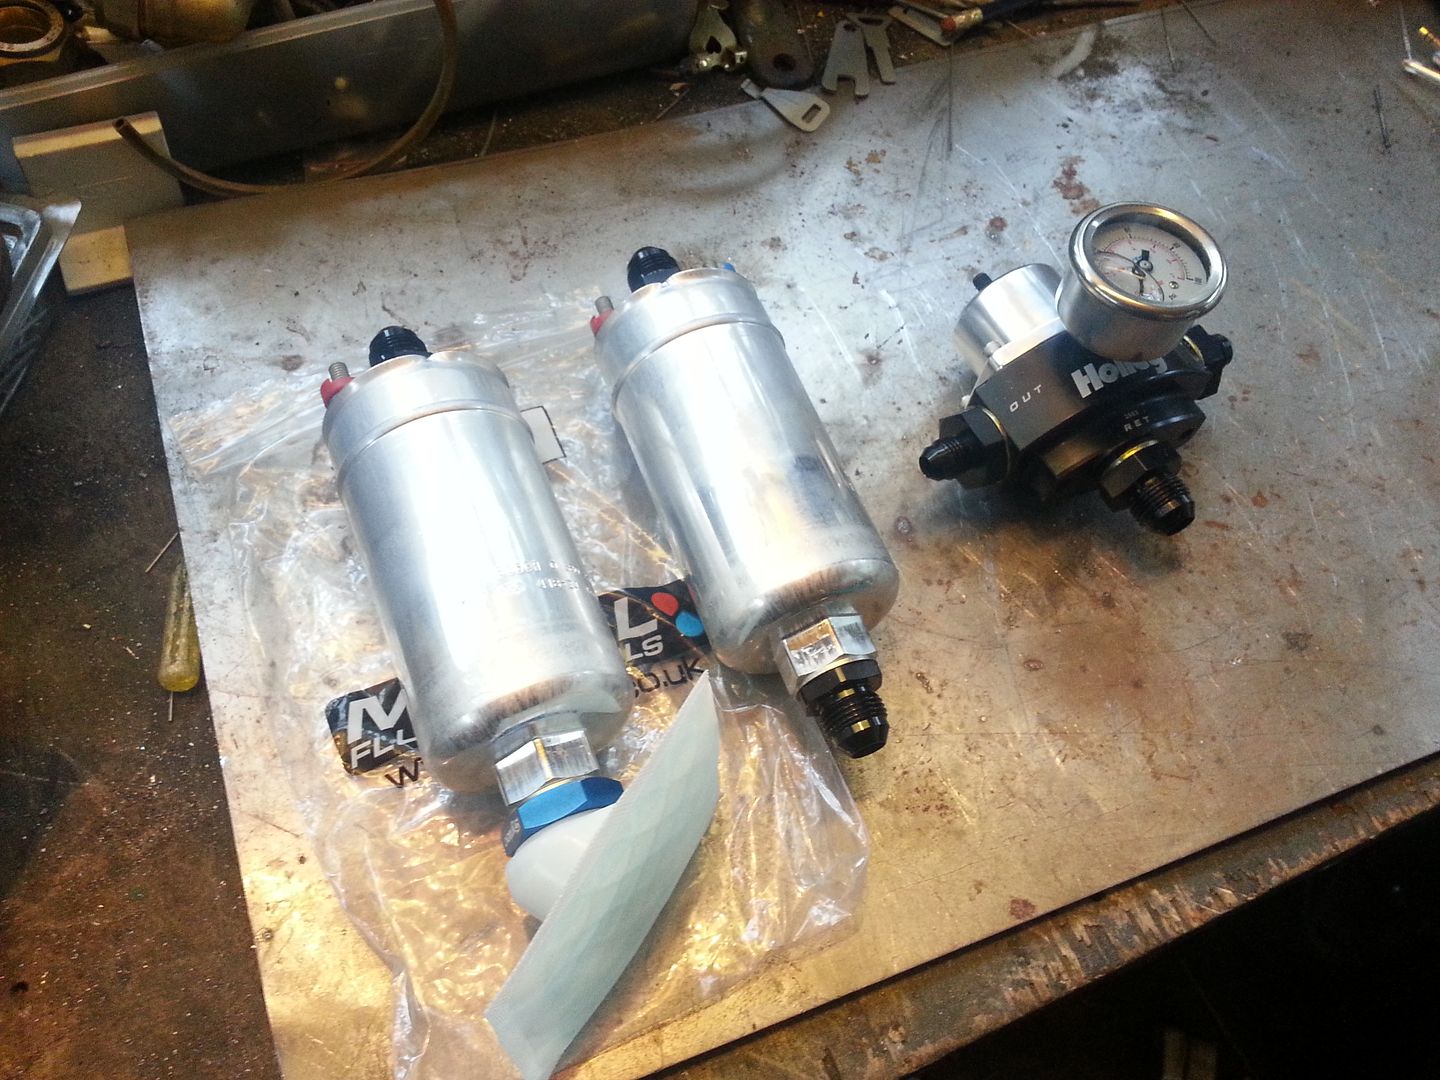 Swirl pot 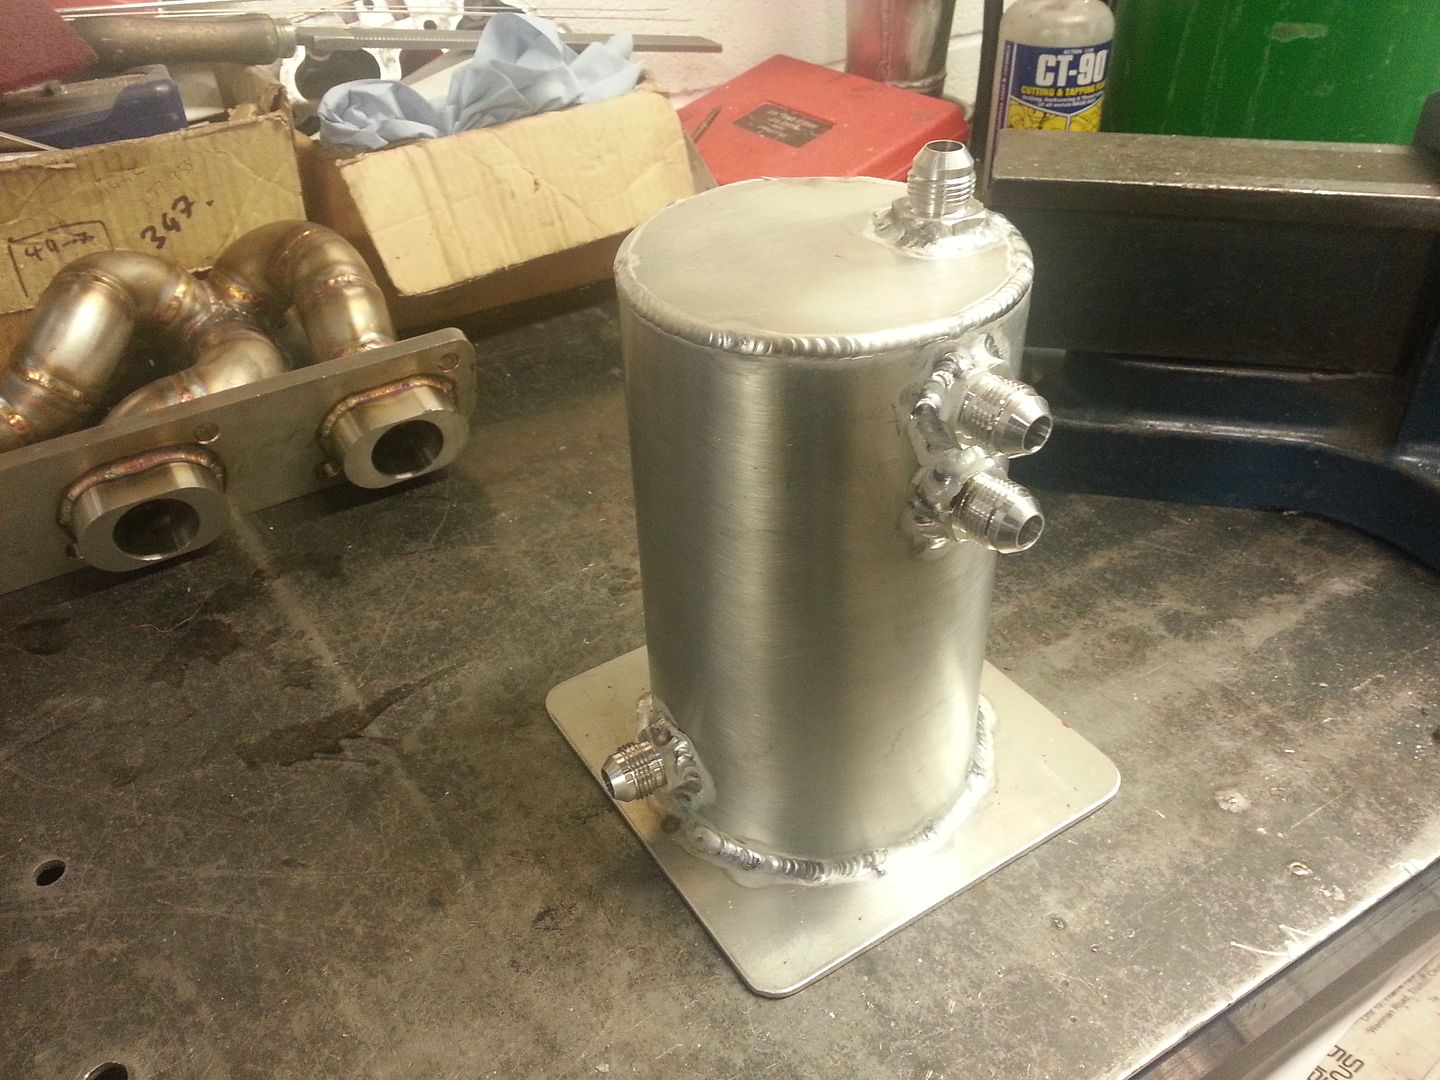 AEM installed 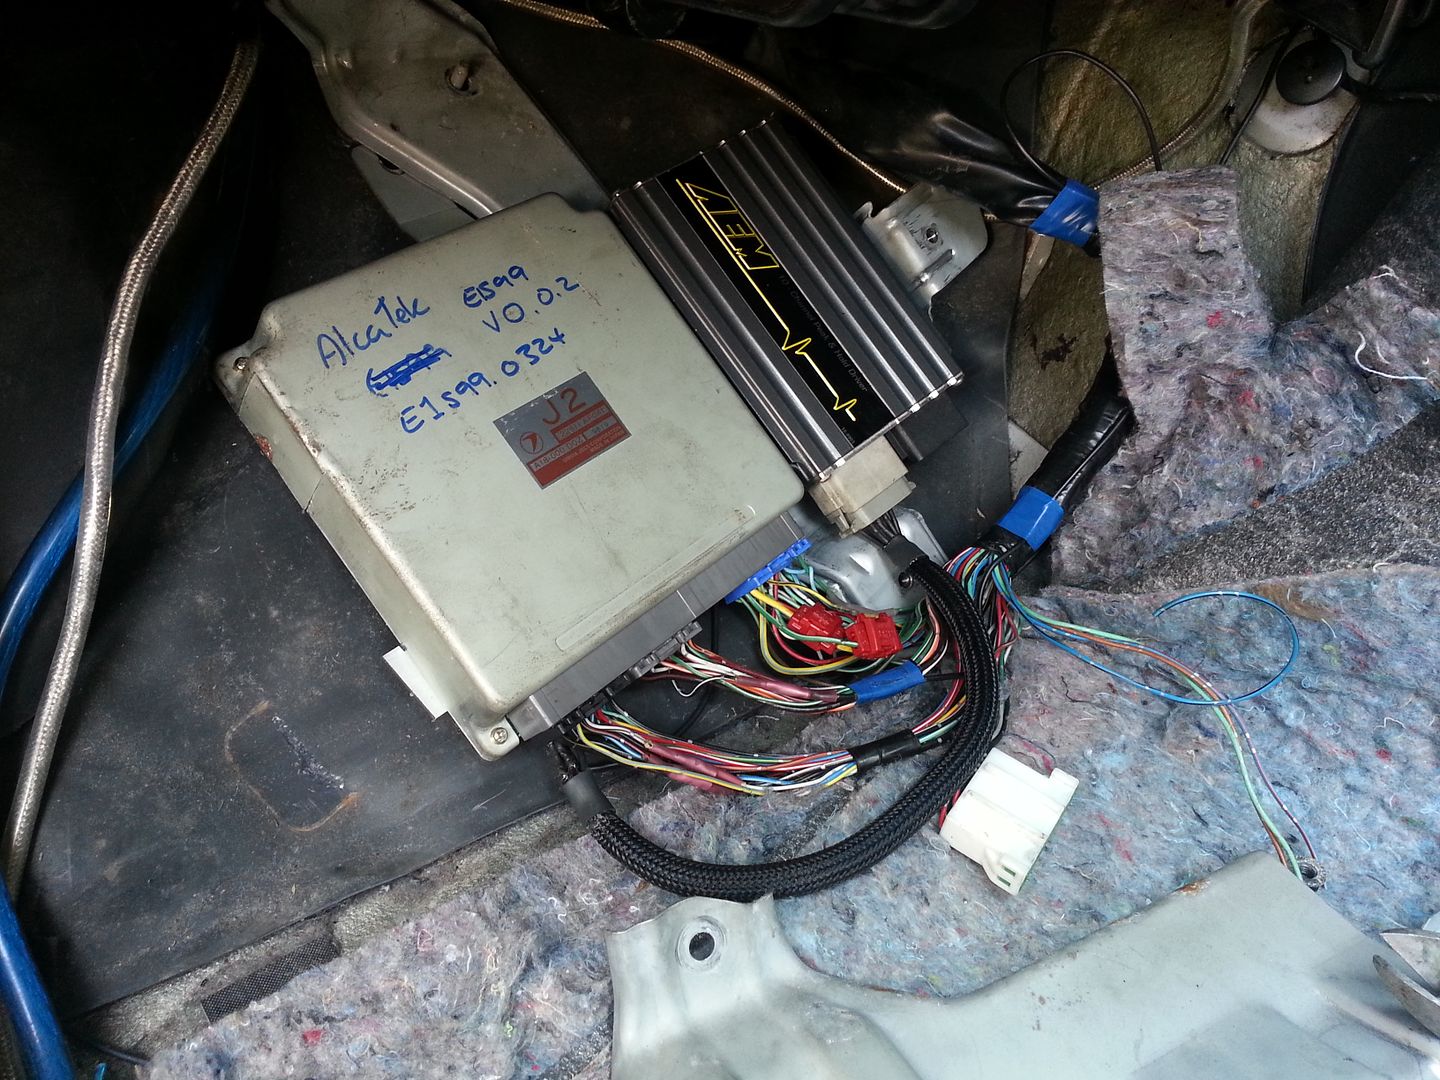
|
|
#8
|
|||
|
|||
|
Now whilst I was waiting for bits and pieces to turn up I had a few other bits to get on with. I had decided to get a new power steering pump and relocate the reservoir and water header tank. I made both into one, sort of, and have mounted them off to one side where the ABS used to be
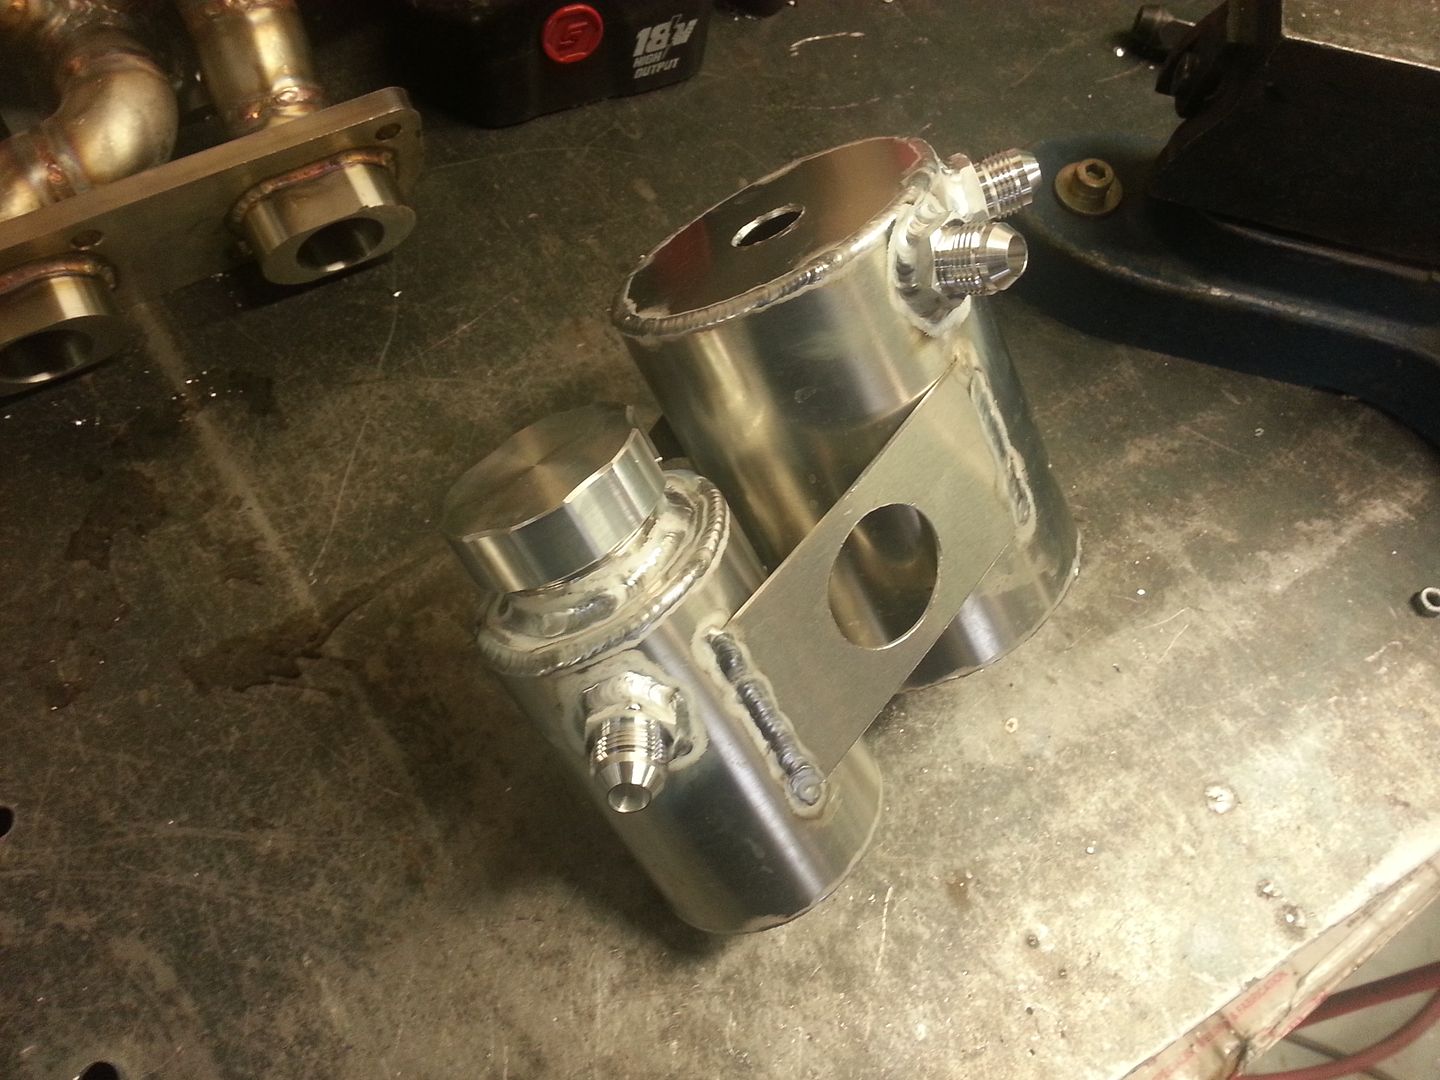 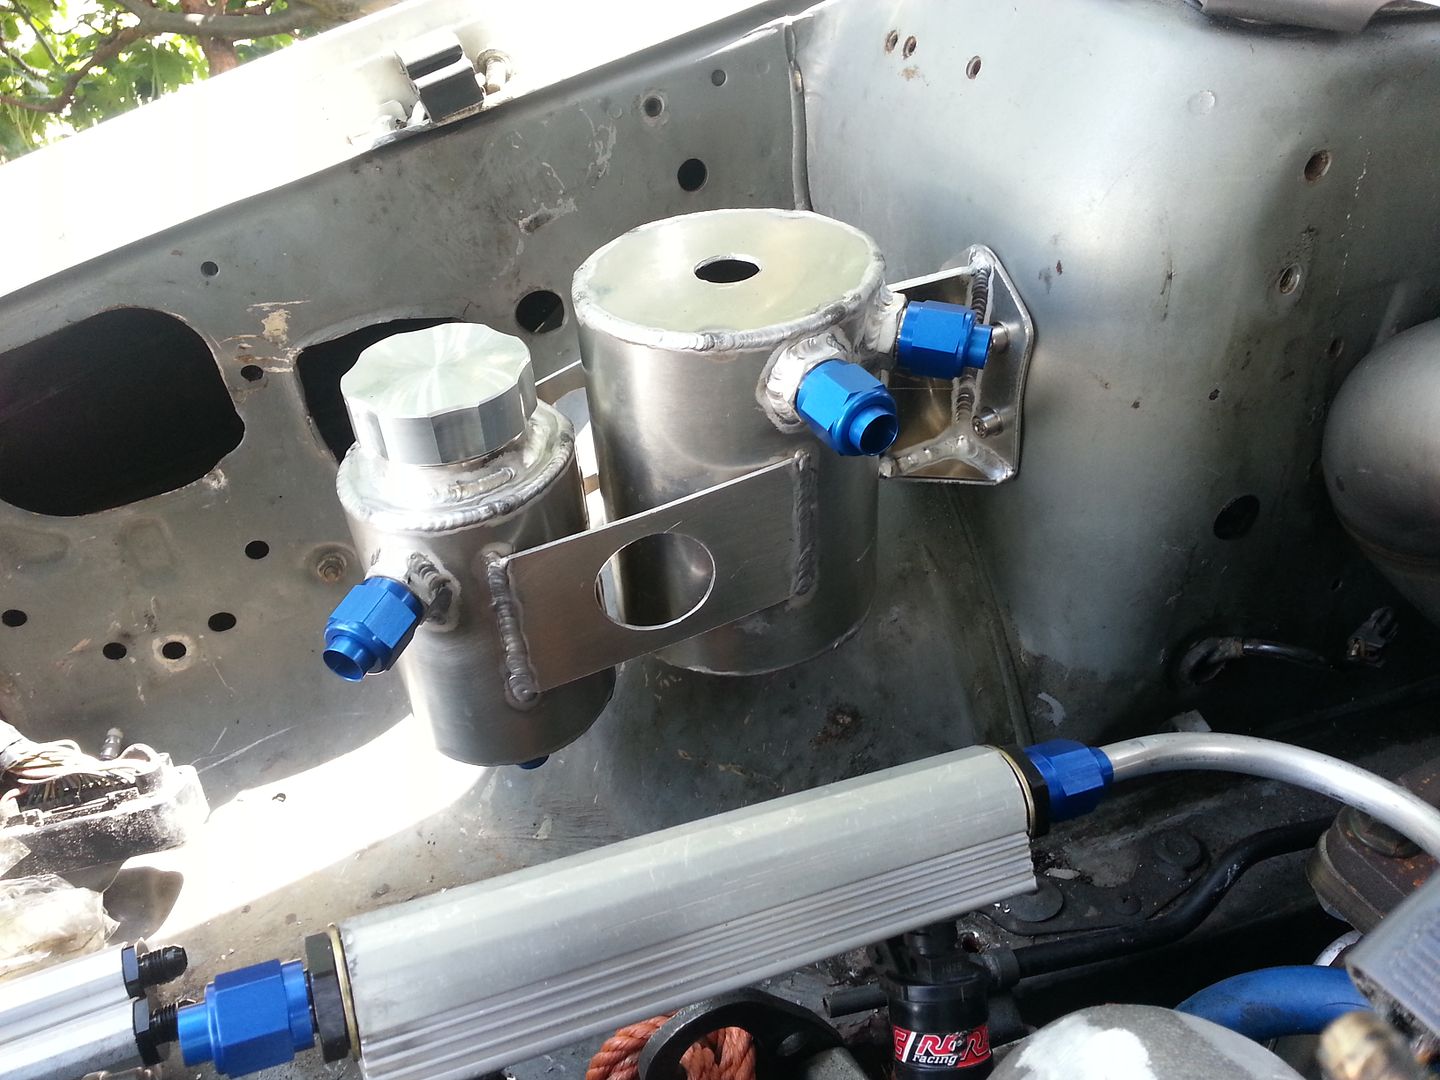 And the bracket for the brake and clutch reservoirs 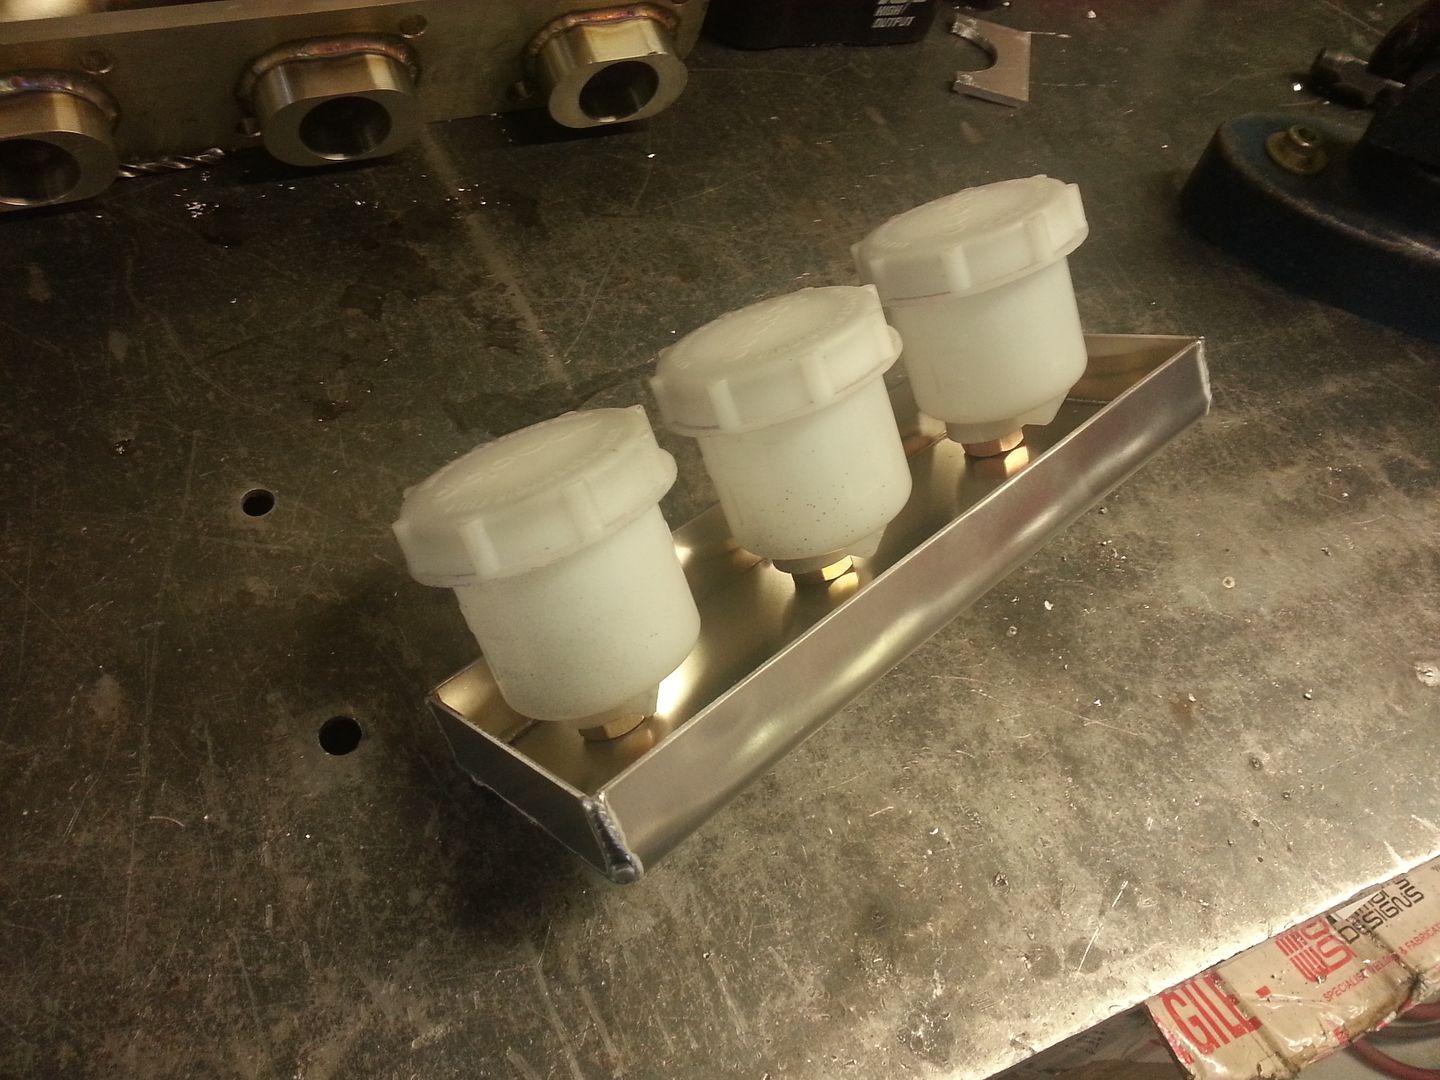 Now the fun bit. The turbo that I had 'lying around' was a Garrett GT4094 with .95 turbine housing. I bit big but with MD321 being out of action I couldn't go and spend another £1,000 on a new turbo charger so u used the GT40. Hence the bigger fuelling system. Should have pointed that out earlier. Anyway more pics. Now I also had a pair of F38 Tail wastegates from my RX7 which would be ideal for the GT40 twin scroll as you can see pictures. Turned out with the turbo location I wanted and that the pair where a very very tight fit so eventually I bit the bullet and bought a single MV-R gate to do the job. MD321 and GT4094 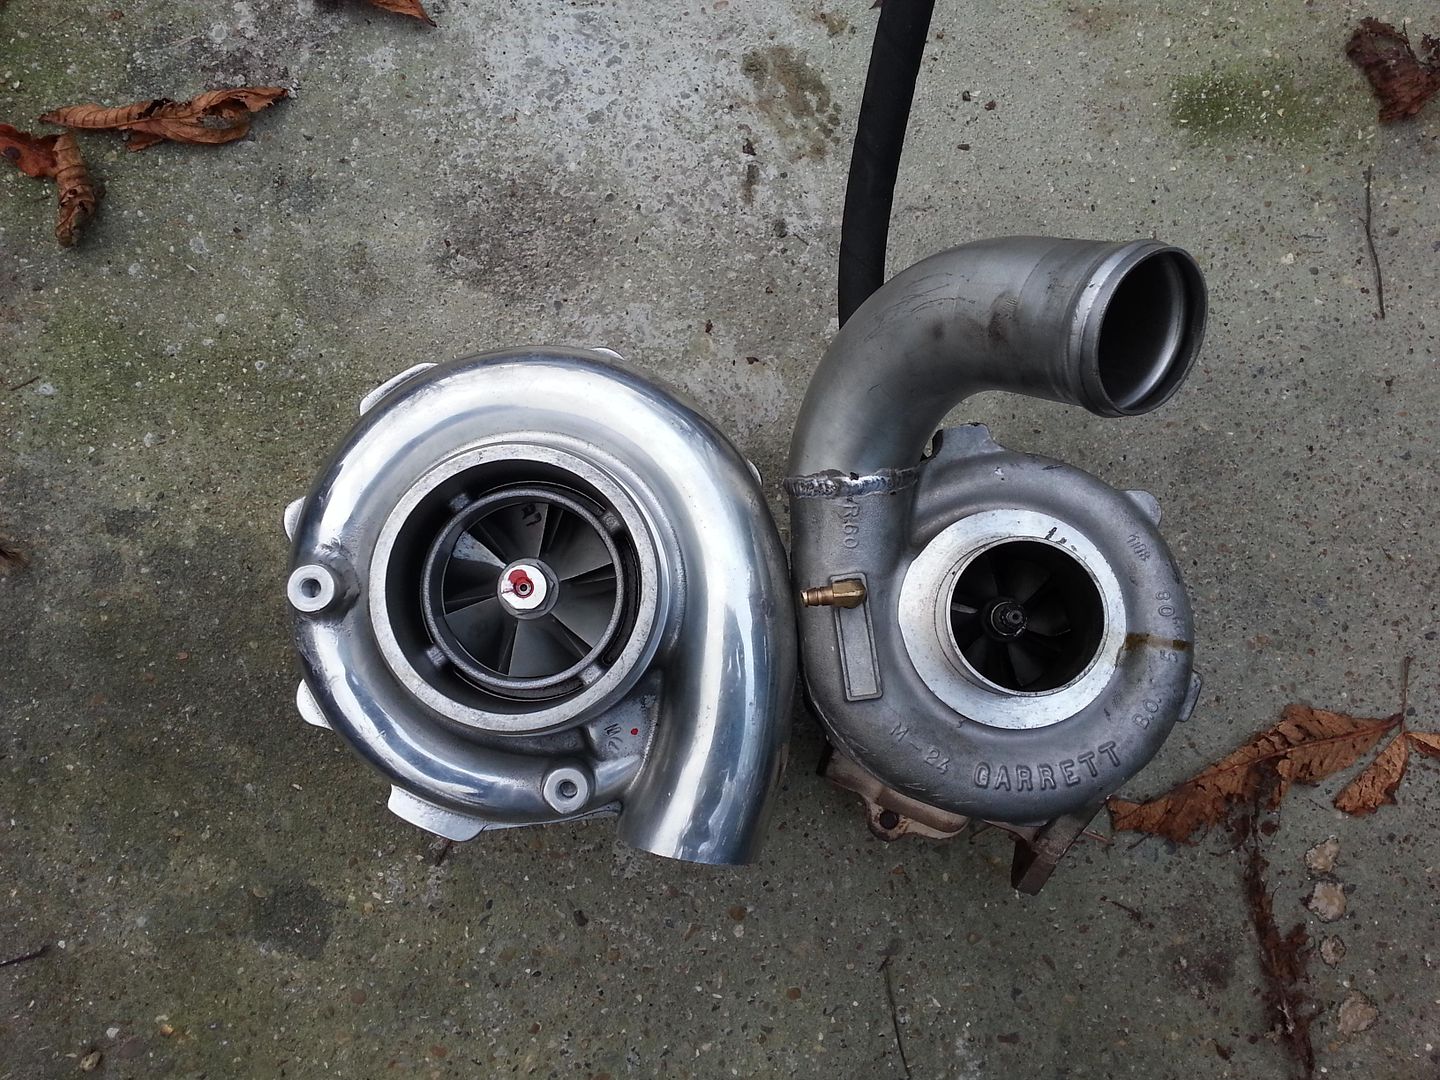 Equal length header in the making! 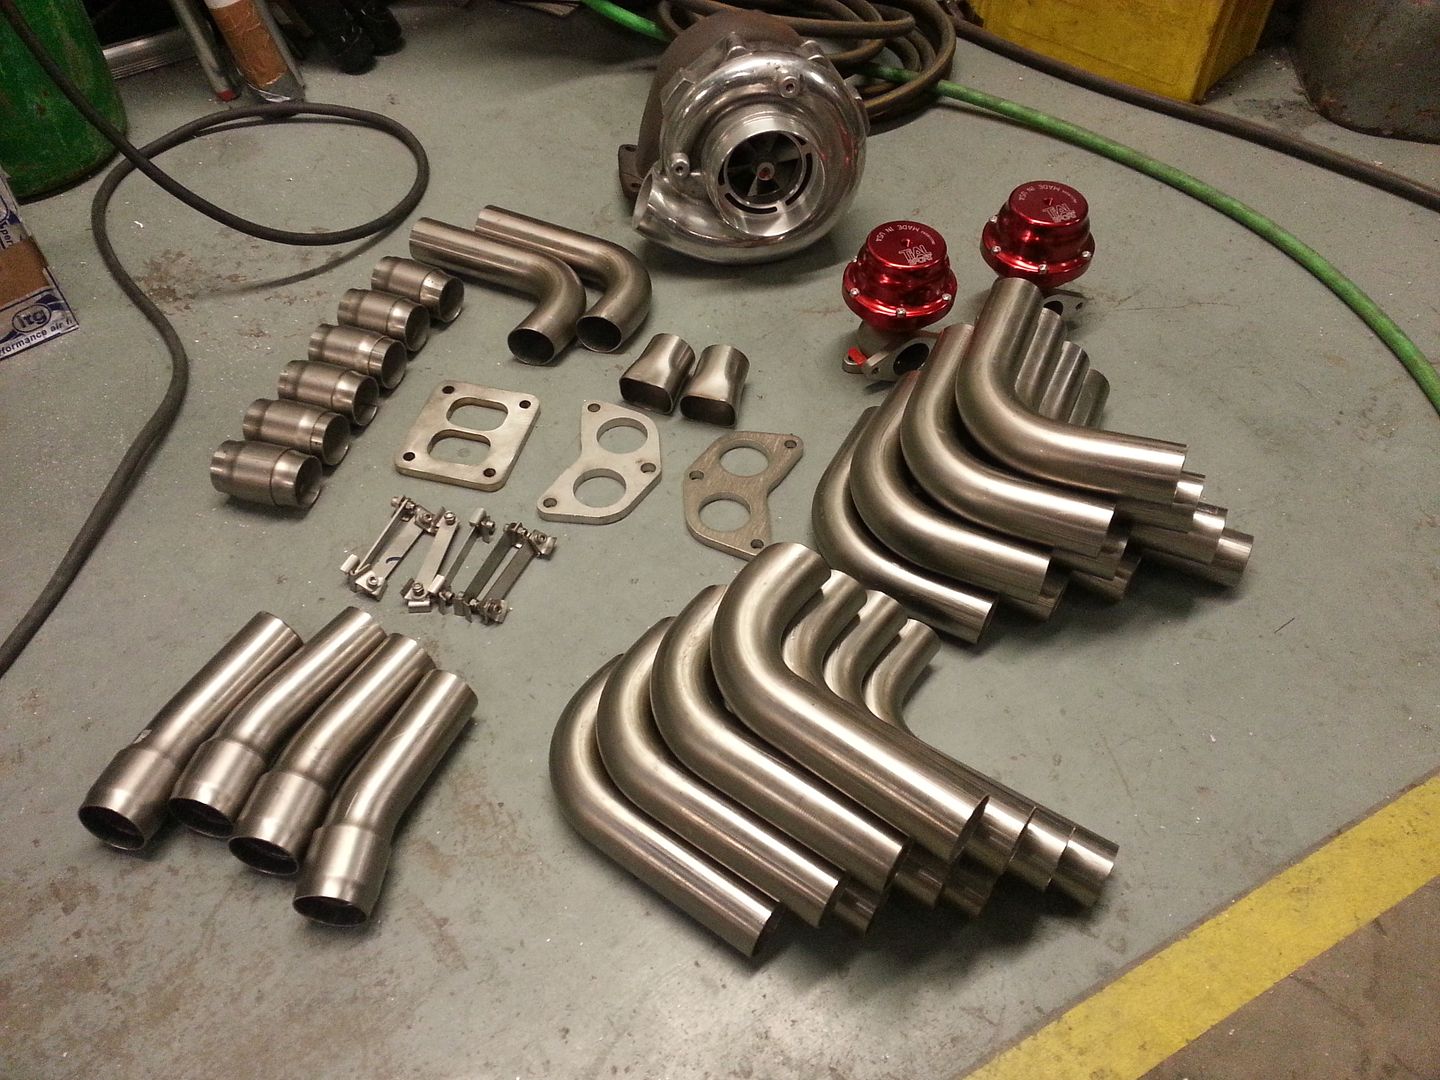 Tacked up at home on the bench on the destroyed engine 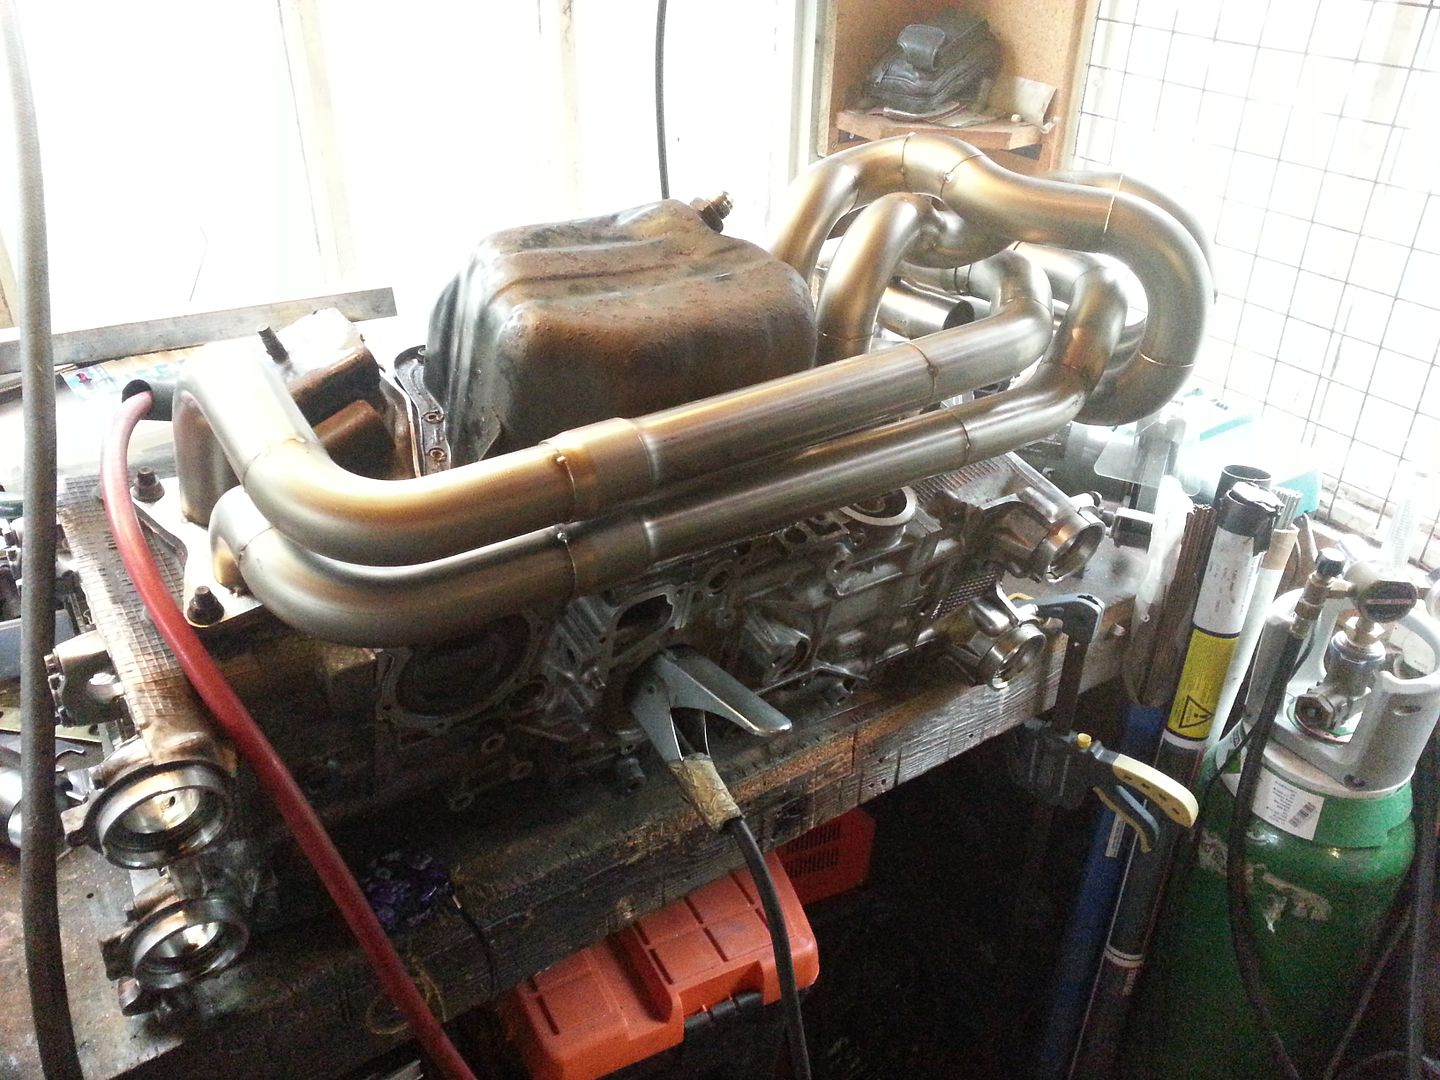 Buzzed up primaries 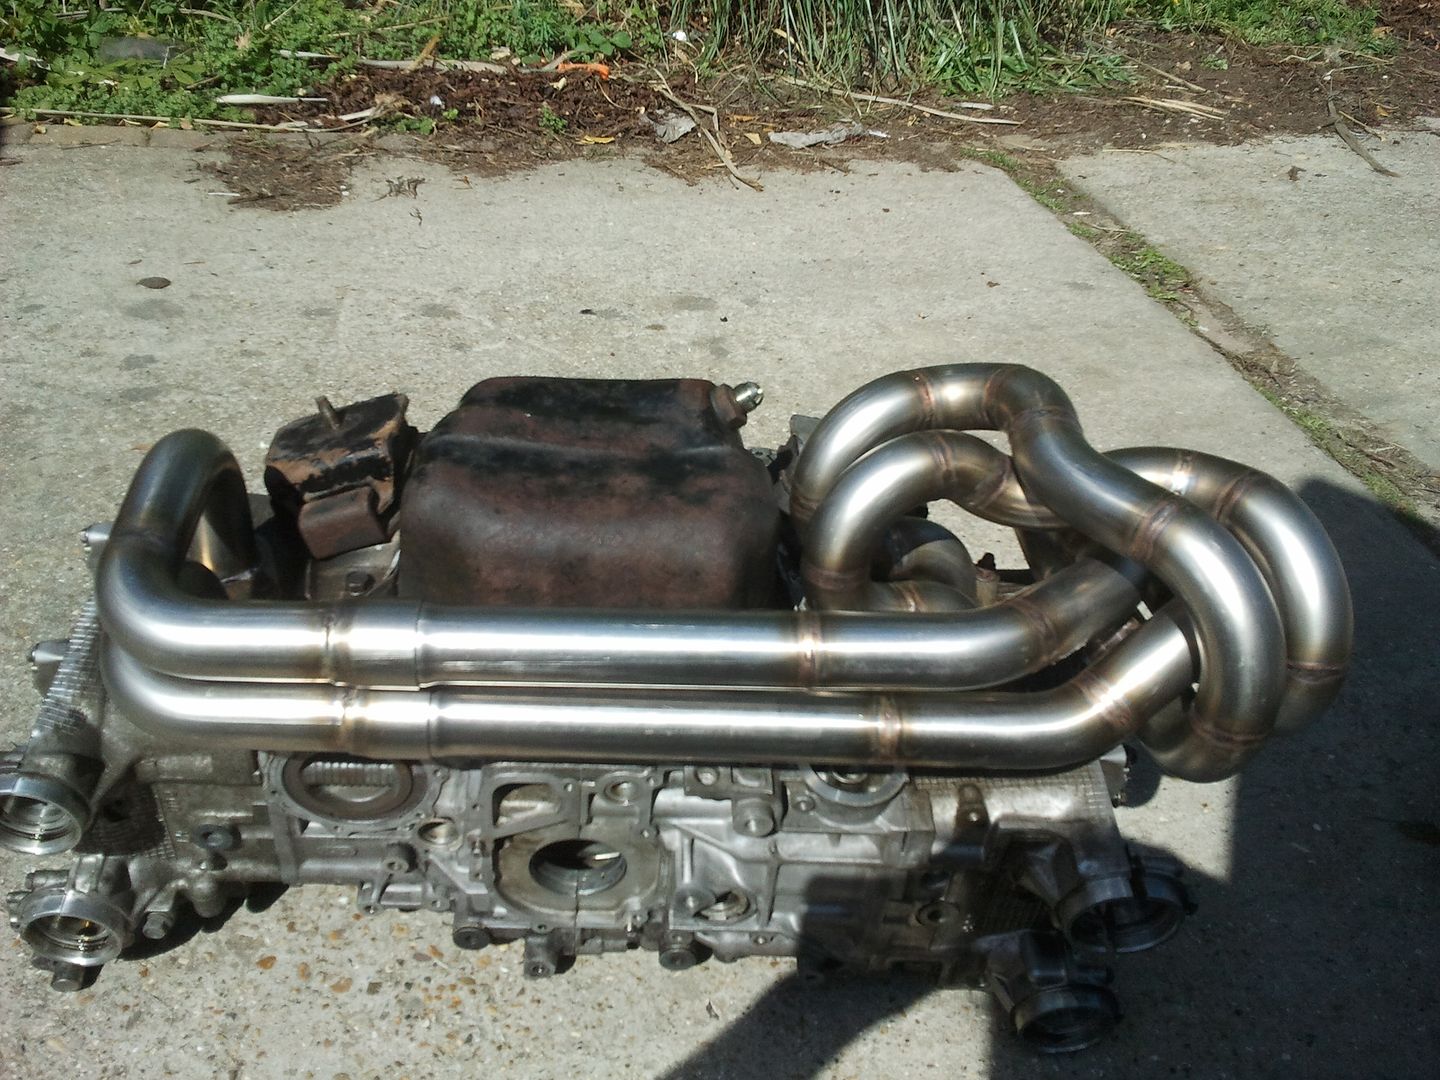 twin scroll up pipe 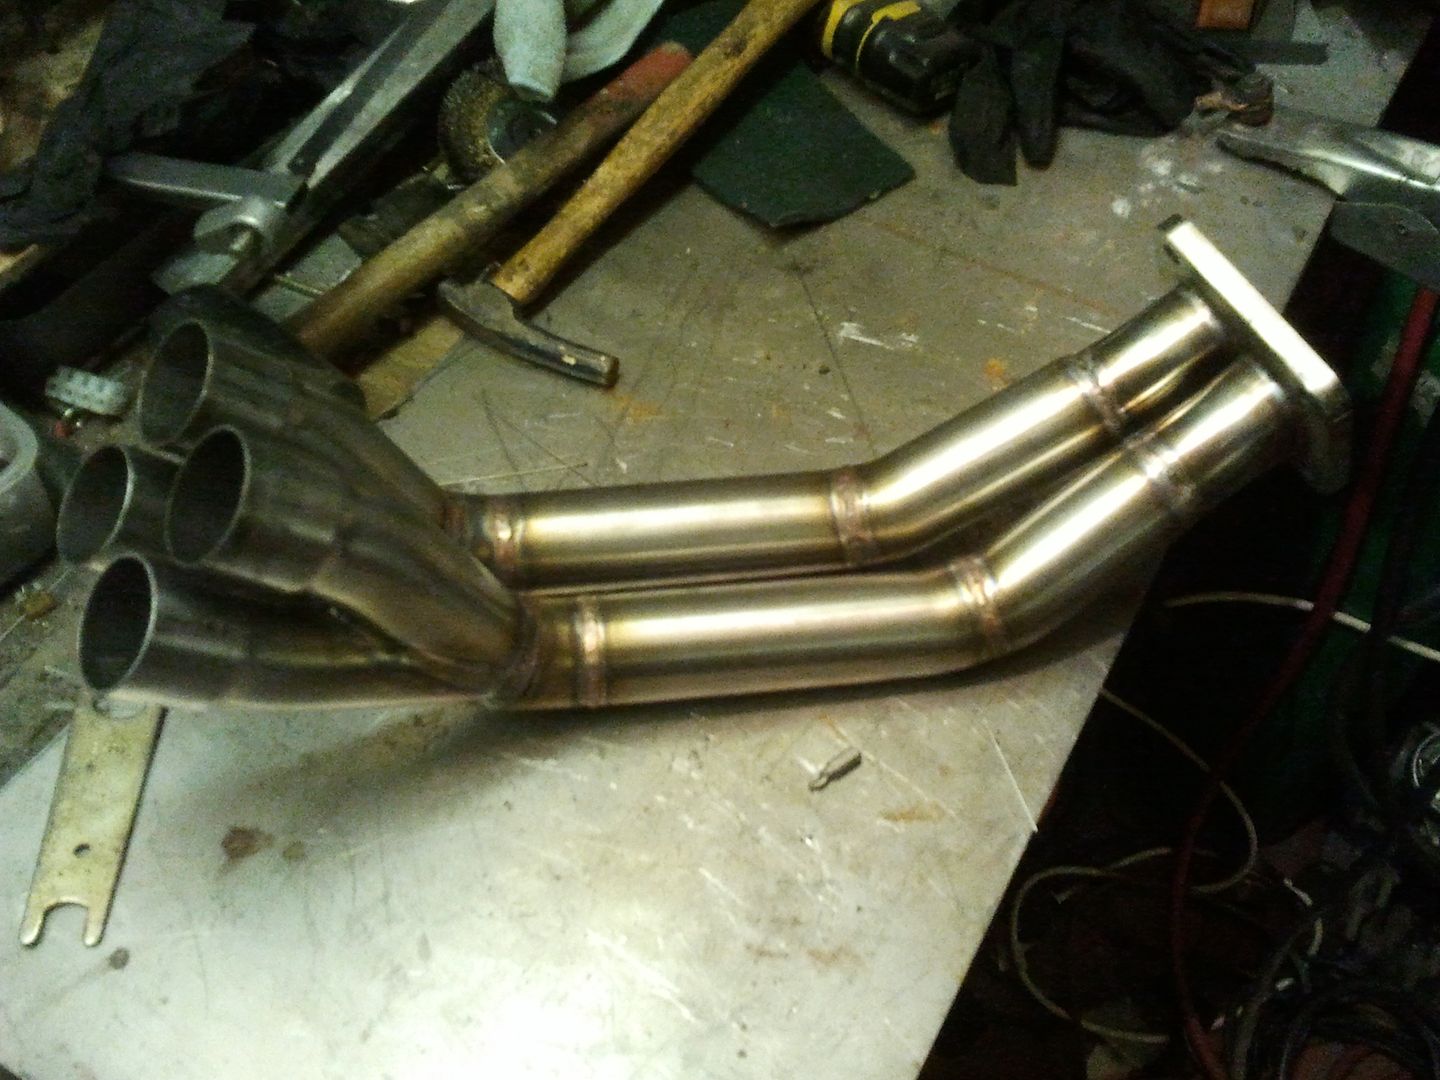 Almost finished article! 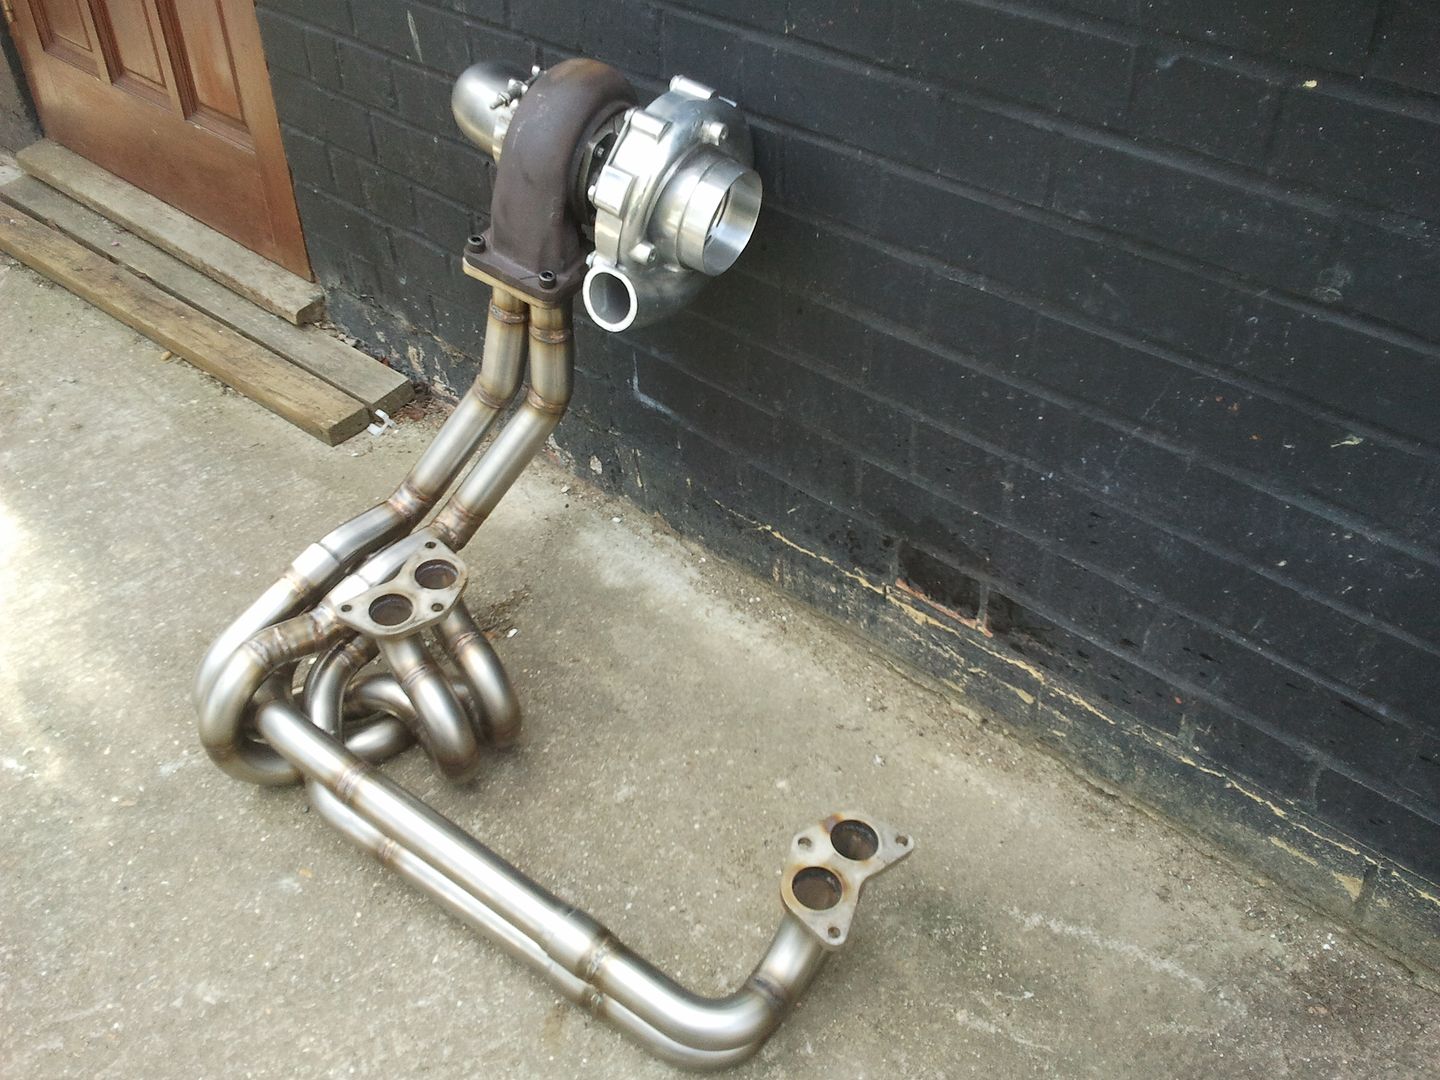 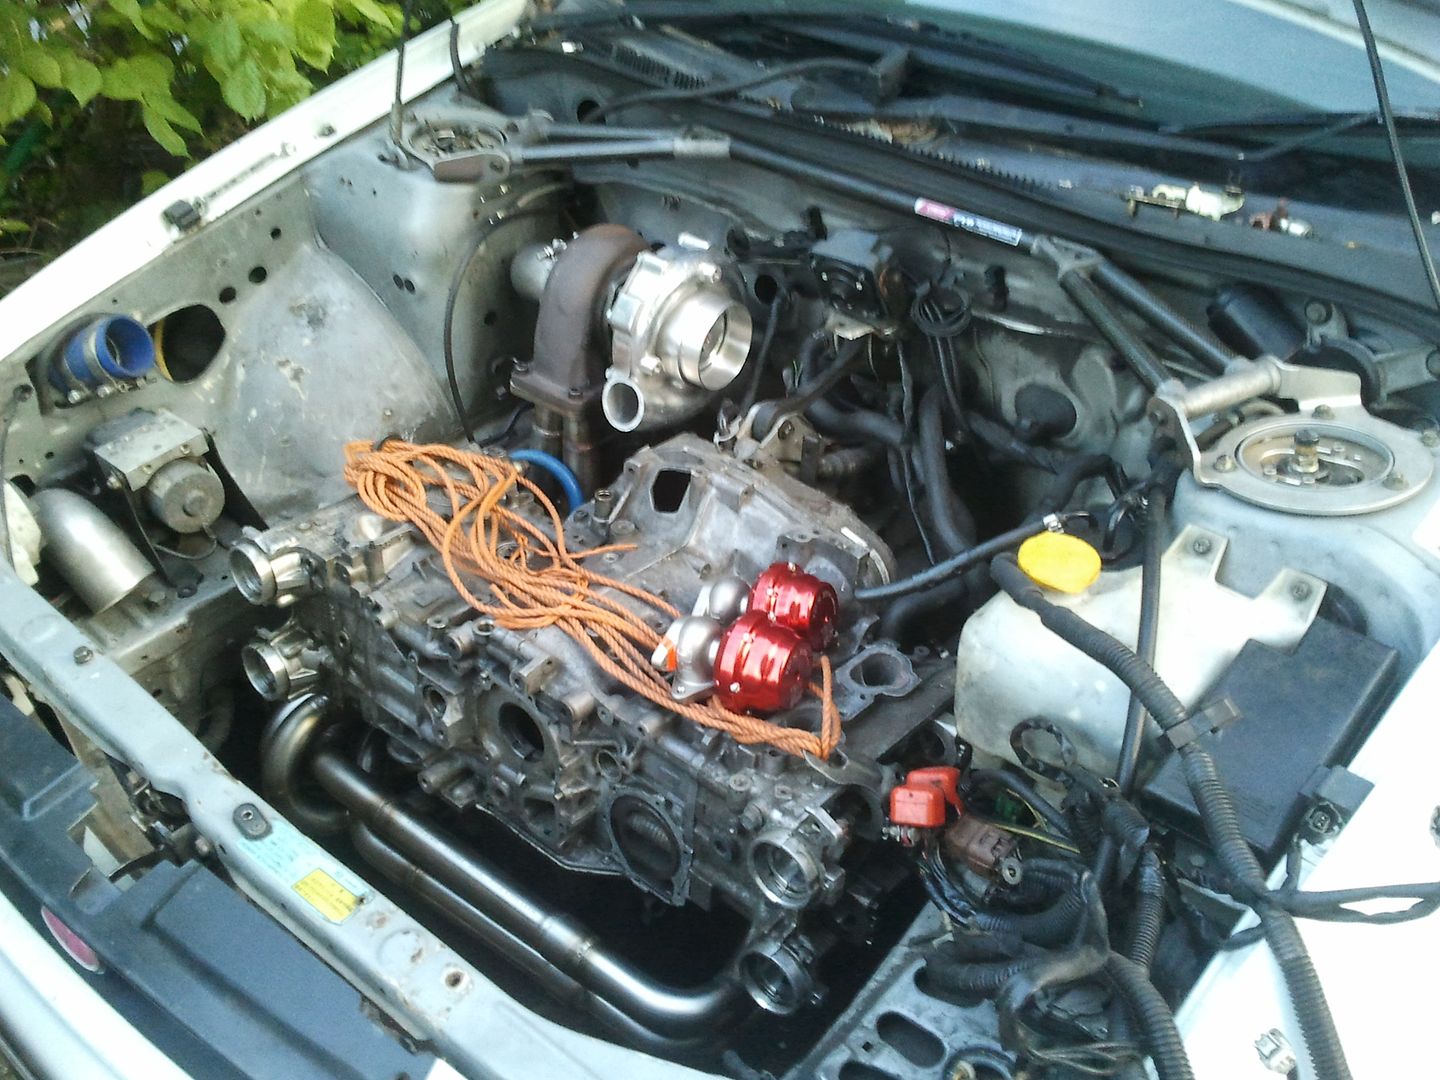 At this point I was still trying to get the twin gates in but but later, as I said, I went with the single MV-R which I plumbed back into the down pipe. 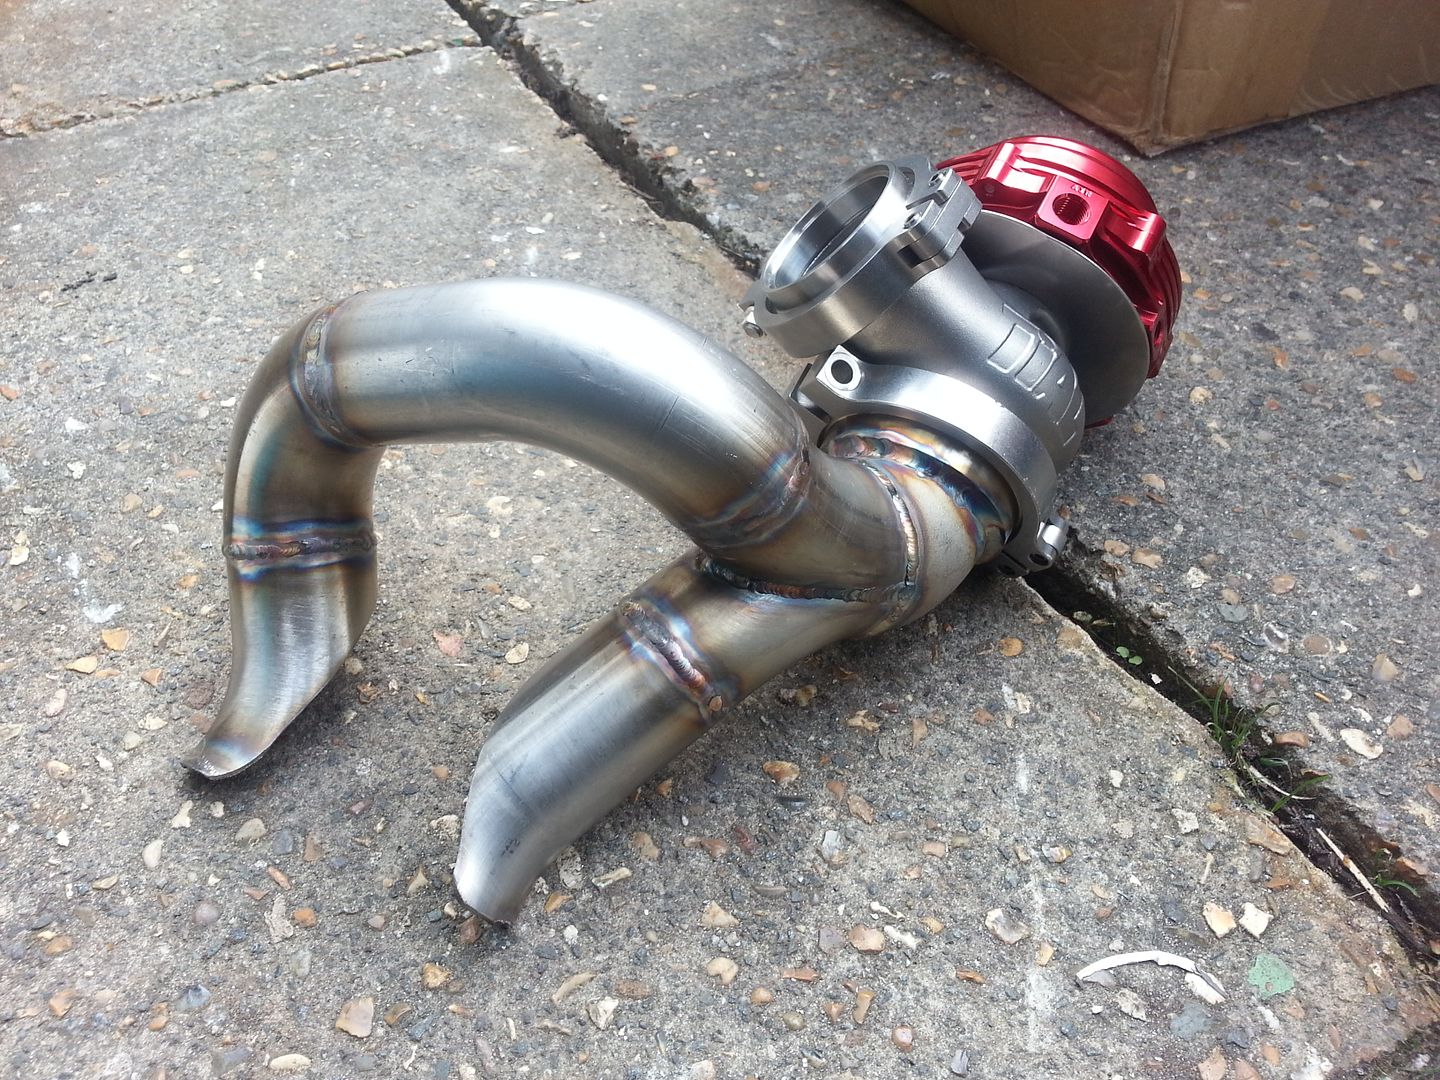 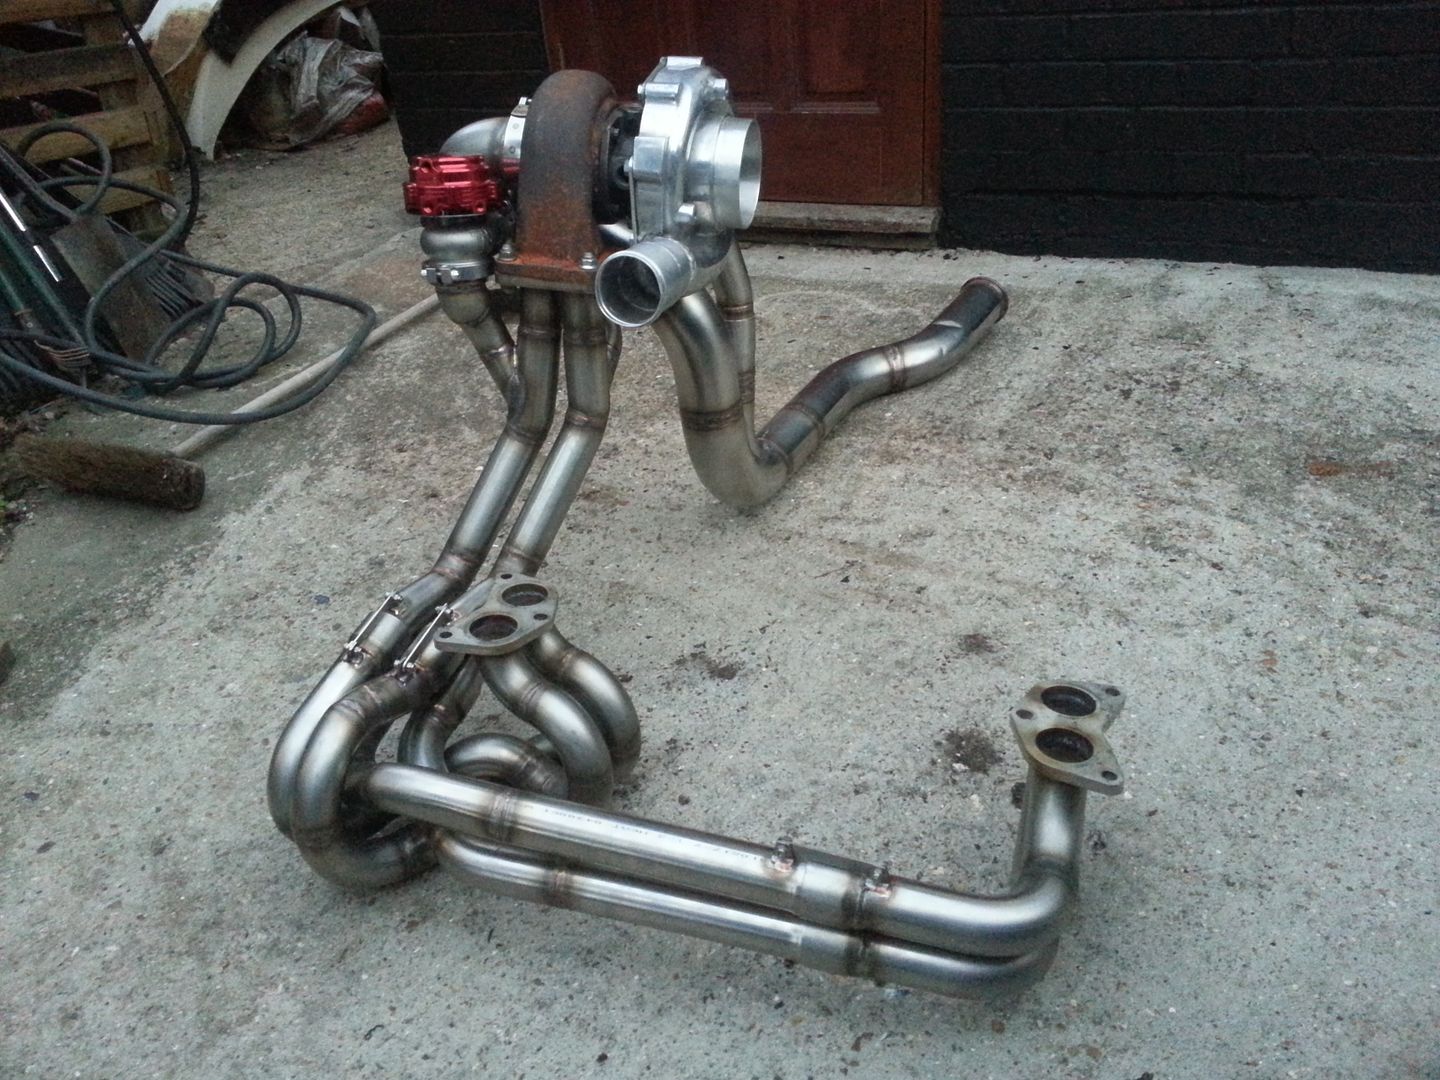 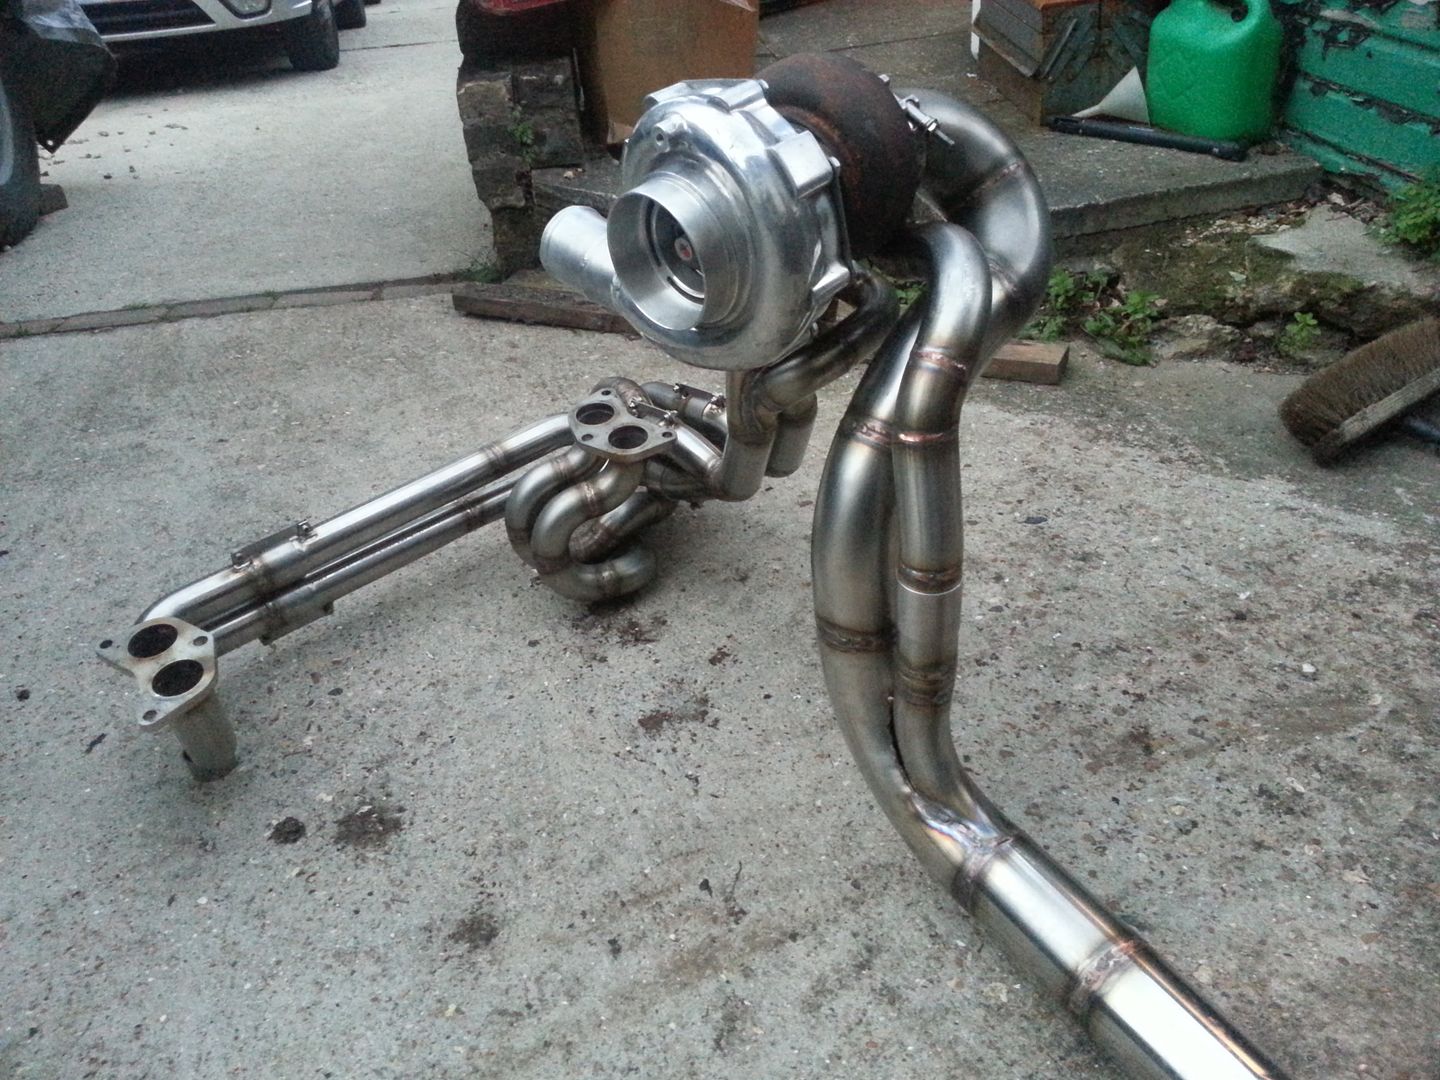
|
|
#9
|
|||
|
|||
|
Needed an air box for the filter to sit under the hood scoop. I'm not totally happy with it so it may well get changed in the future. I also remade the crank case breather tank which mounts off the airbox.
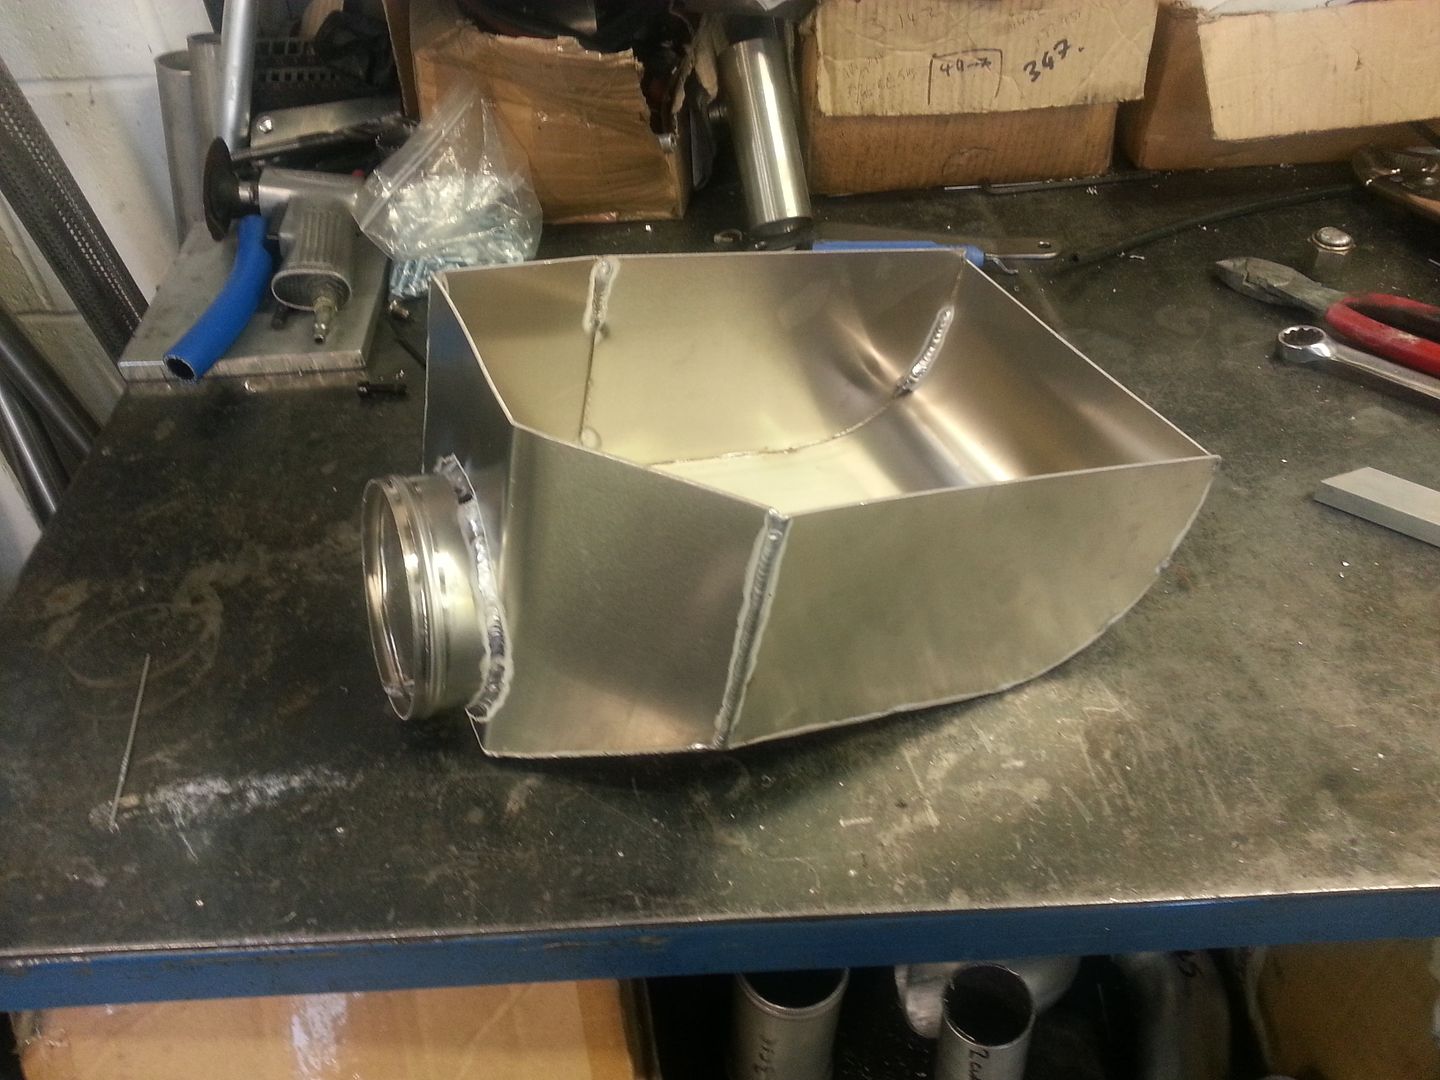 Using an ITG filter that's actually for a Honda Accord! 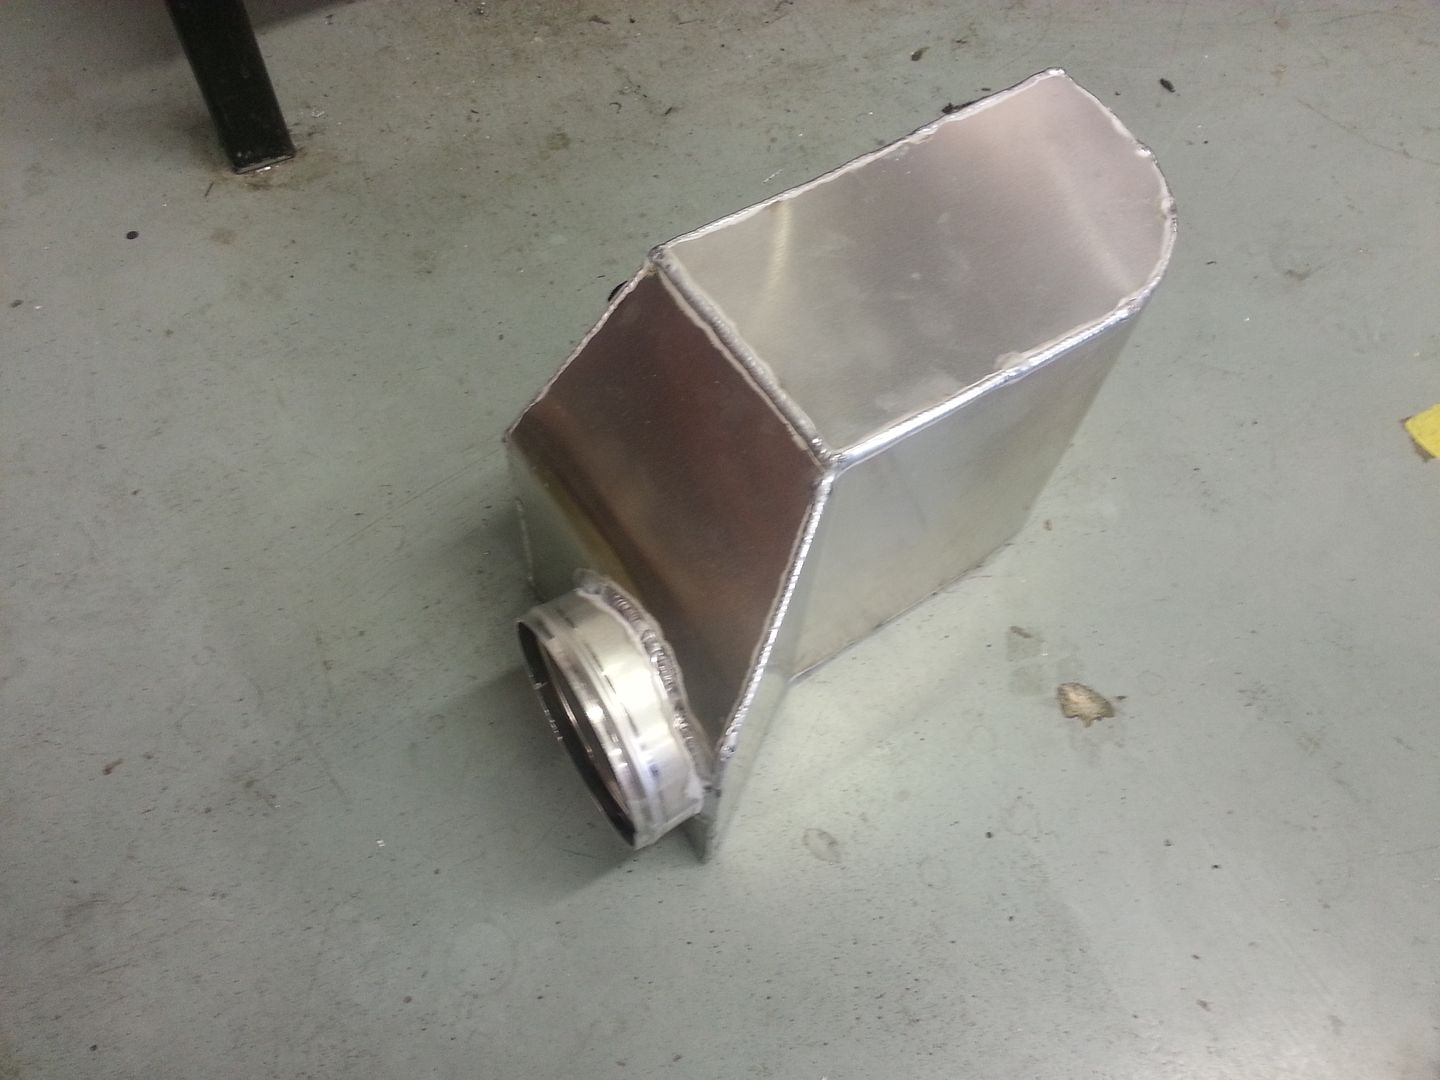 mock up 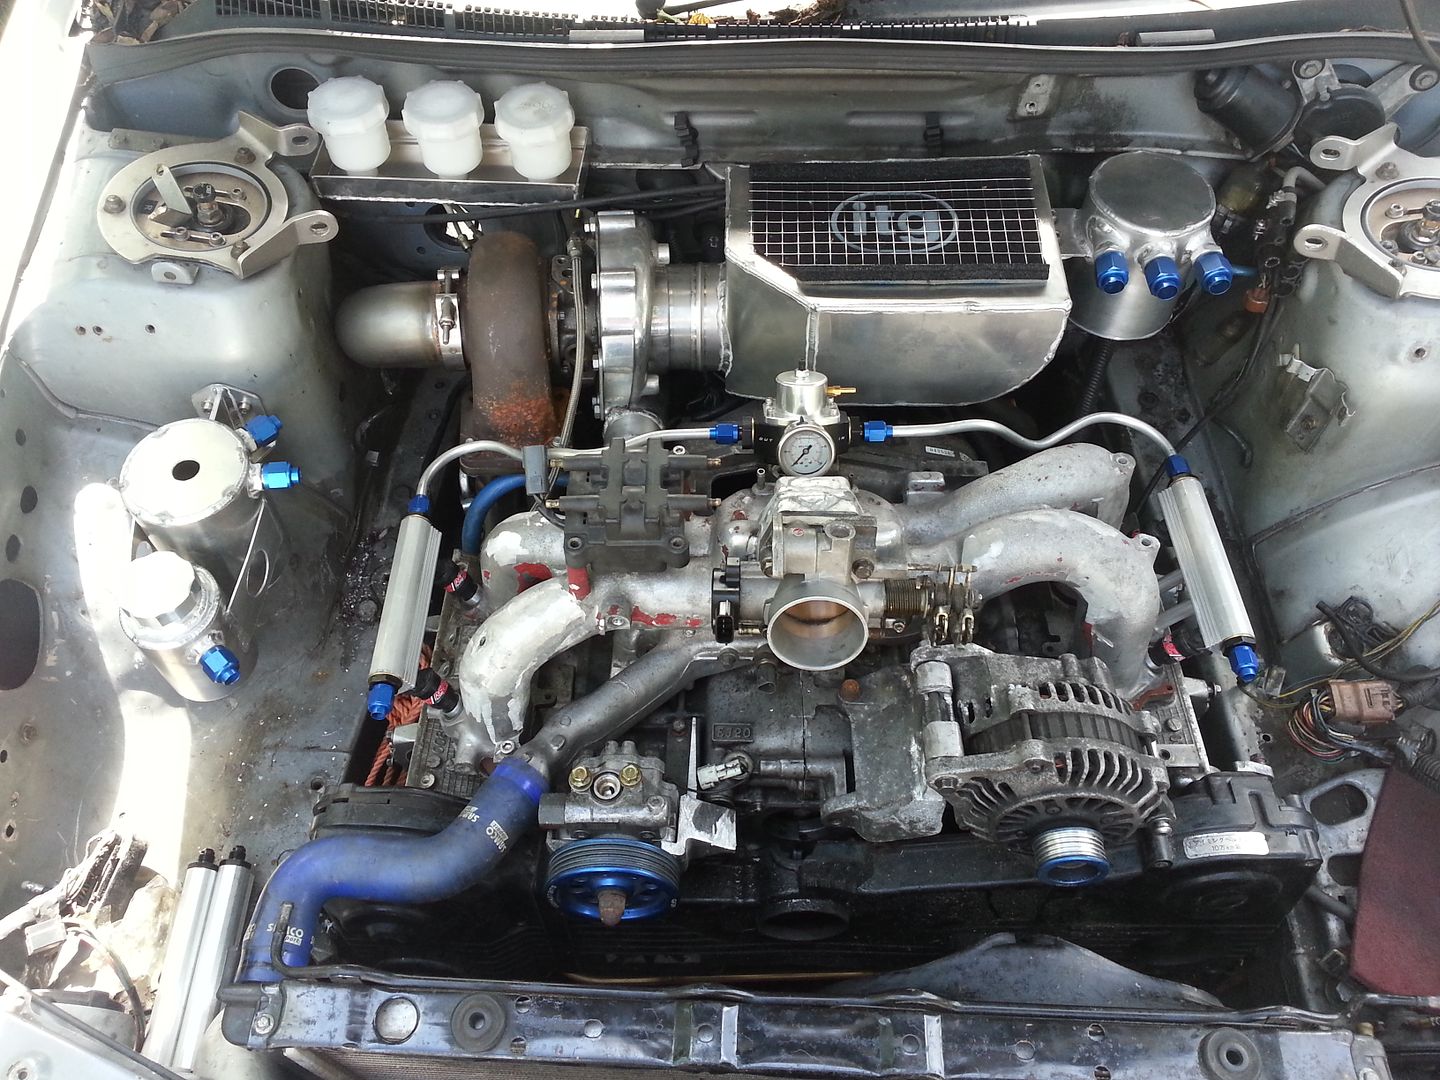 Moving onto the swirl pot in the boot: First off the boot floor was modded: 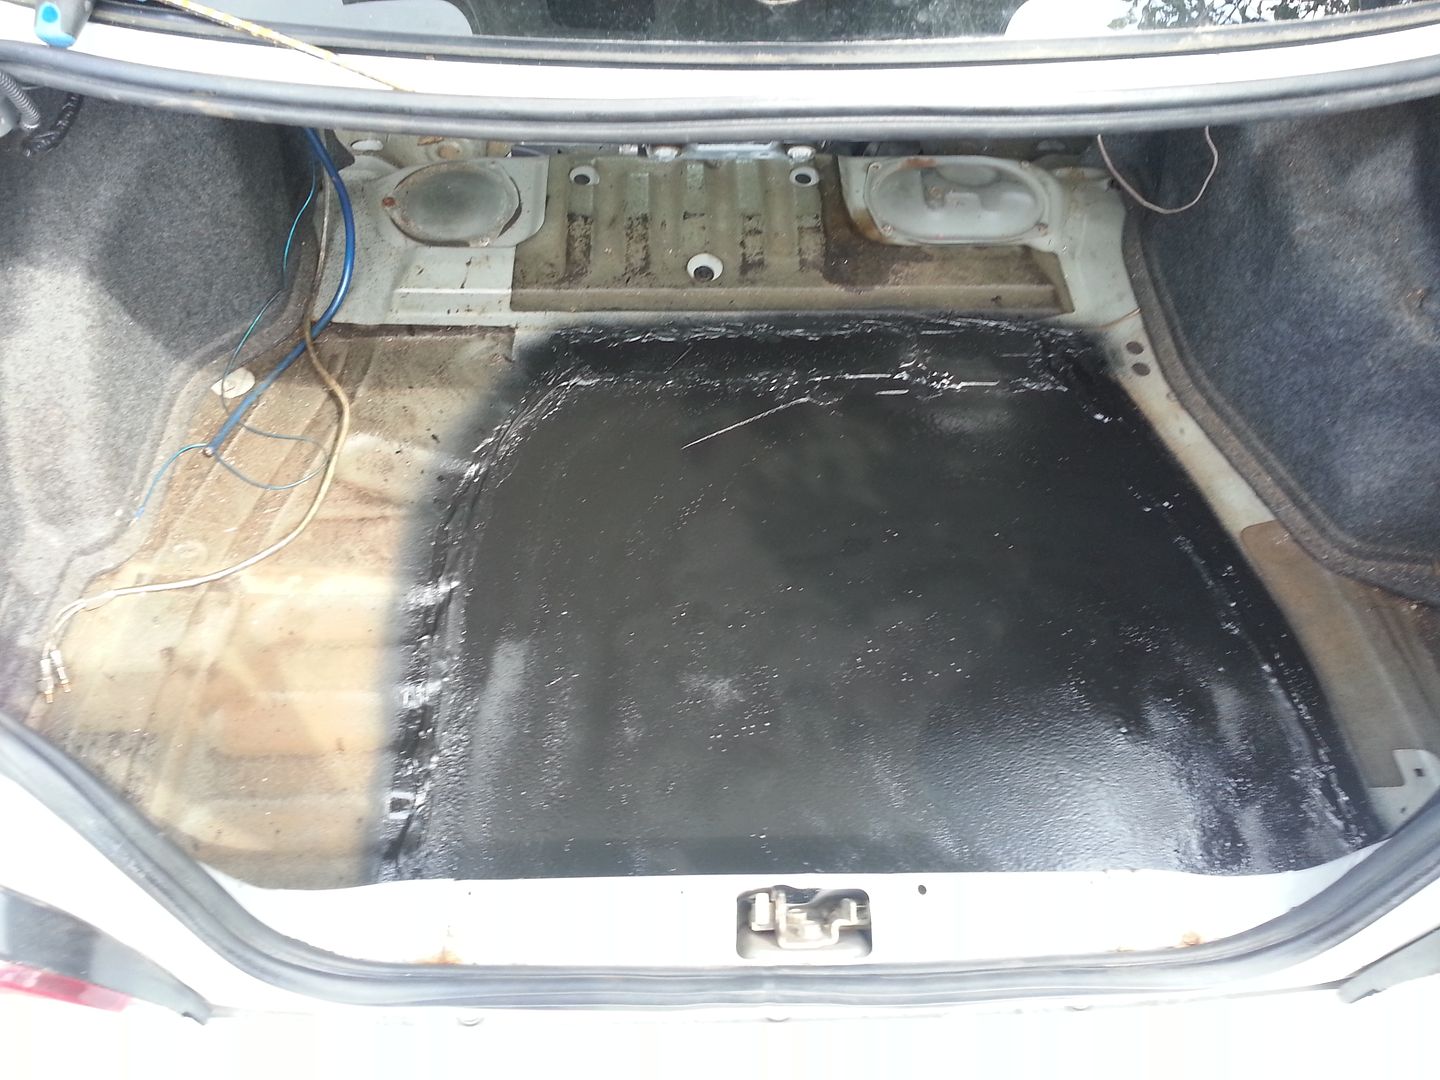 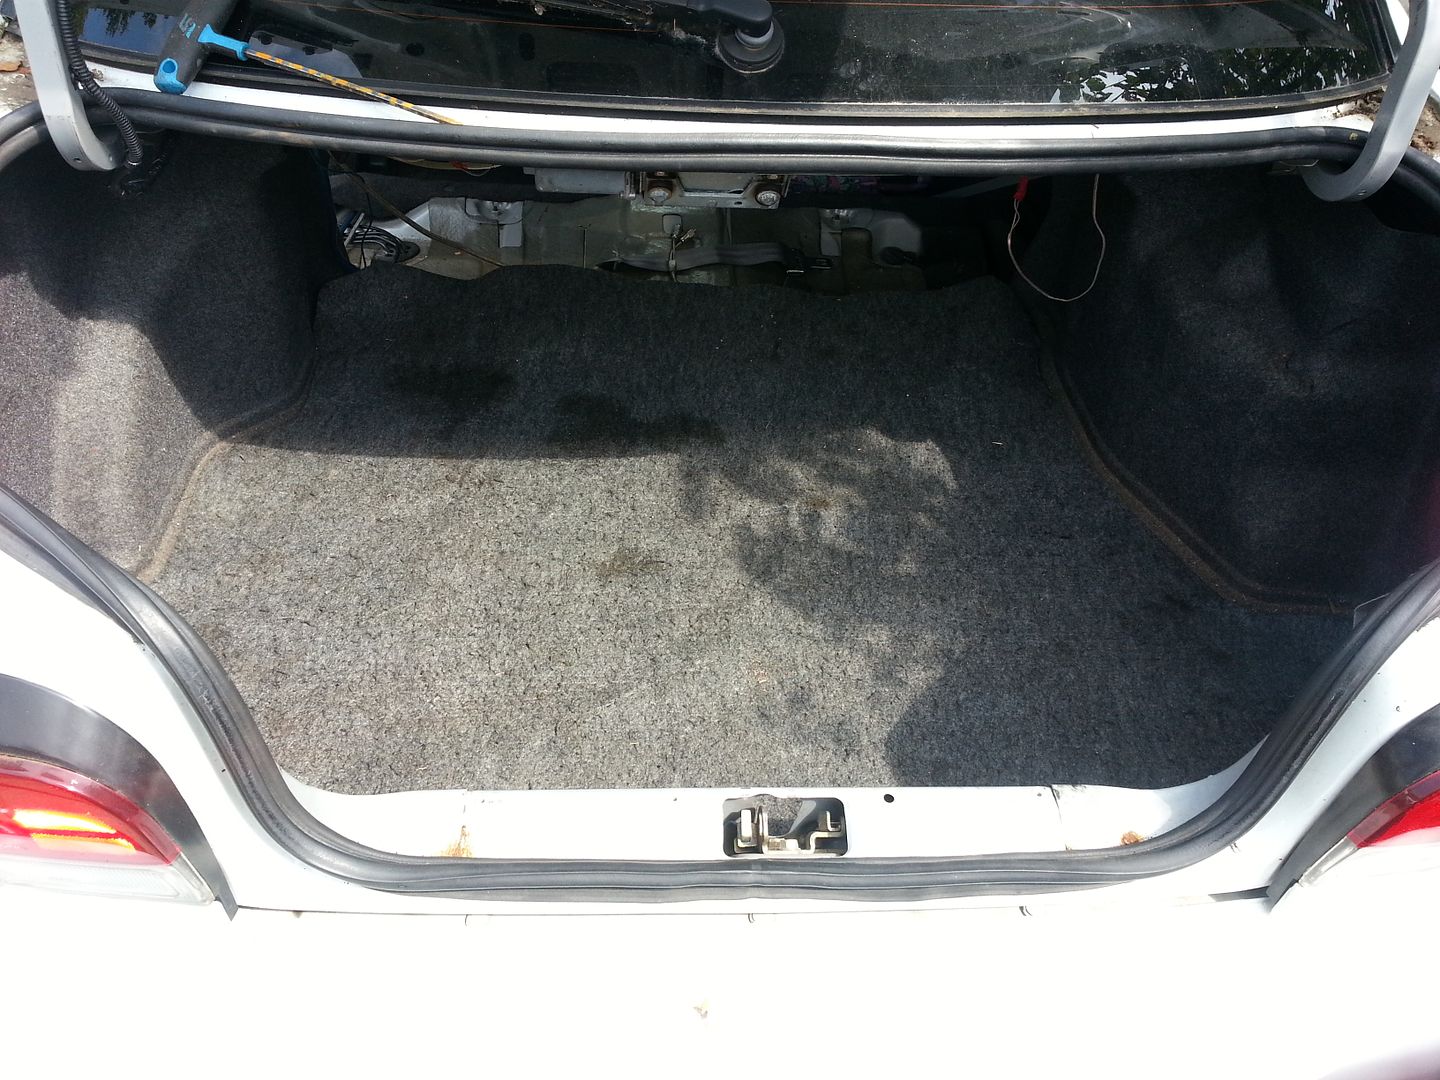 Then the first 044 placed in the tank and then a pair of -8 weld ons fitted for the feed and return lines. 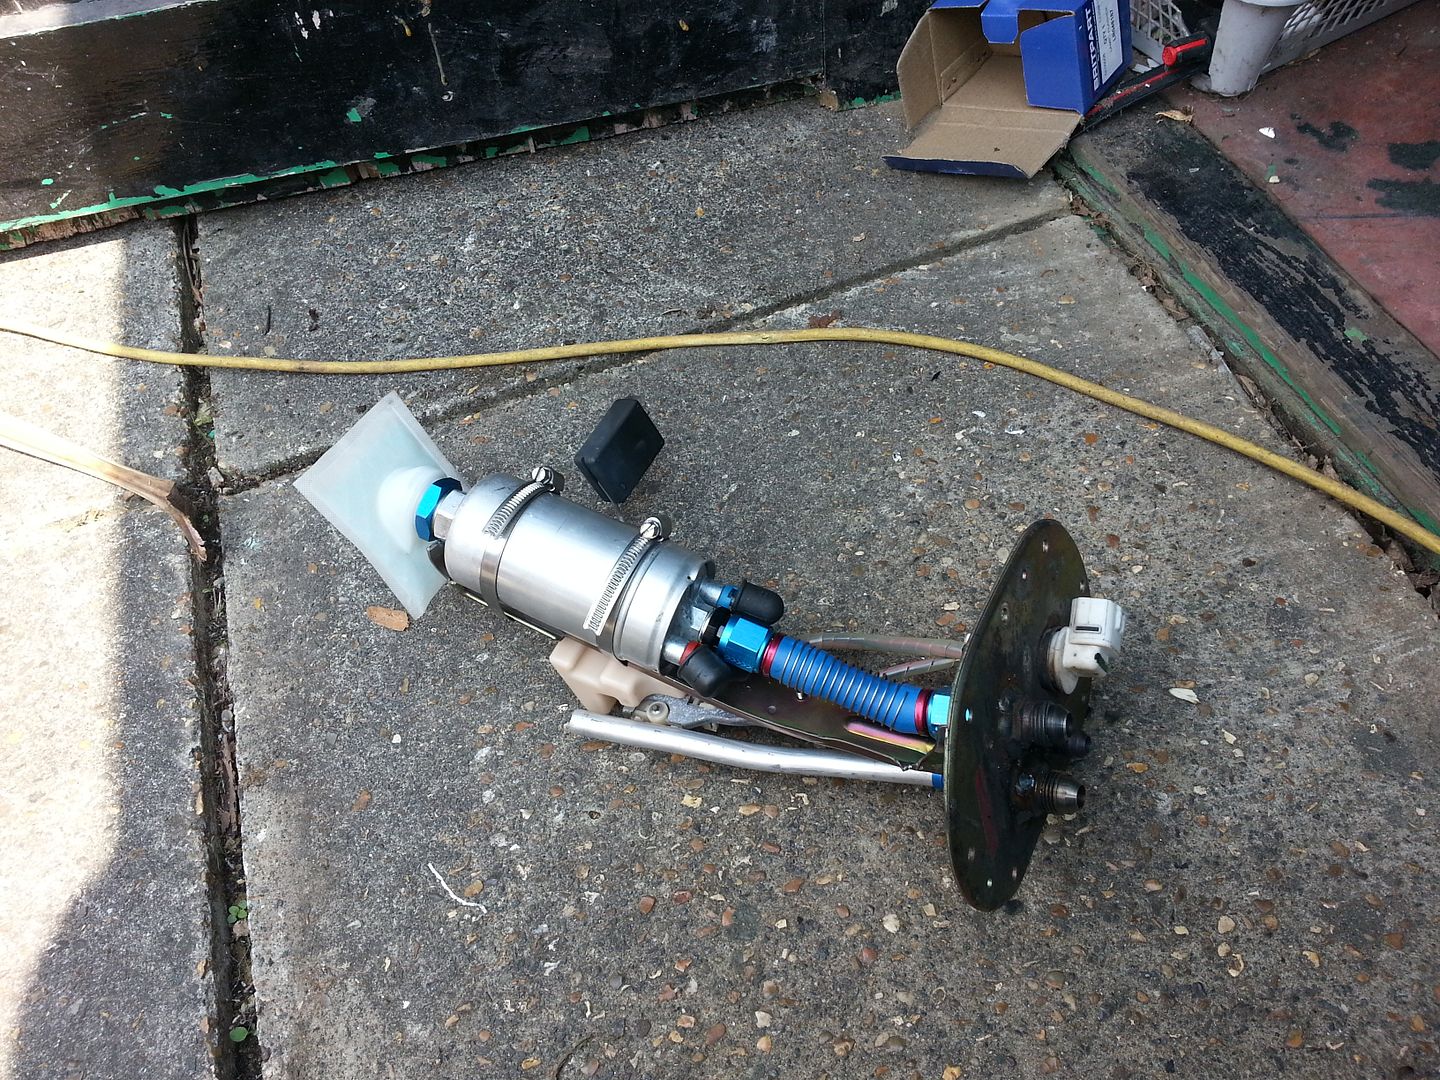 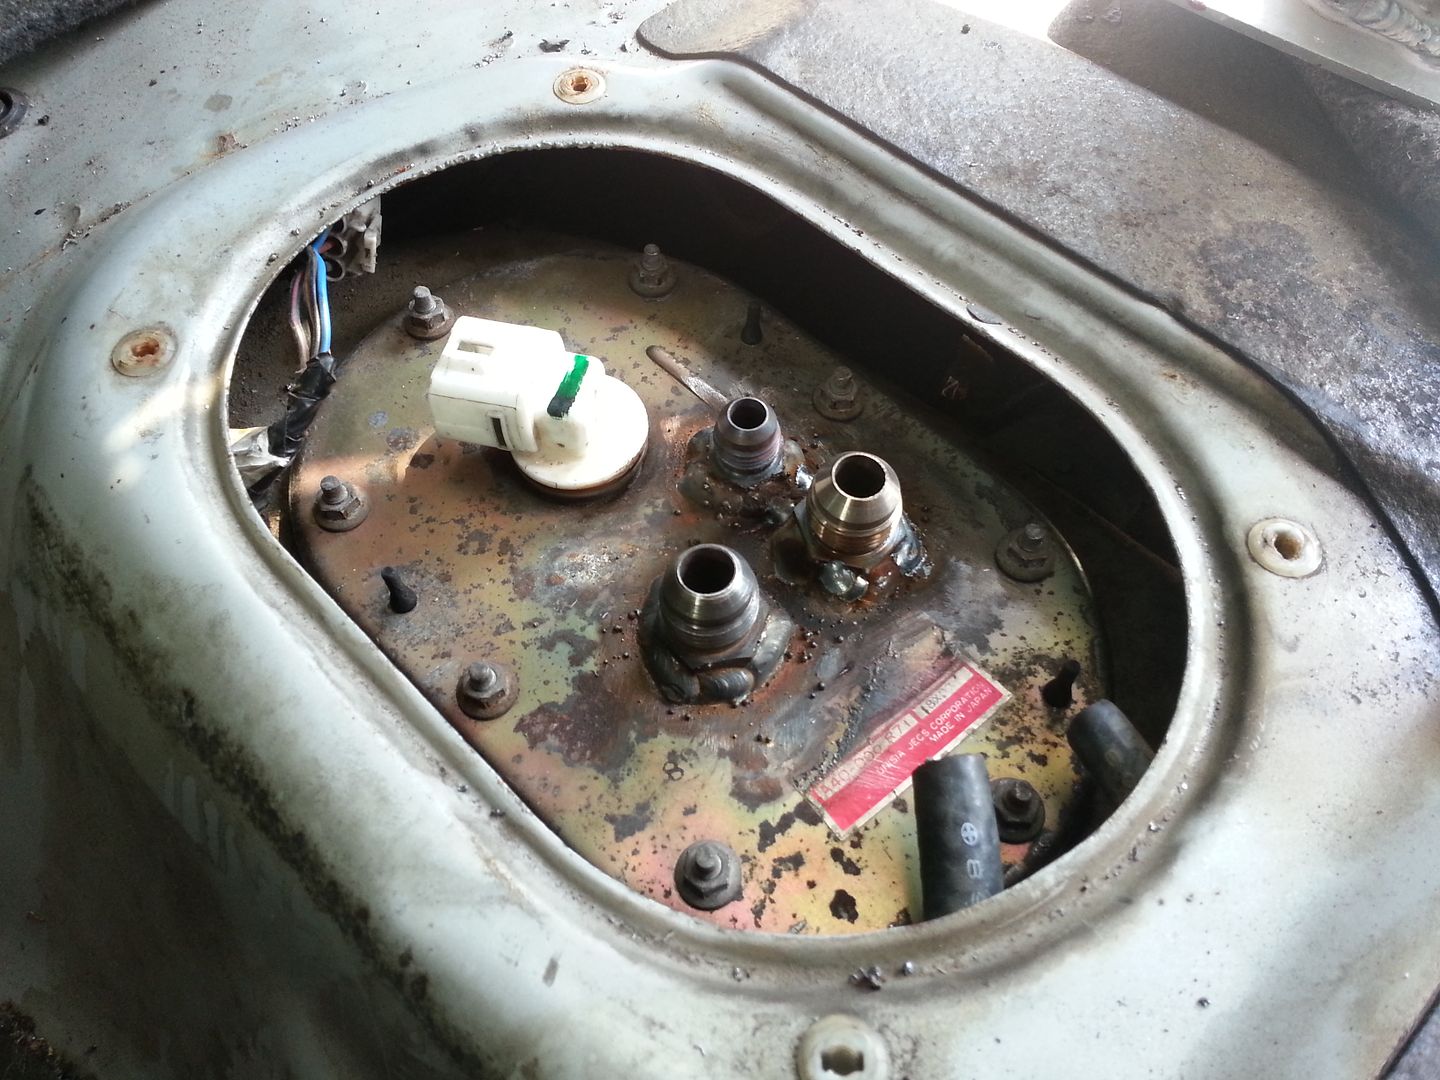 This does still need finishing off but here are the hard lines in the boot thus far: 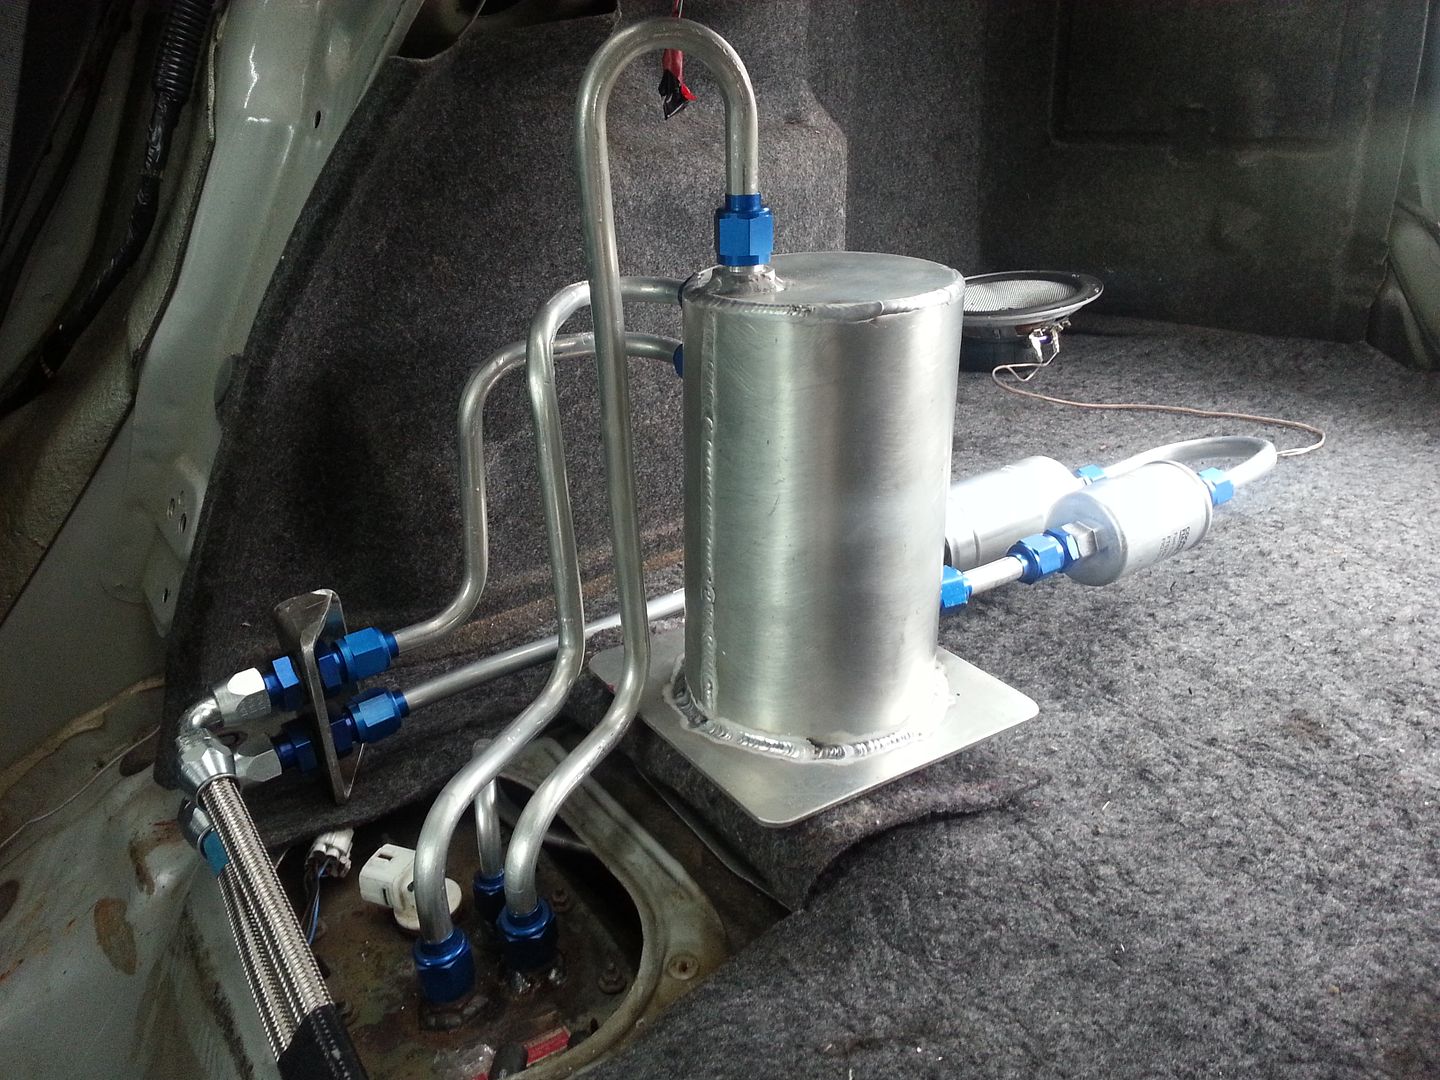 and intercooler pipe work for the temporary cooler. I've modded the current cooler as i'm waiting for a new core to turn up but the new pipe work comes in under the lights 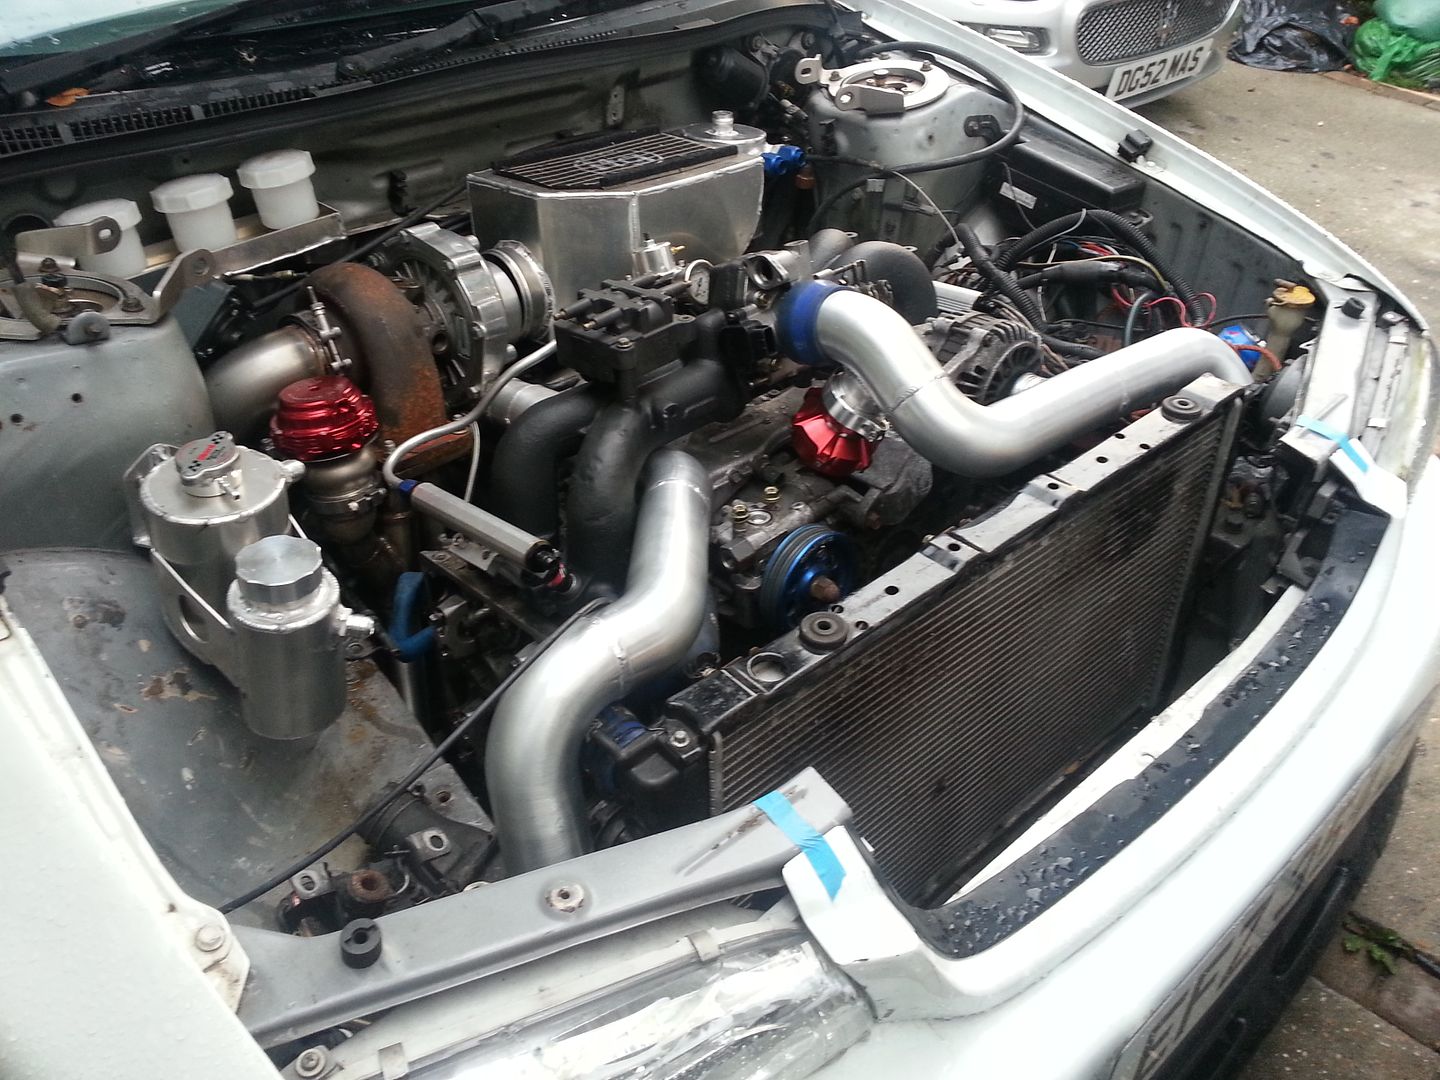
|
|
#10
|
|||
|
|||
|
Then set about the exhaust. All new 3" system fully Vbanded. Aim here was as straight and possible. The mid pipe:
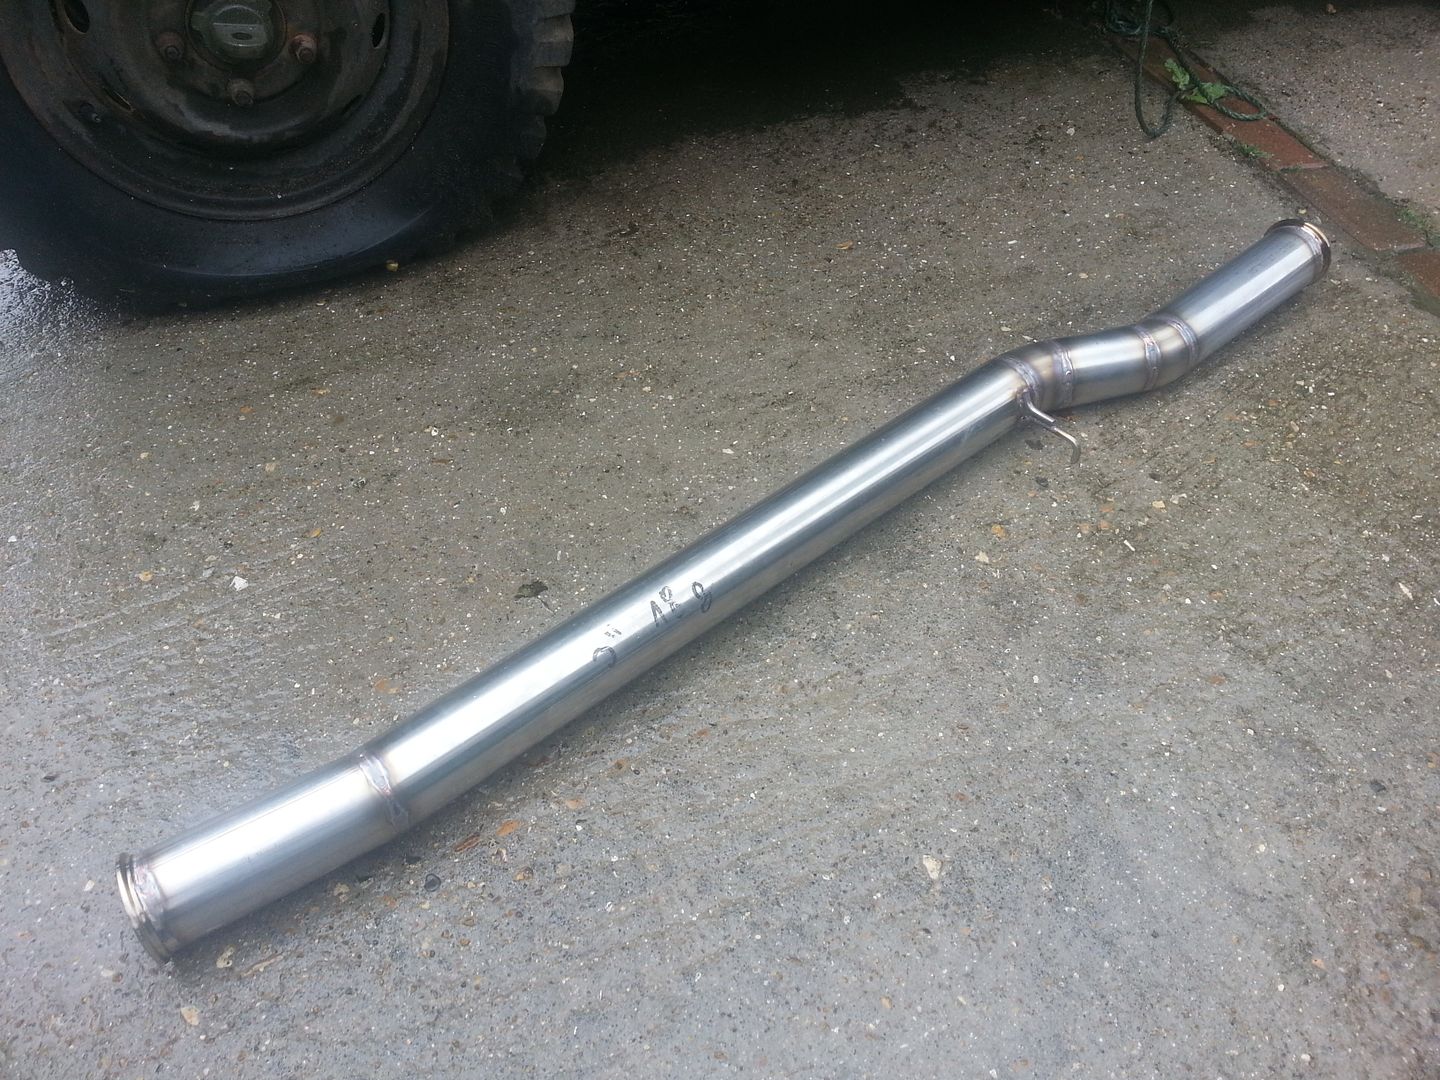 Rear muffler 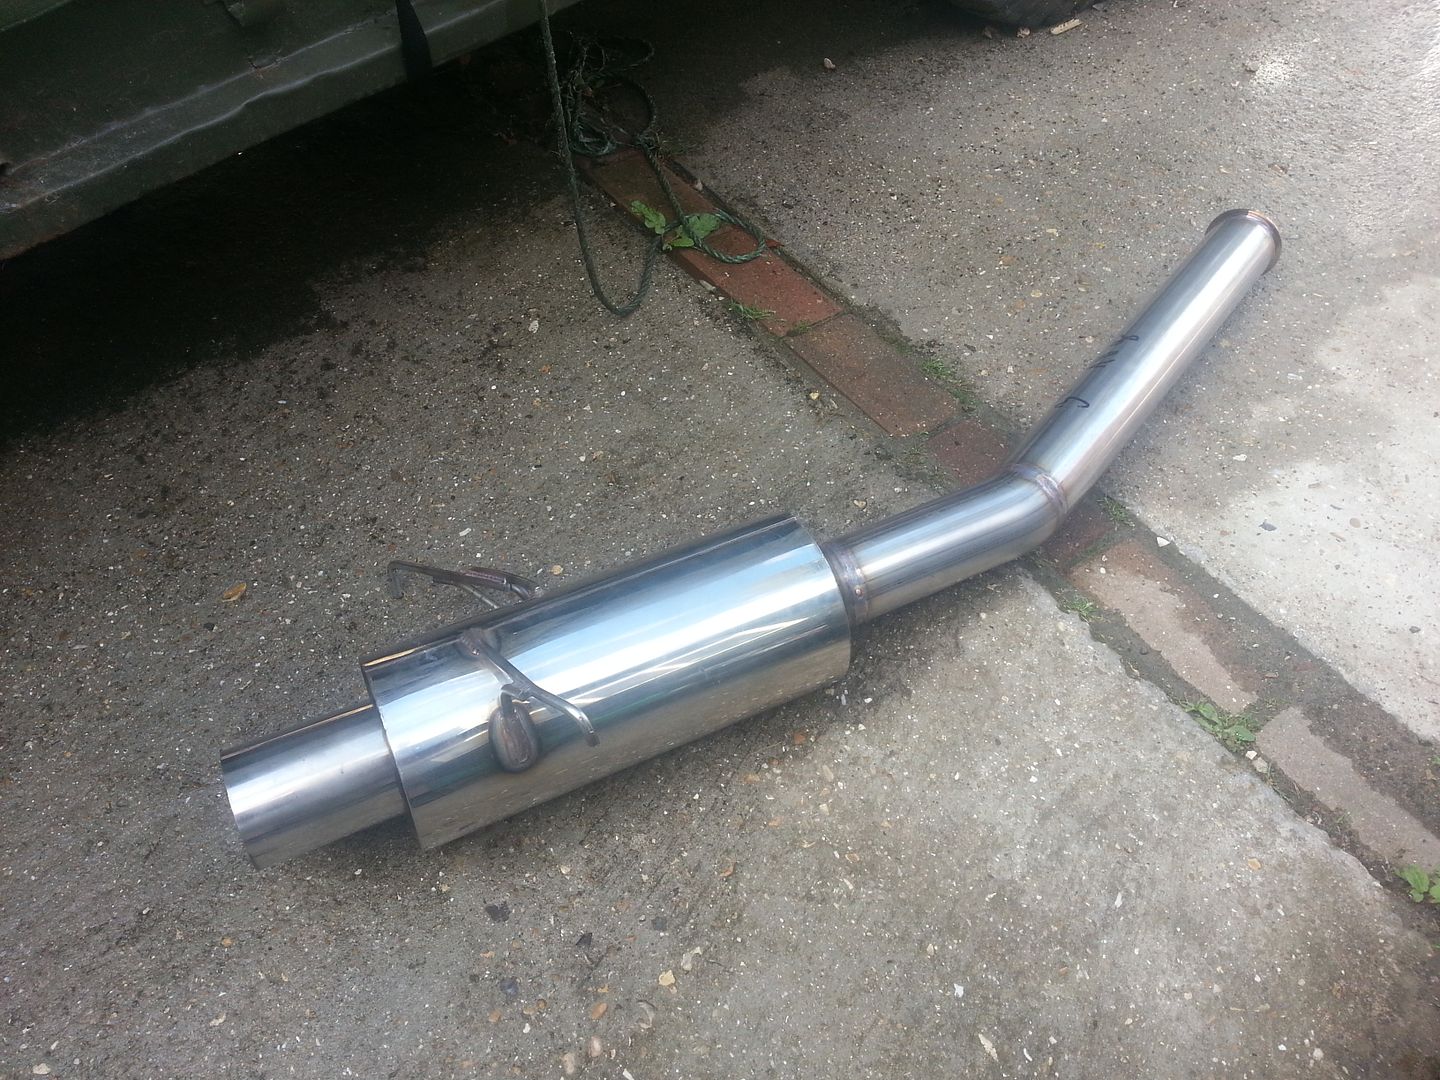 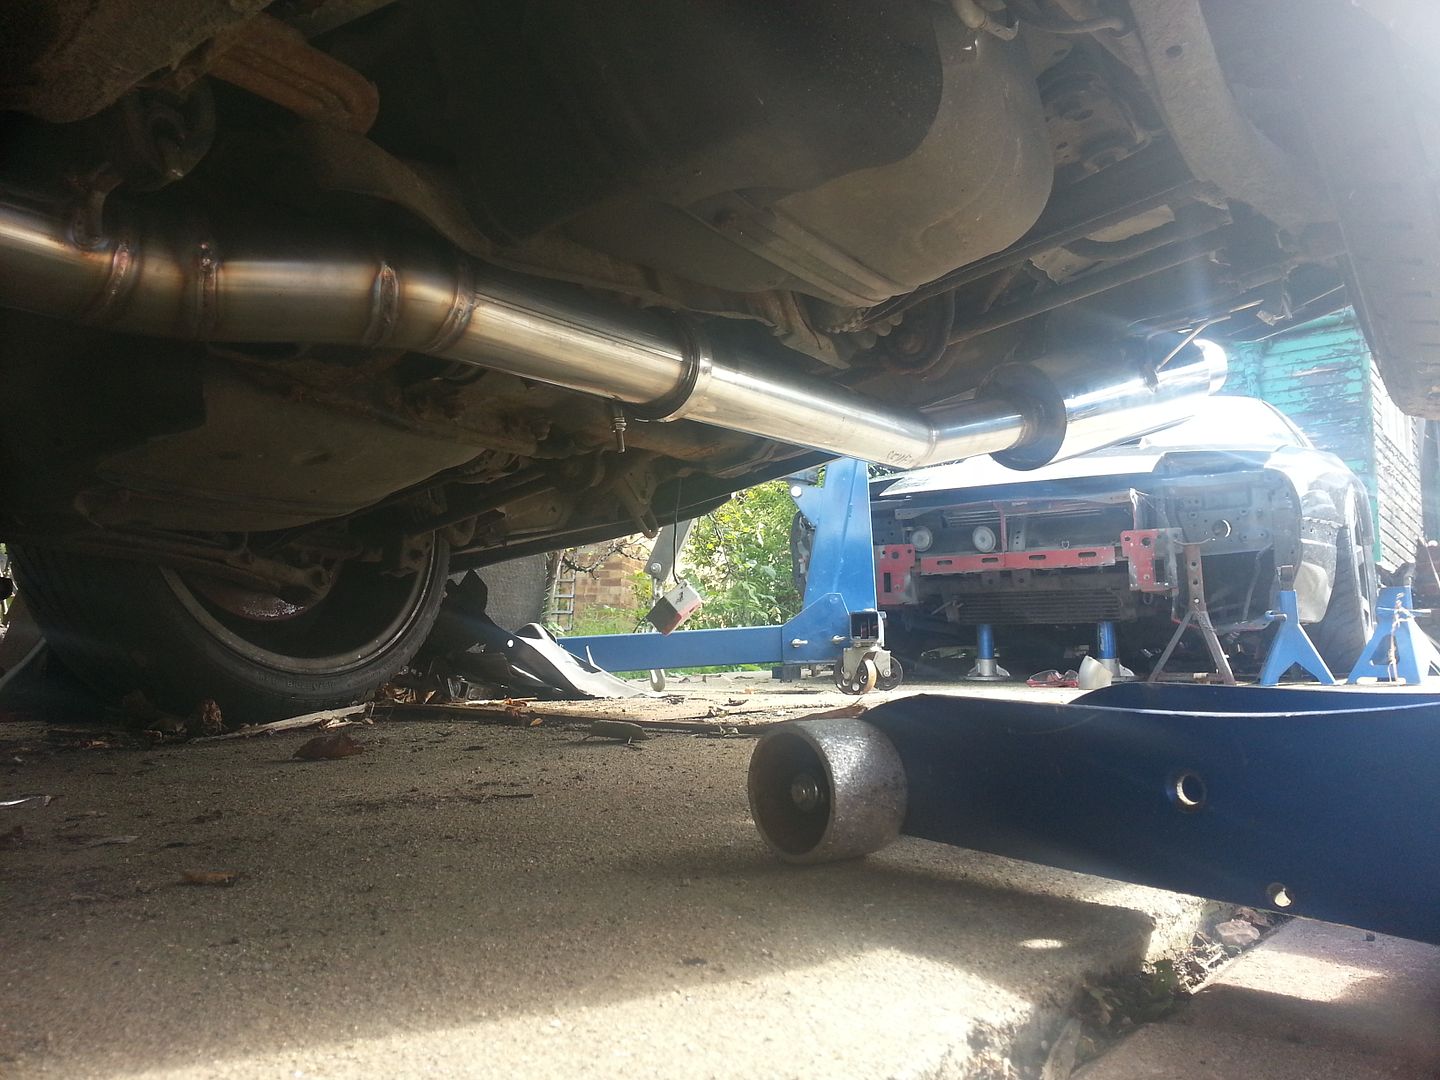 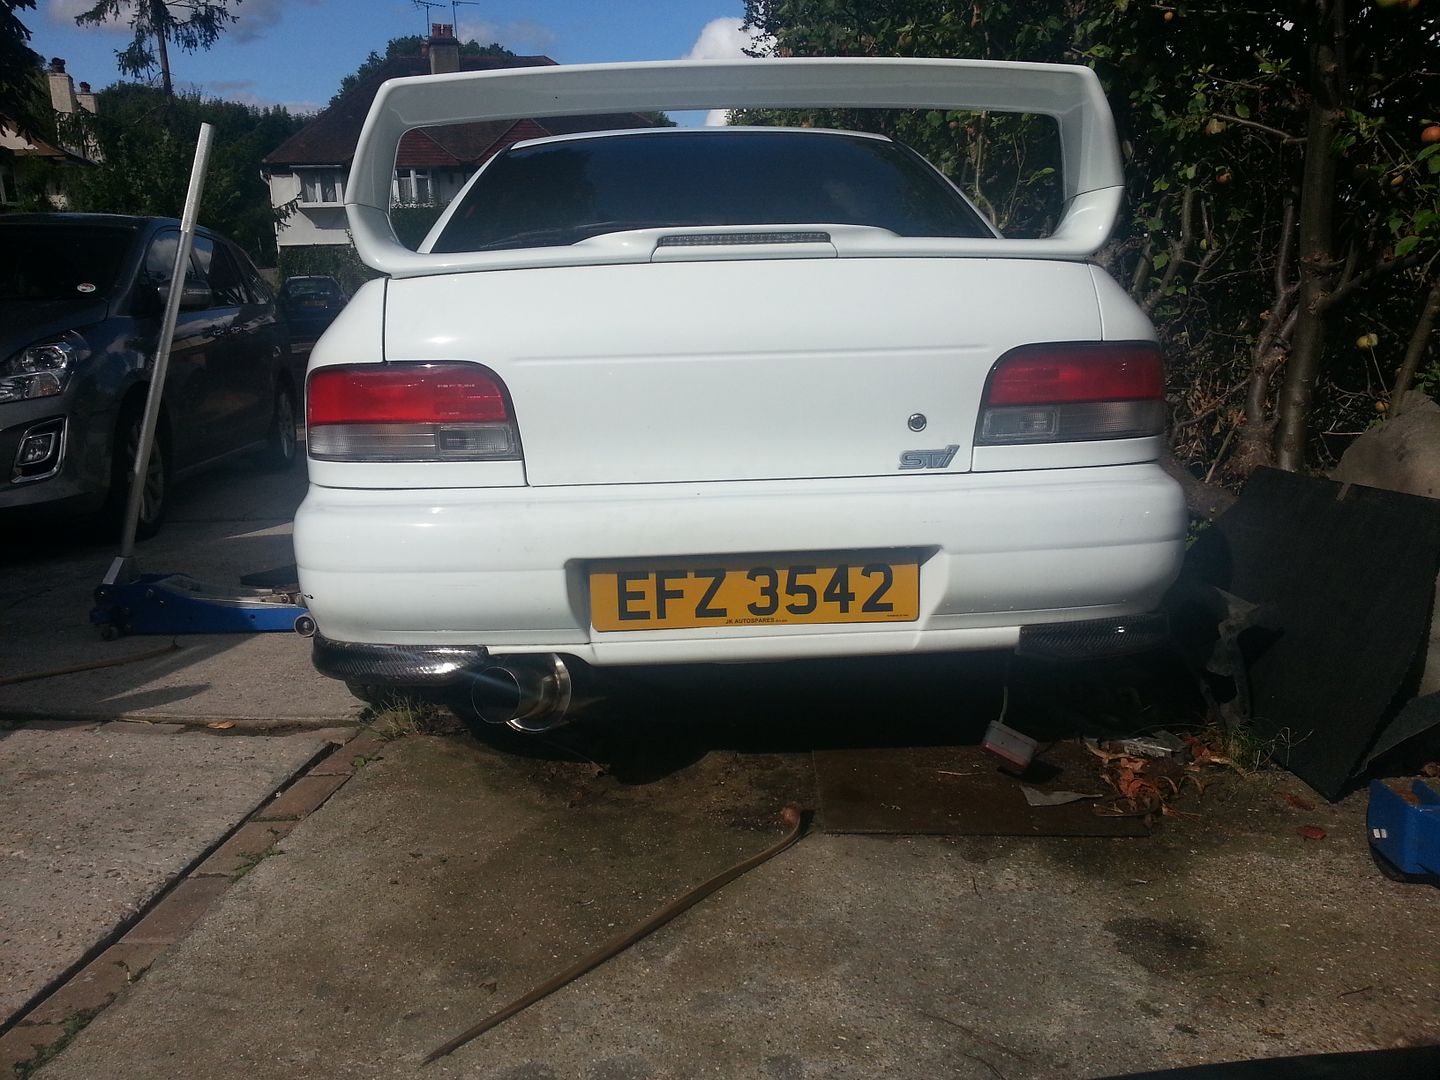 ENGINE STUFF!!!! Heads skimmed and rebuild 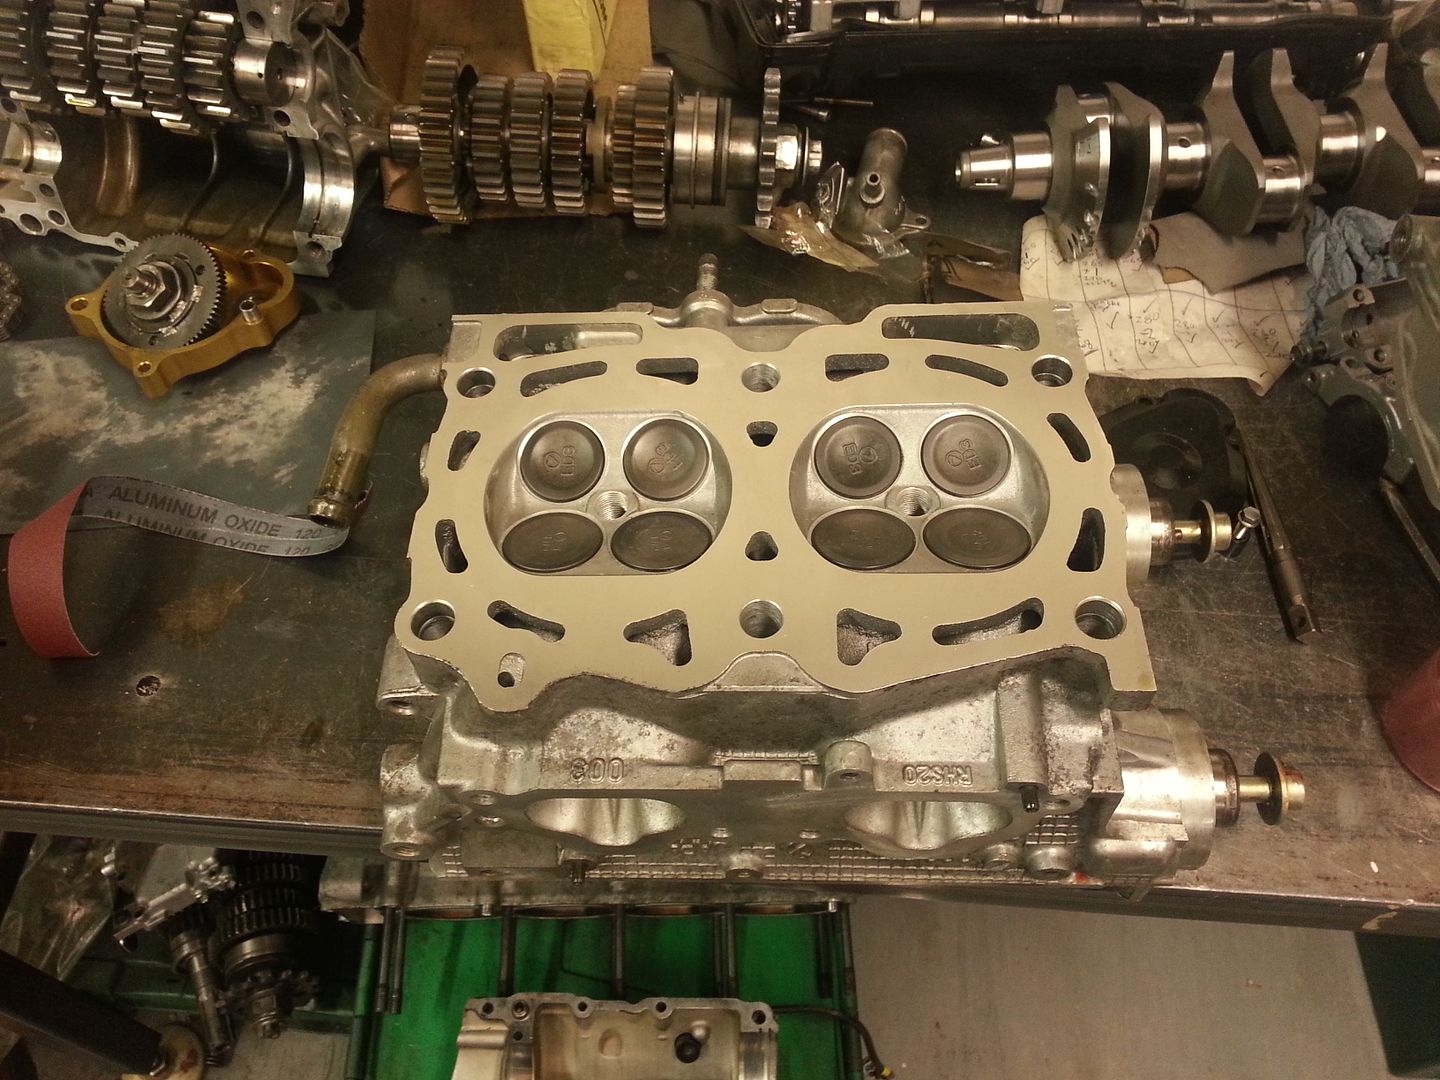 EJ257 crank and rods clearenced : 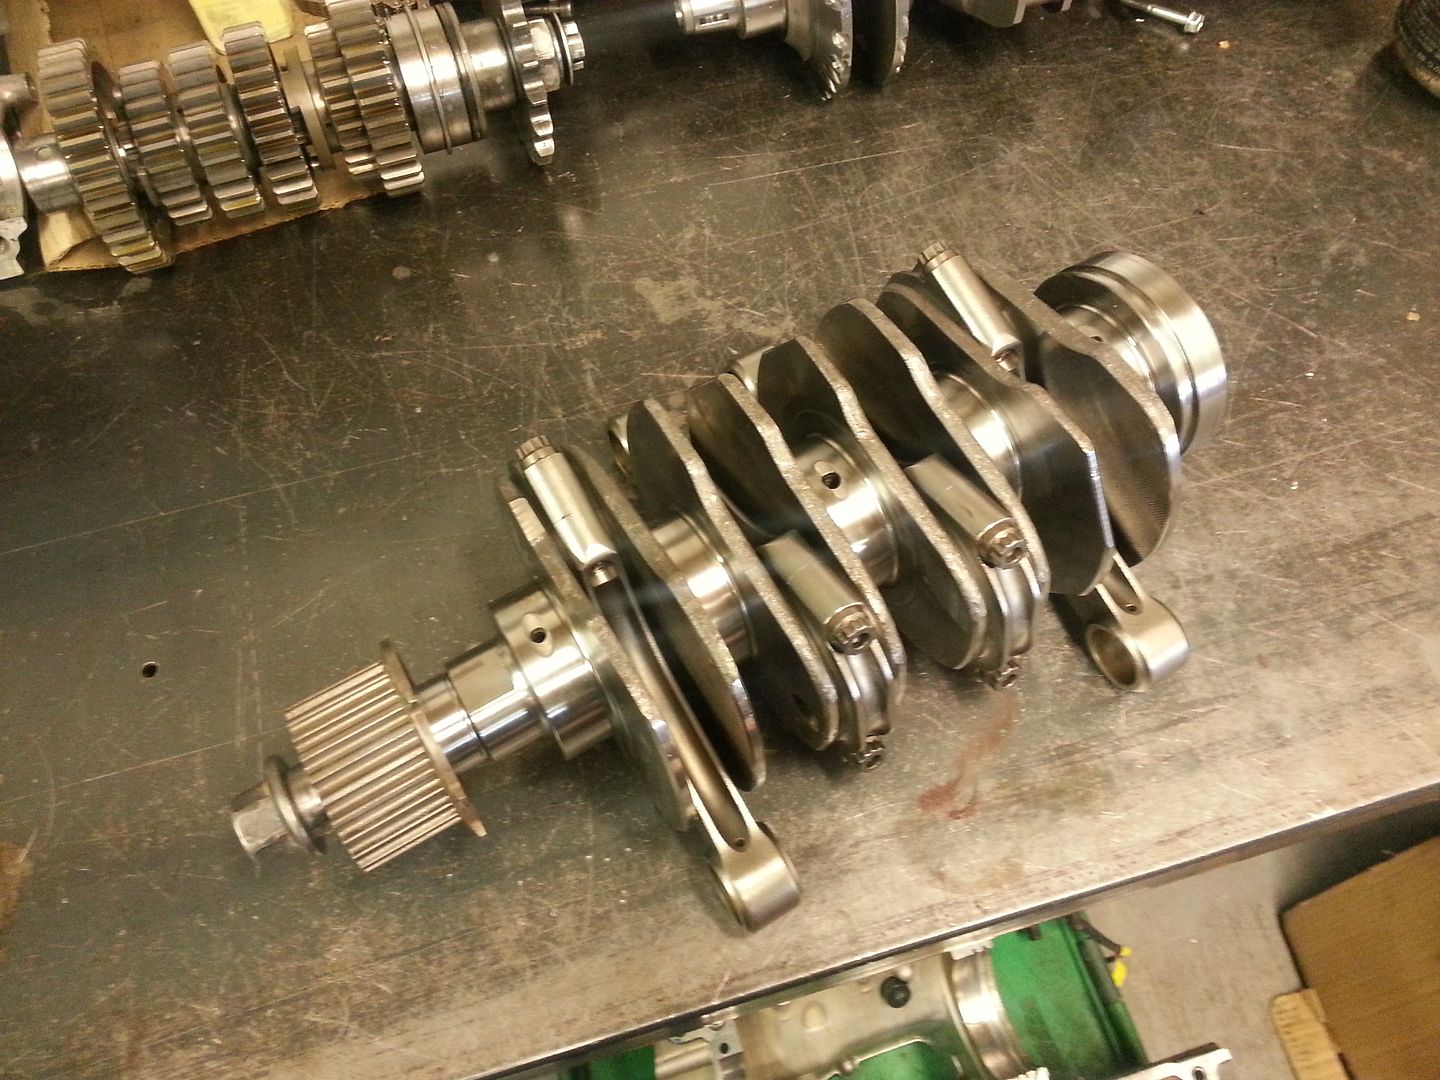 Then checked the deck height etc with the pistons before final assembly and cracked on getting the heart of the build built! 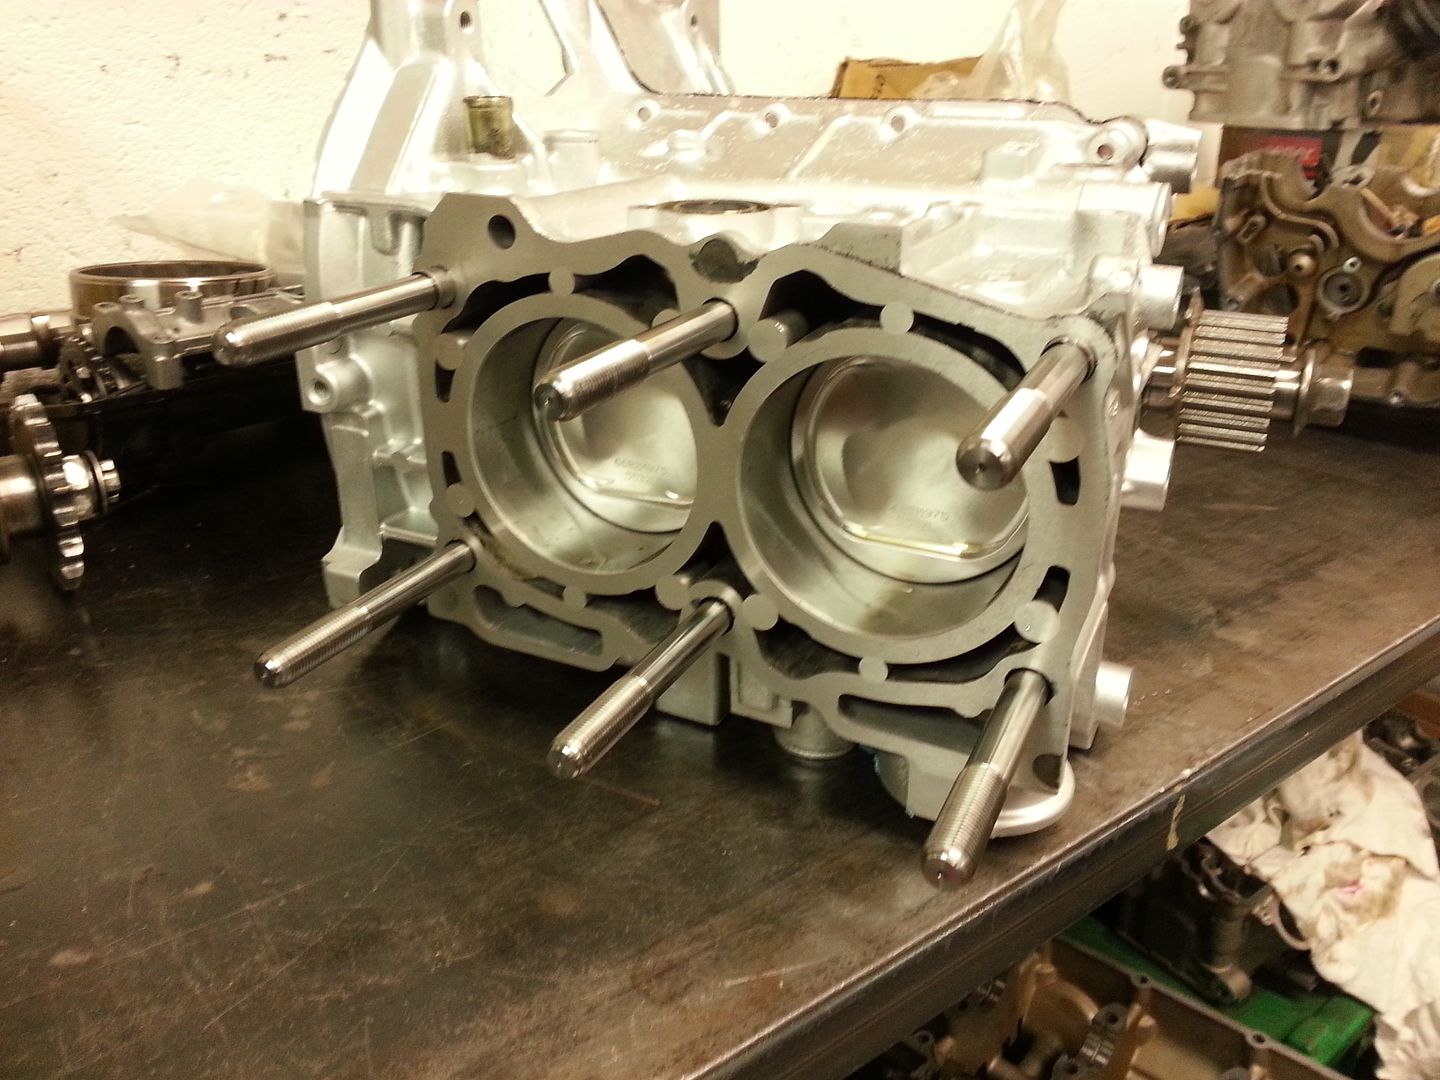 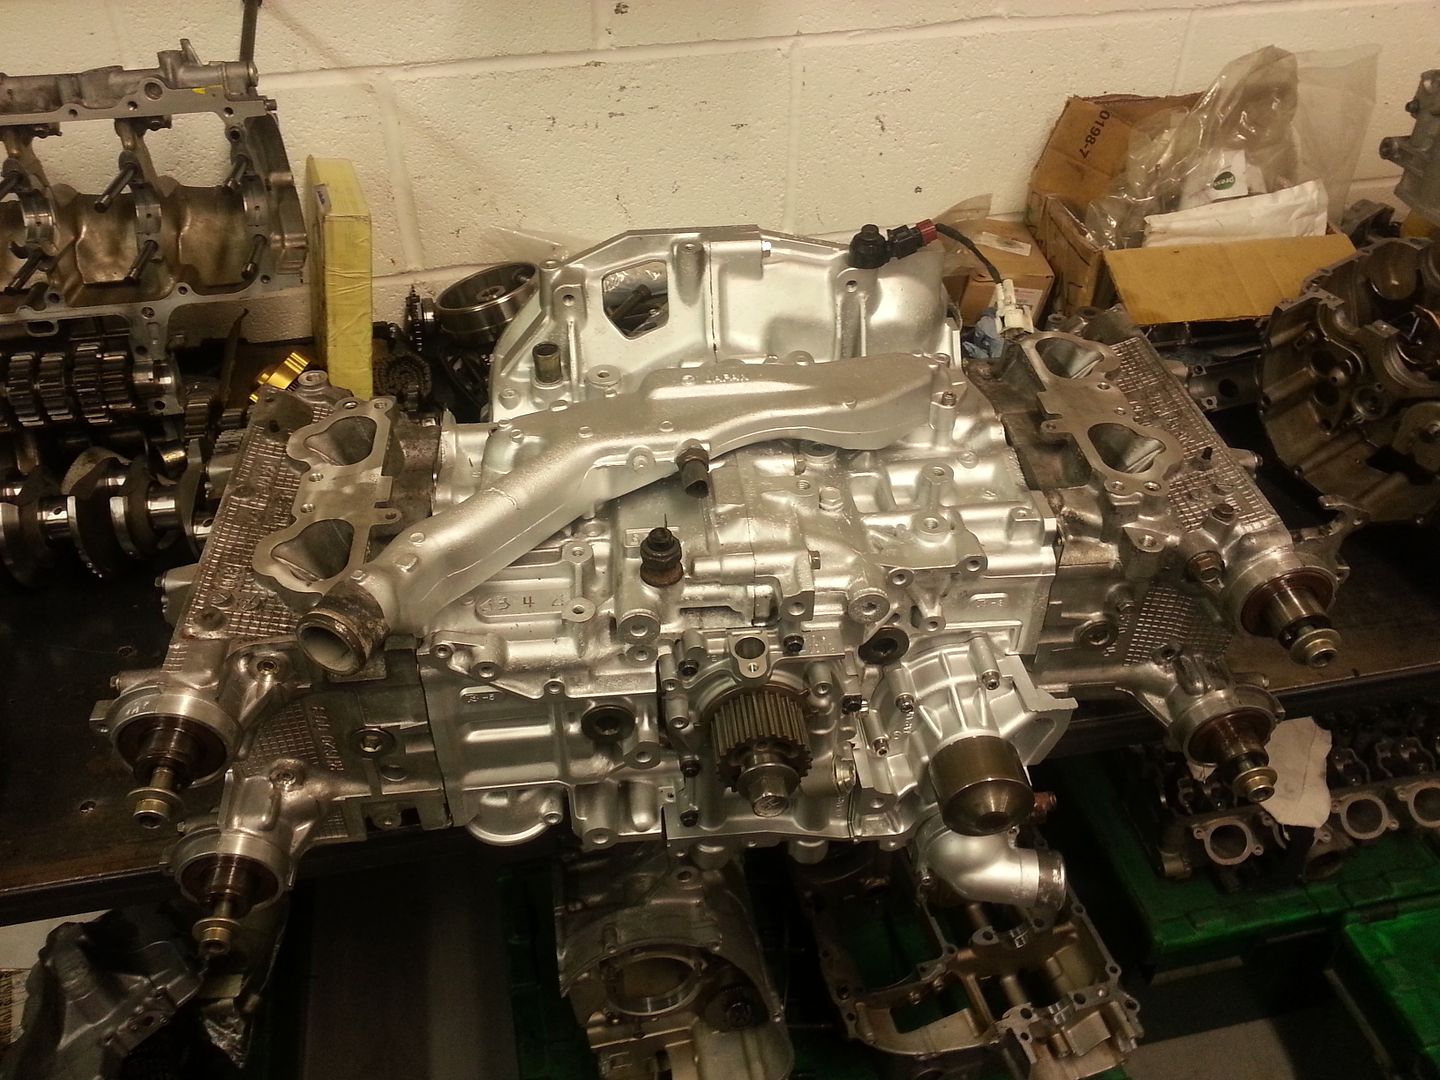 Cosworth cam belt 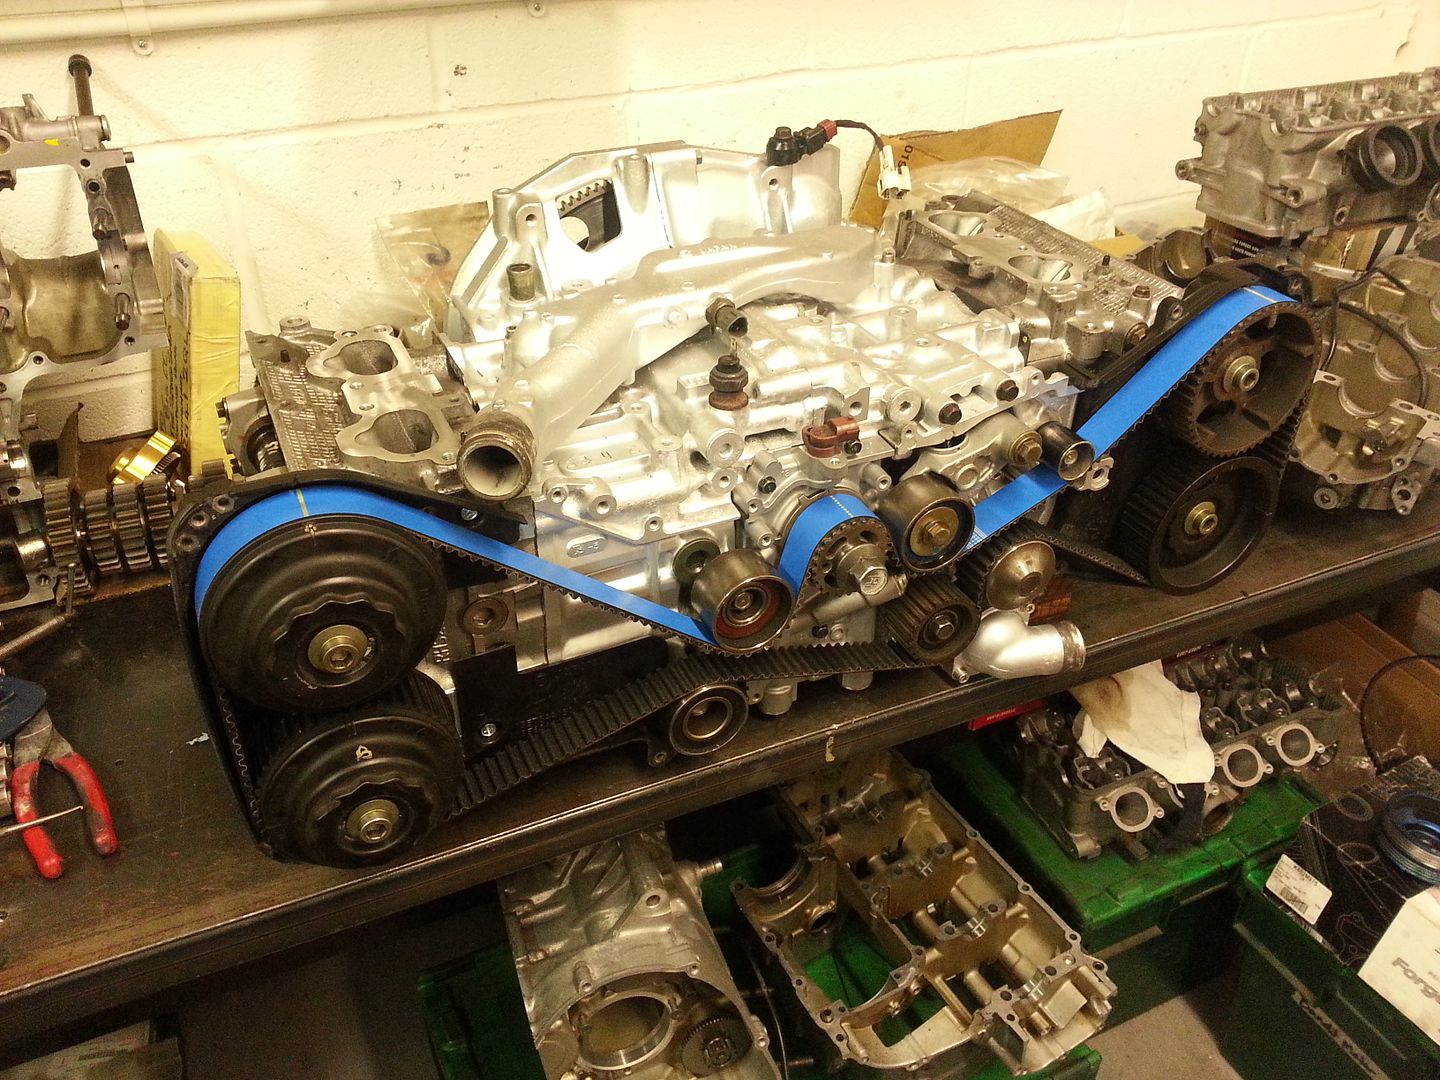 ready to go in..... almost 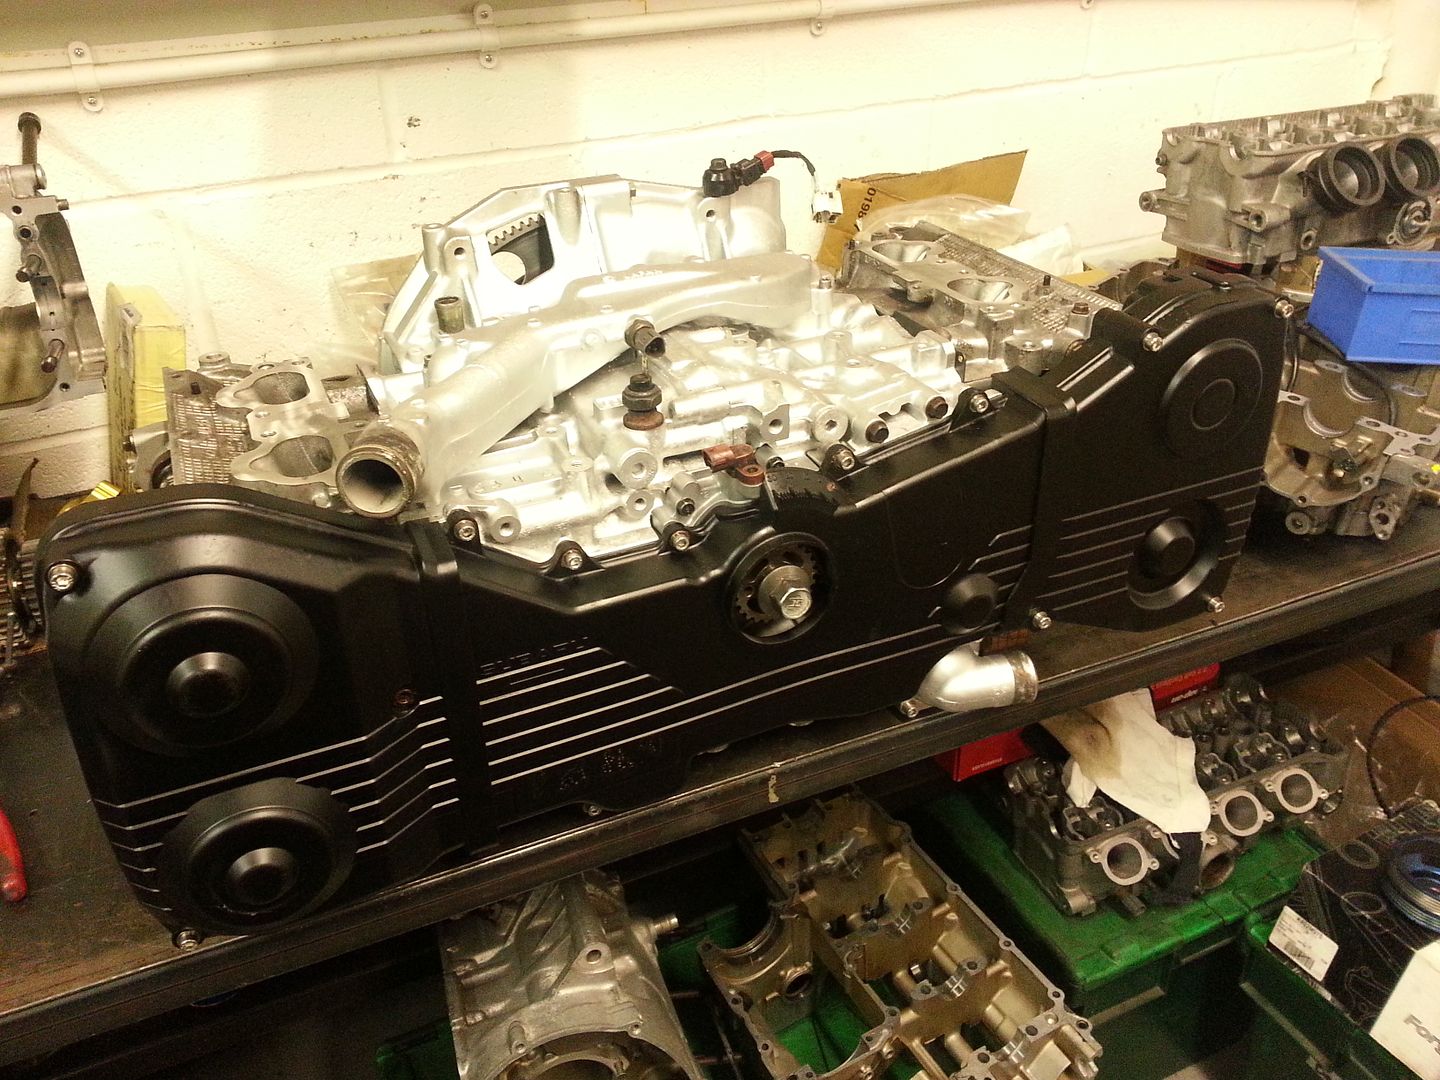
|
|
#11
|
|||
|
|||
|
I had decided that with the engine being now being a 2.35ltr motor after the re bore with the 97.5mm Wiseco pistons etc it could still do with a helping hand getting that GT4094 moving. The car when purchased had an uprated organic clutch which wouldn't be up to the new power range of the car. I opted for a 7.5" Quarter master twin plate. I had used these in the past a very much likely the results. New smaller clutch meant new flywheel.
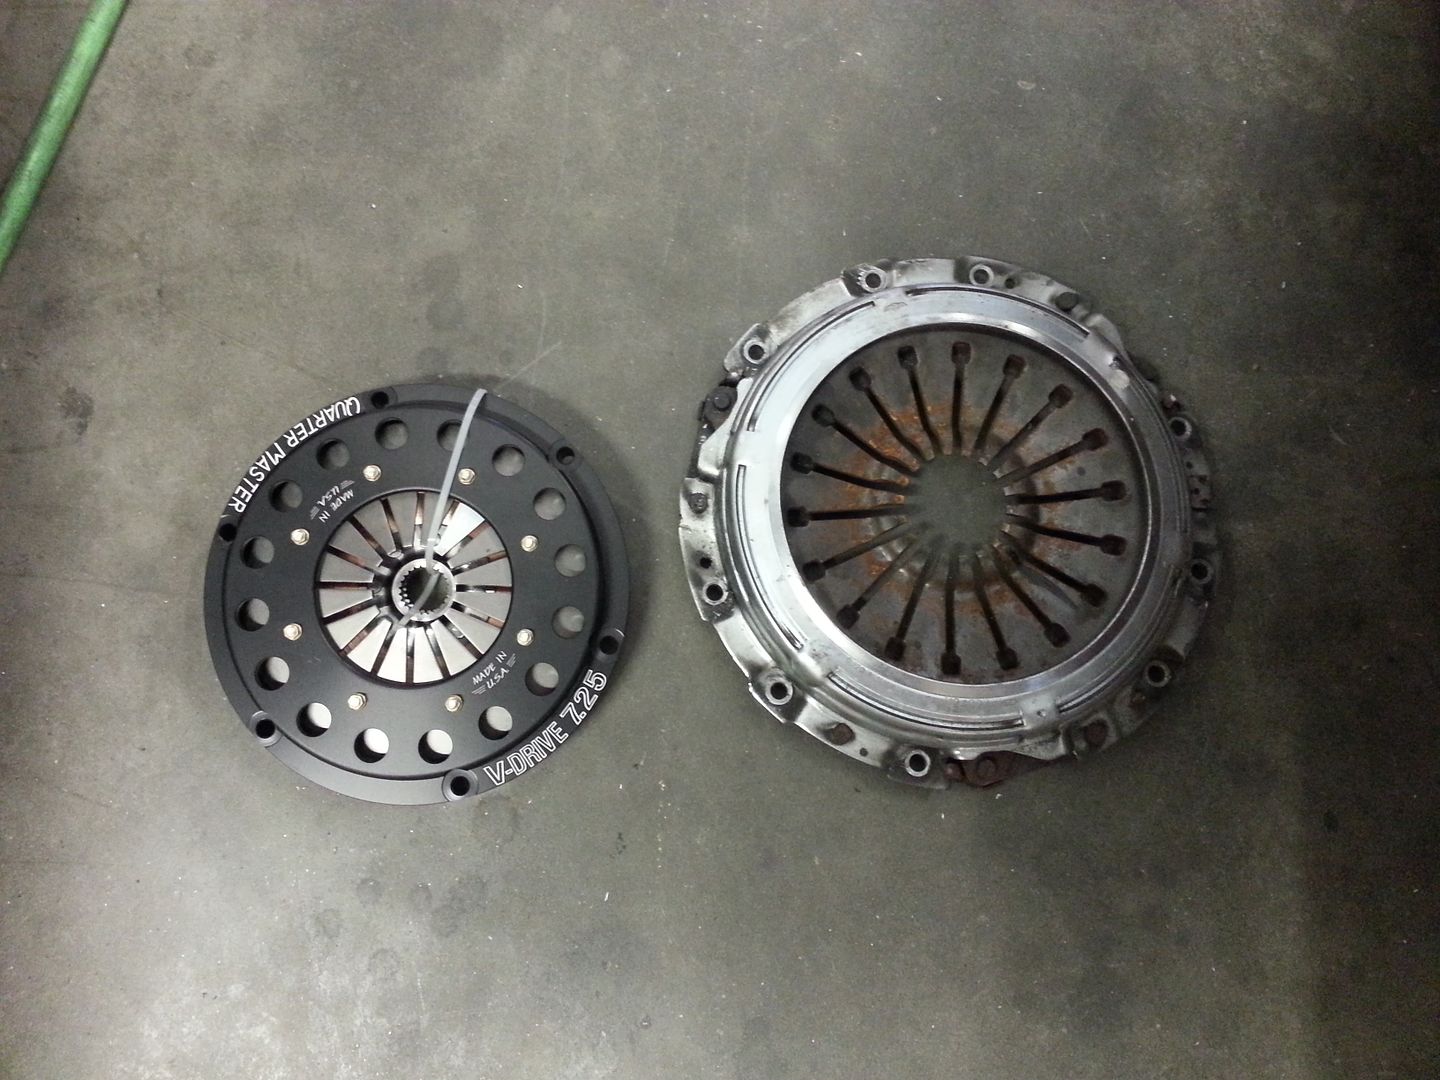 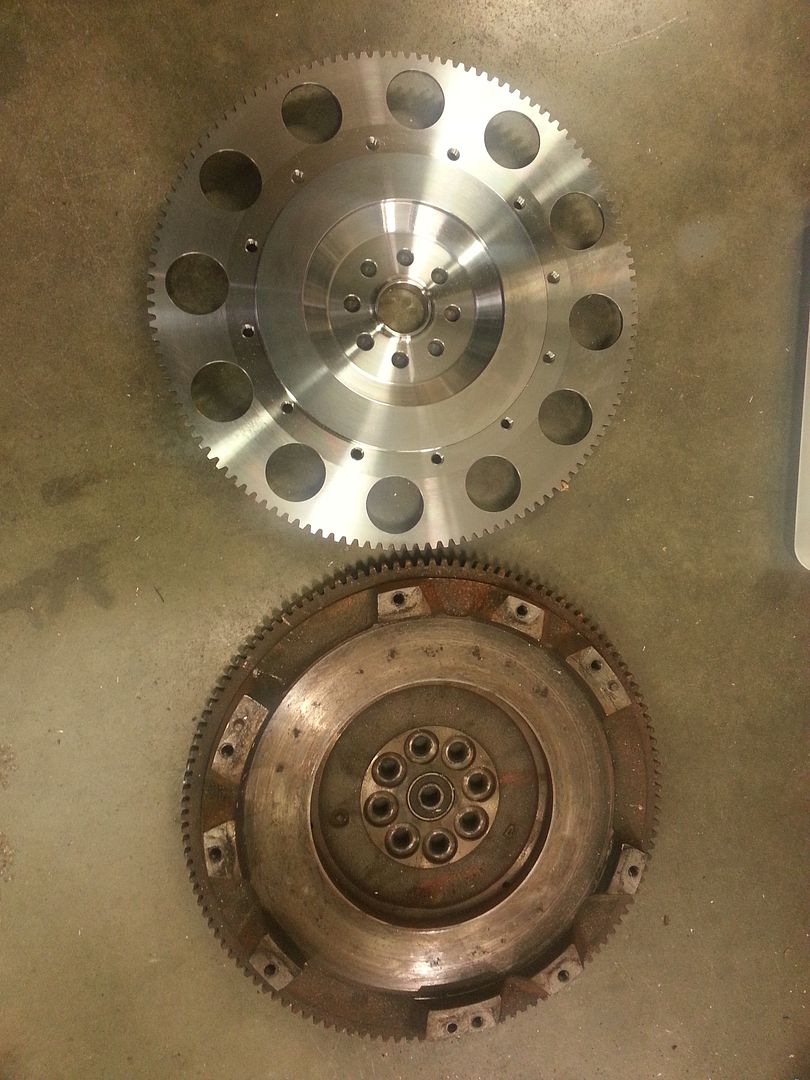 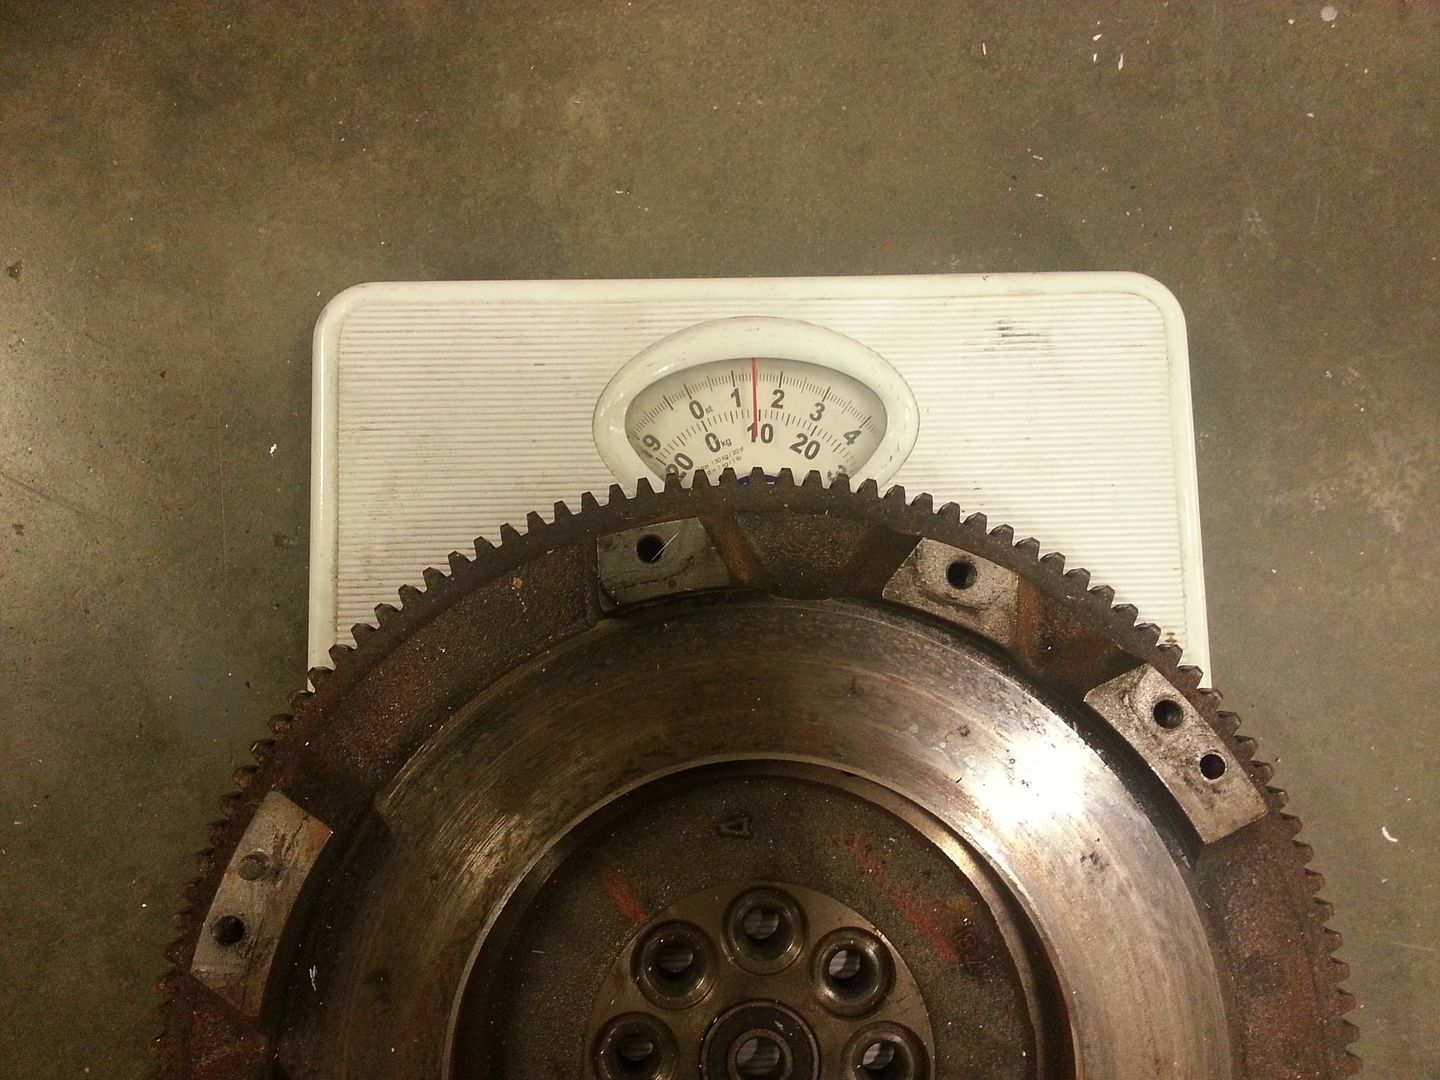 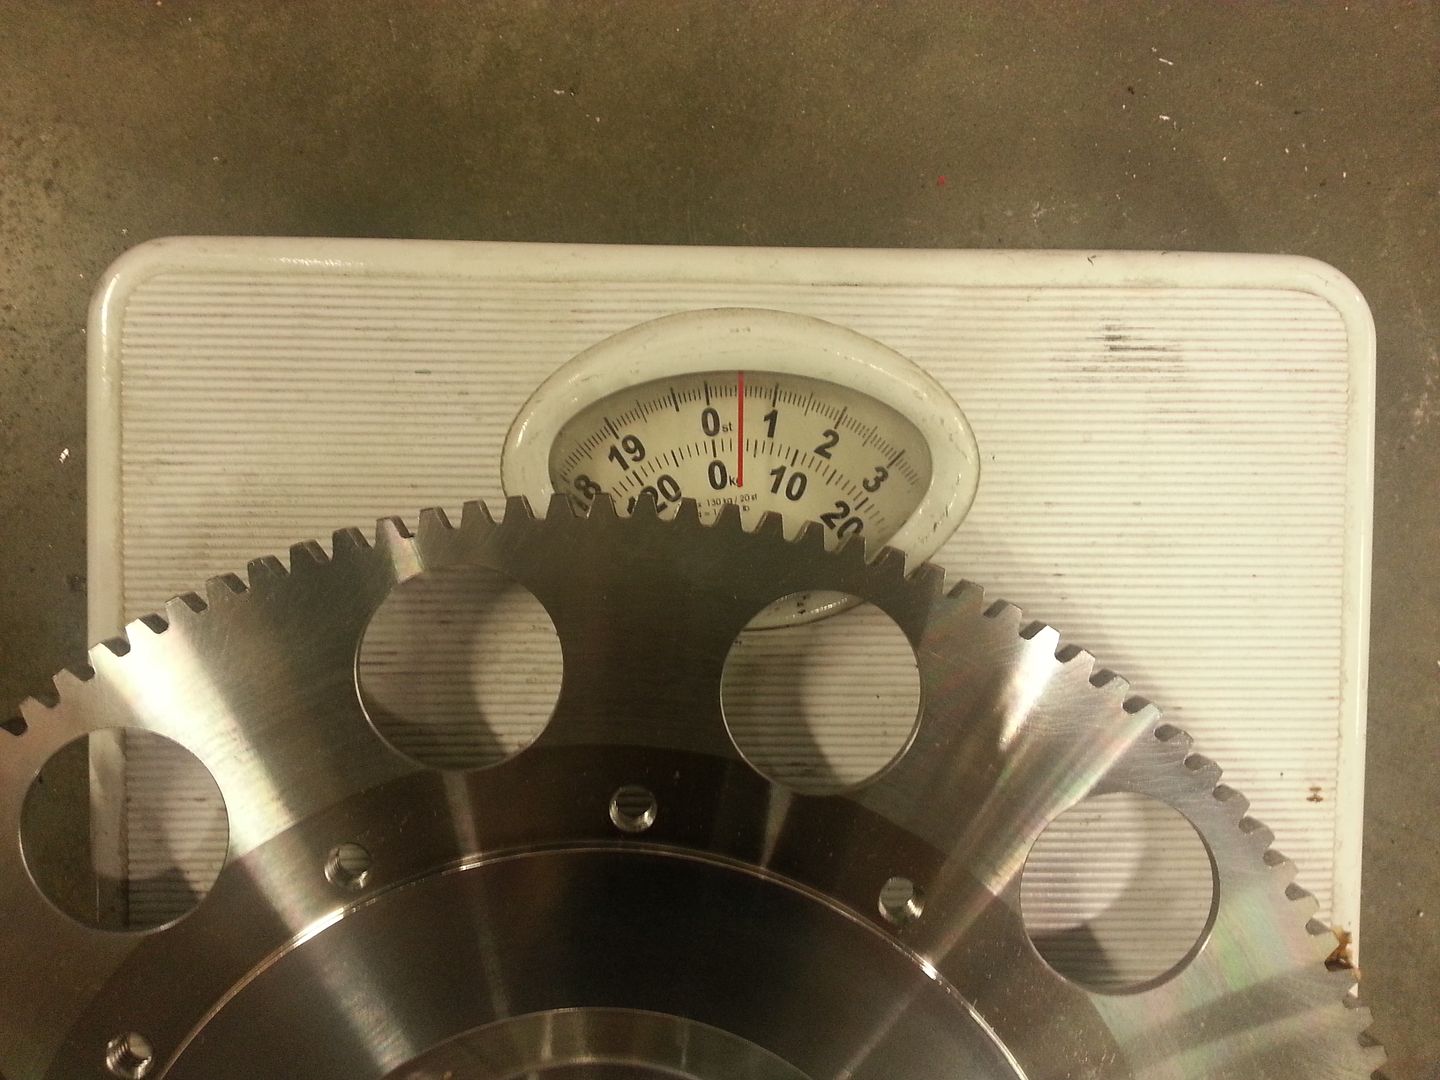 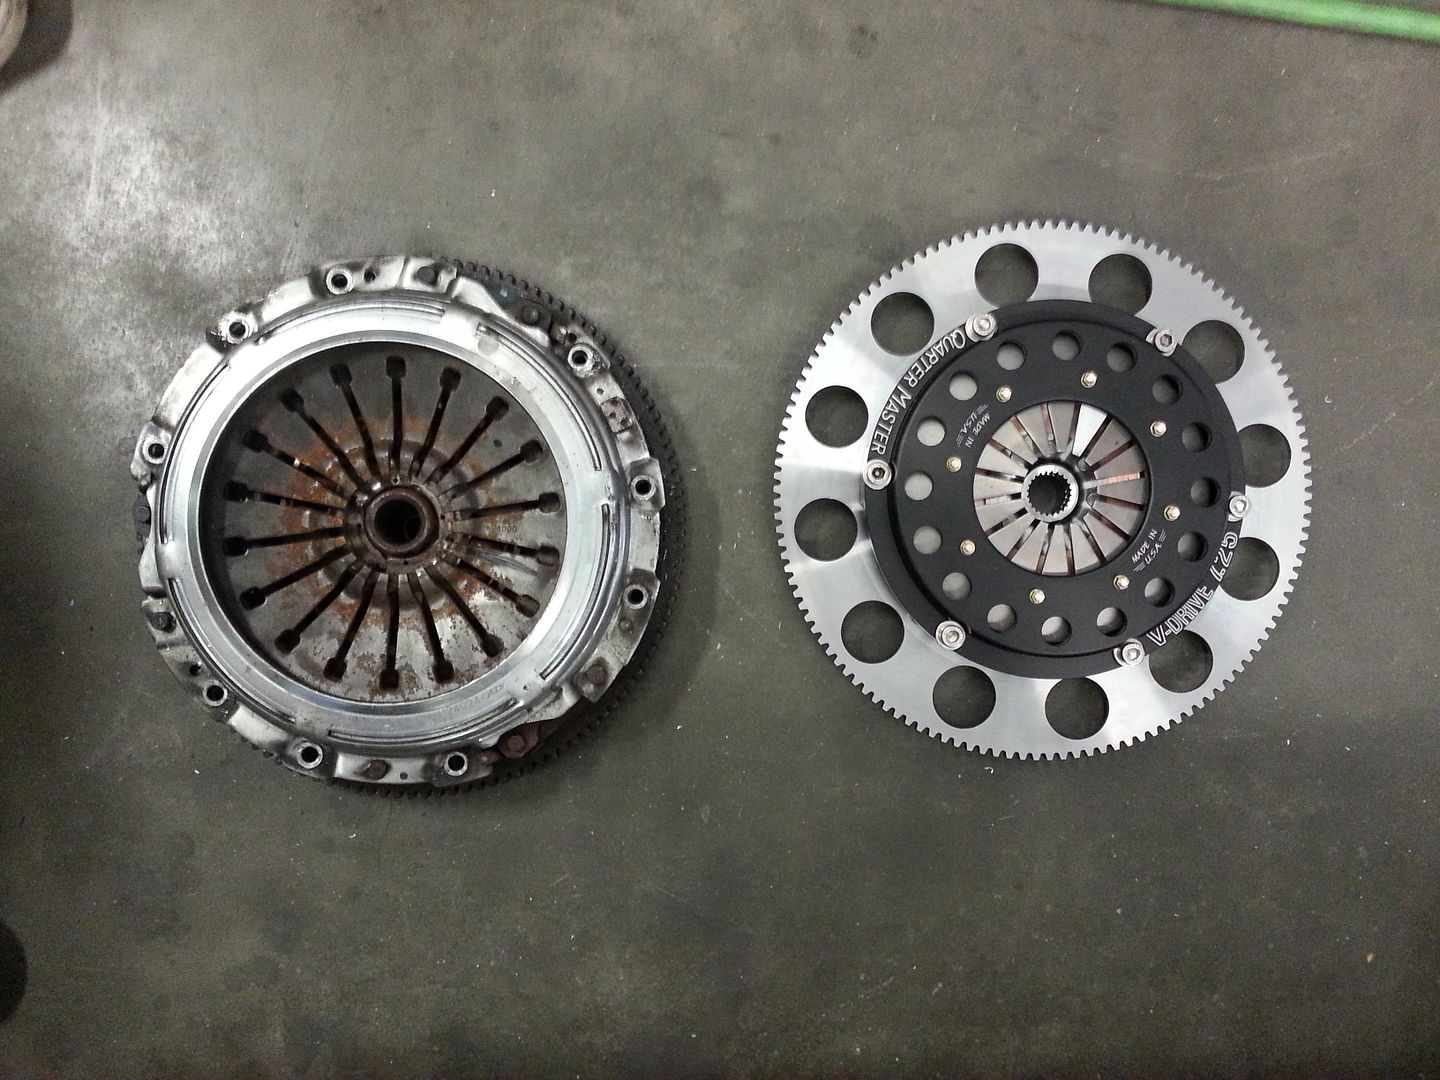 This lead to another small issue. The stock 6 speed box and clutch is designed for pull type clutch. This is a push type. So RCM sorted me an AP racing bearing and I made the adaptor to suite the box and clutch height along with the new lines. 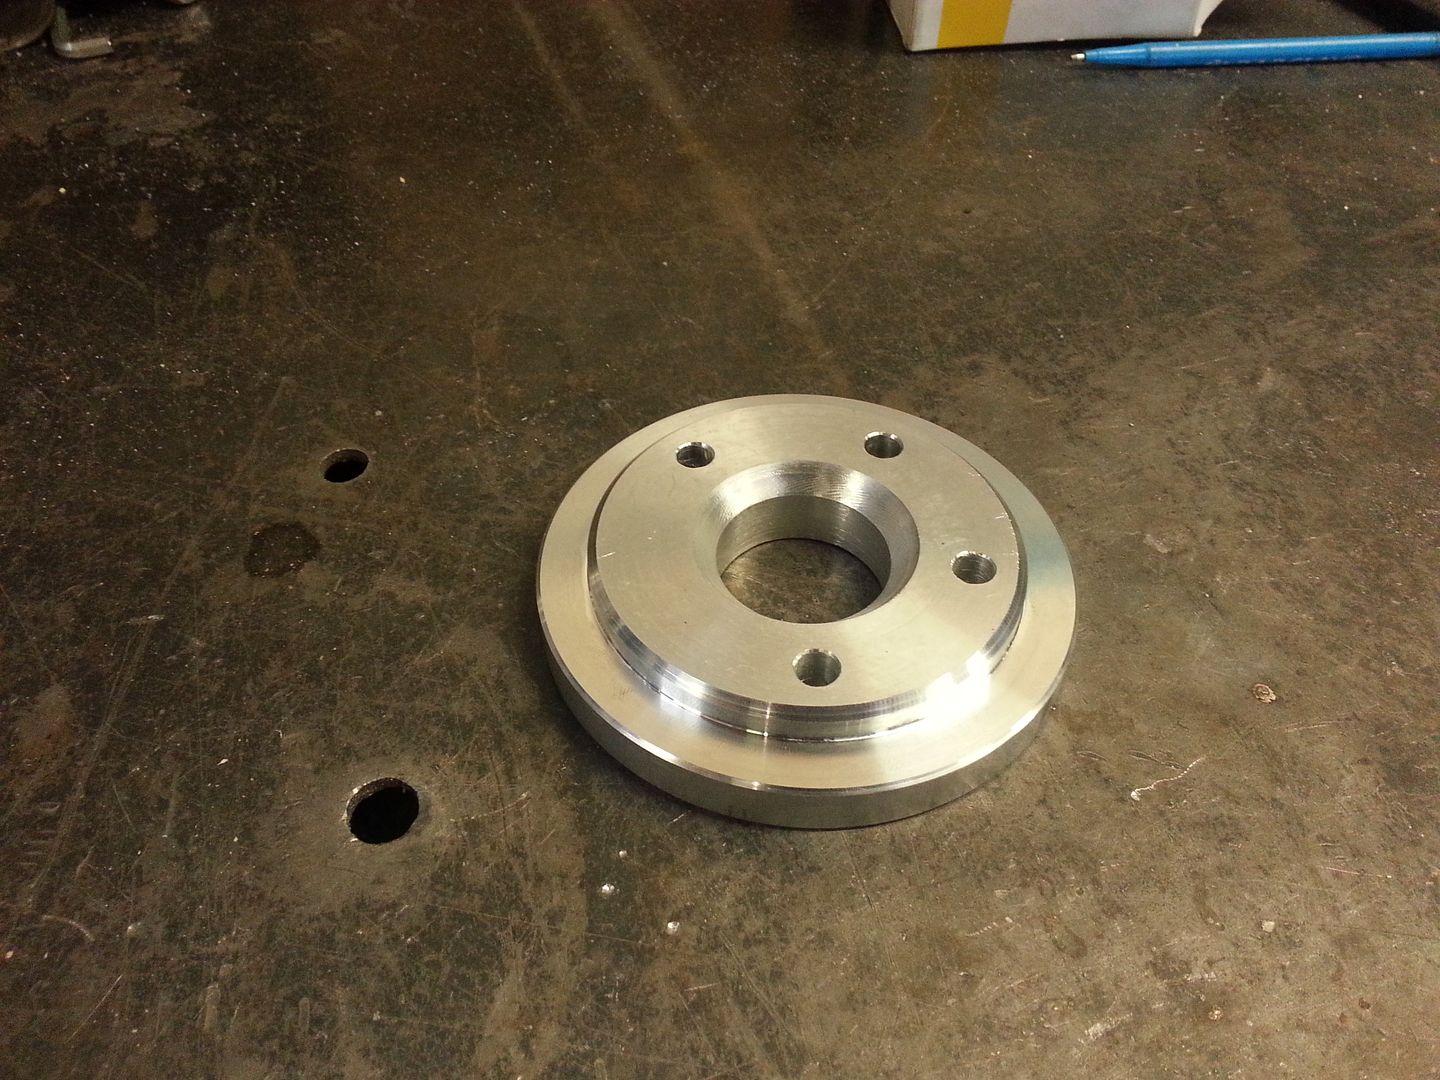 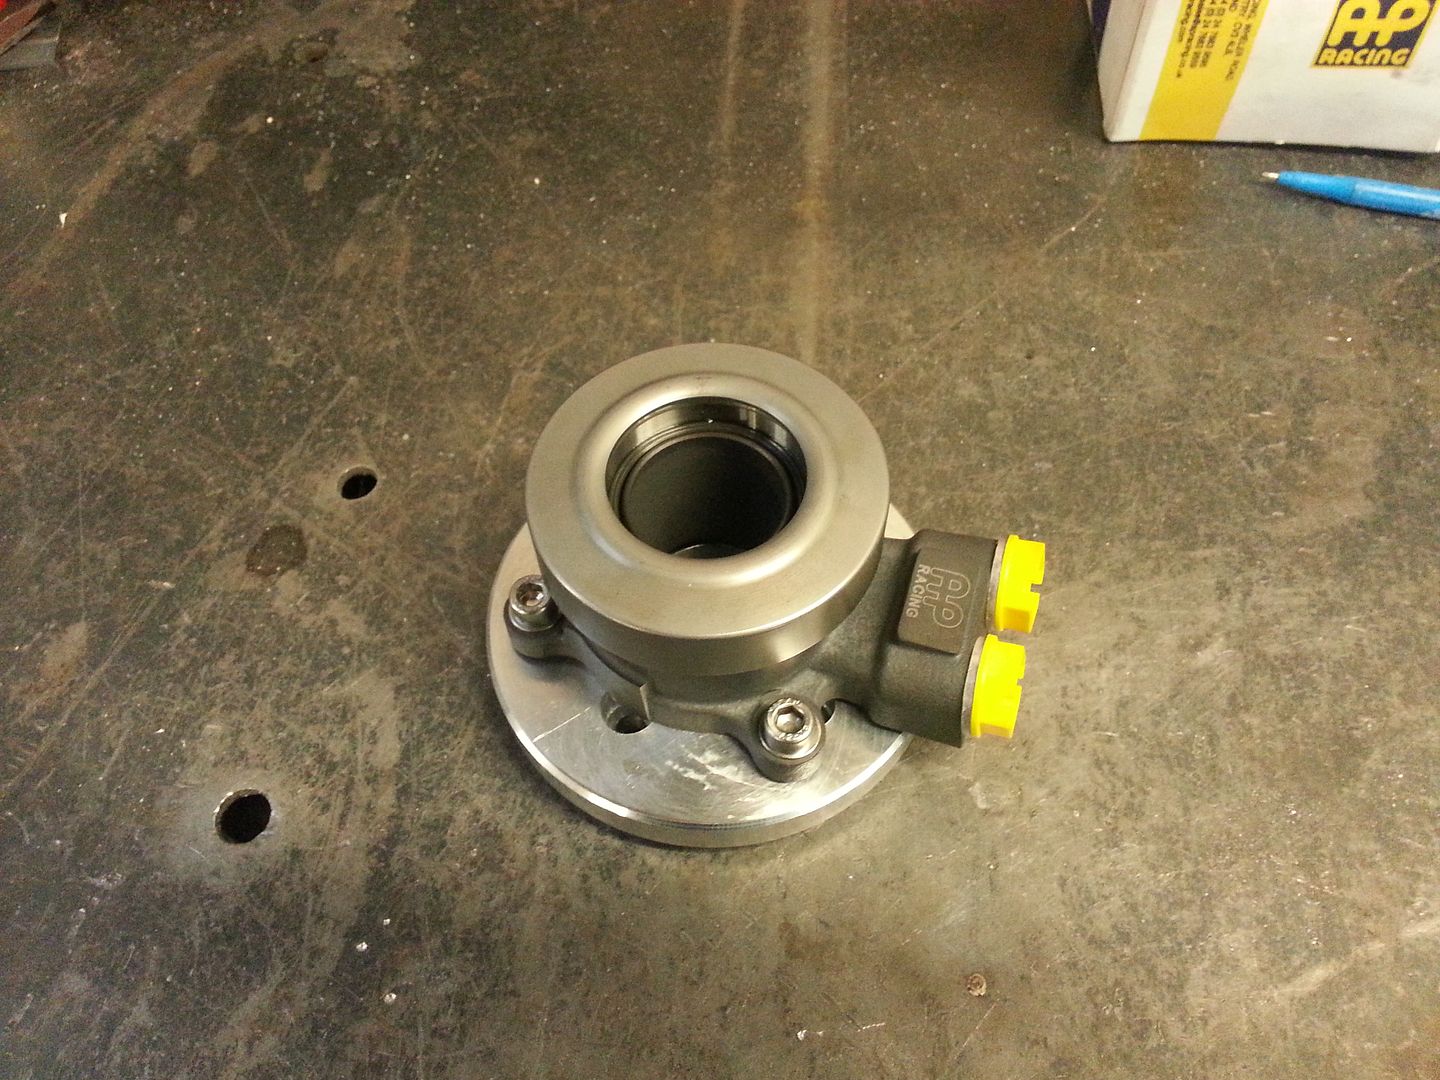 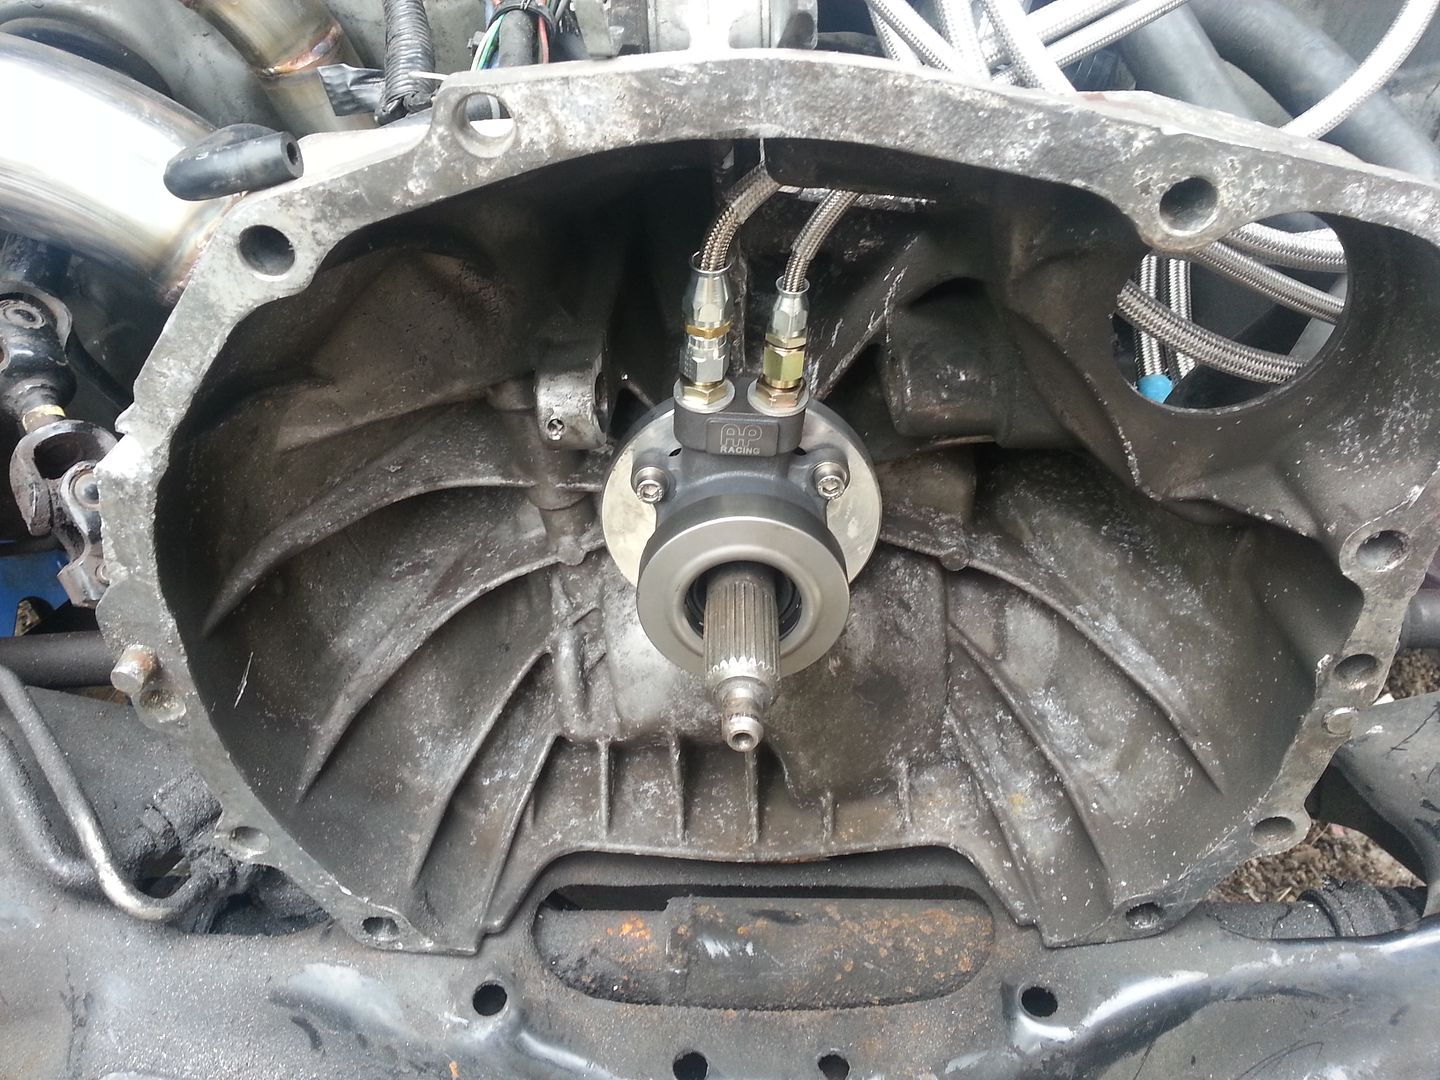 Now the built motor could finally be installed Checky pic of the header before fitting up for the last time 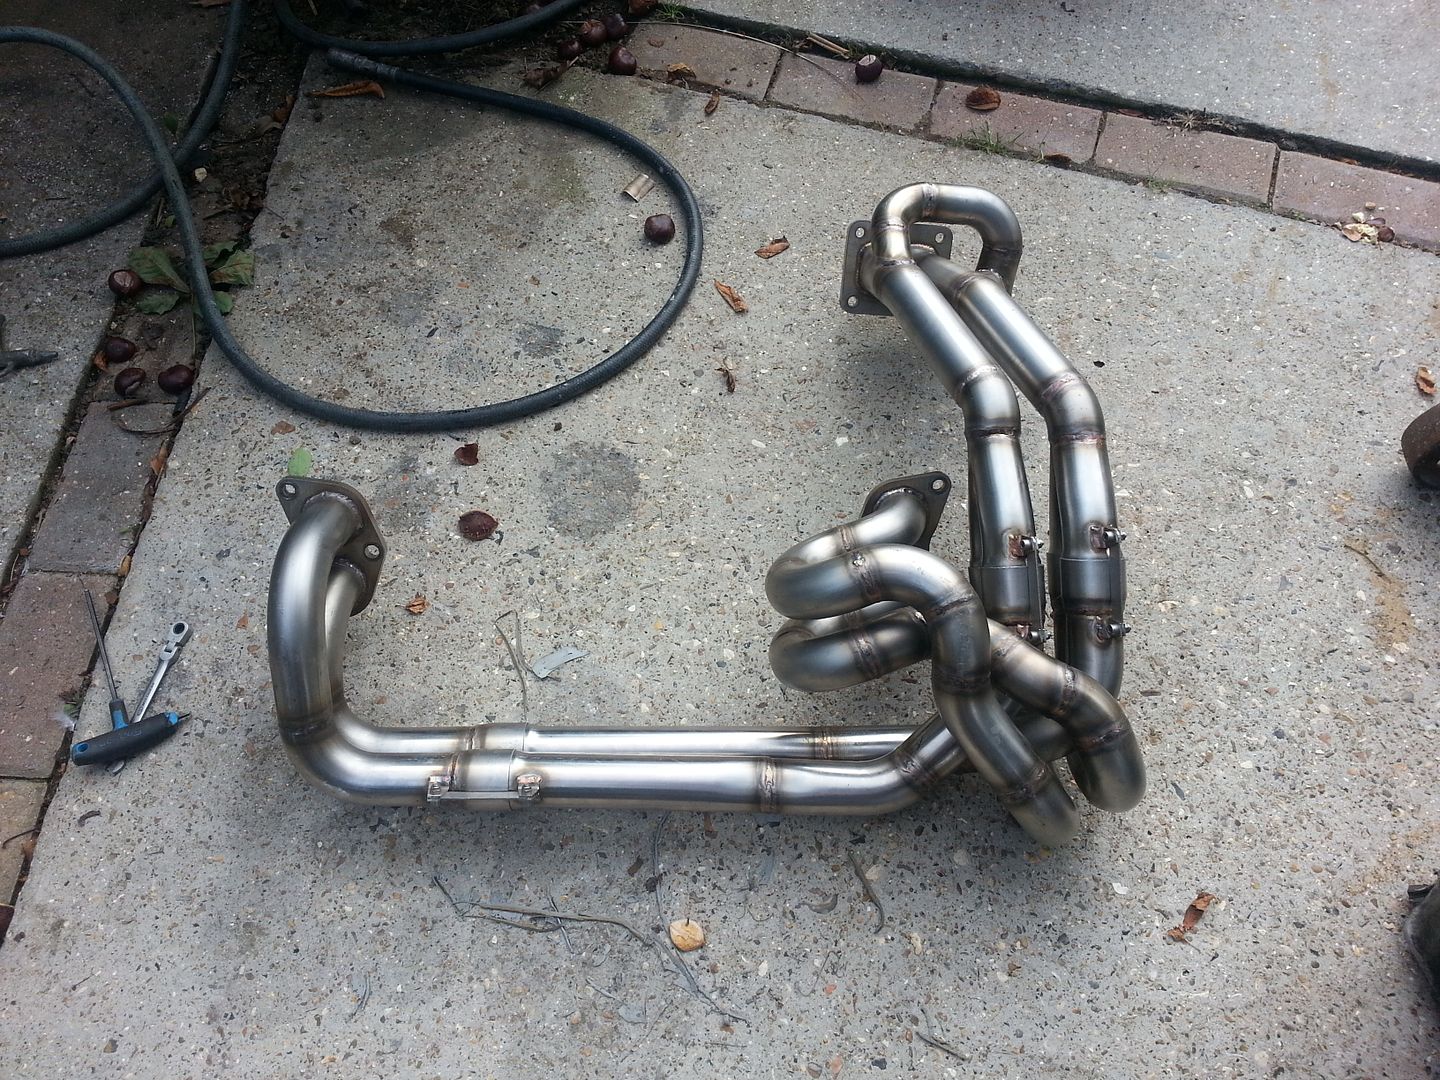 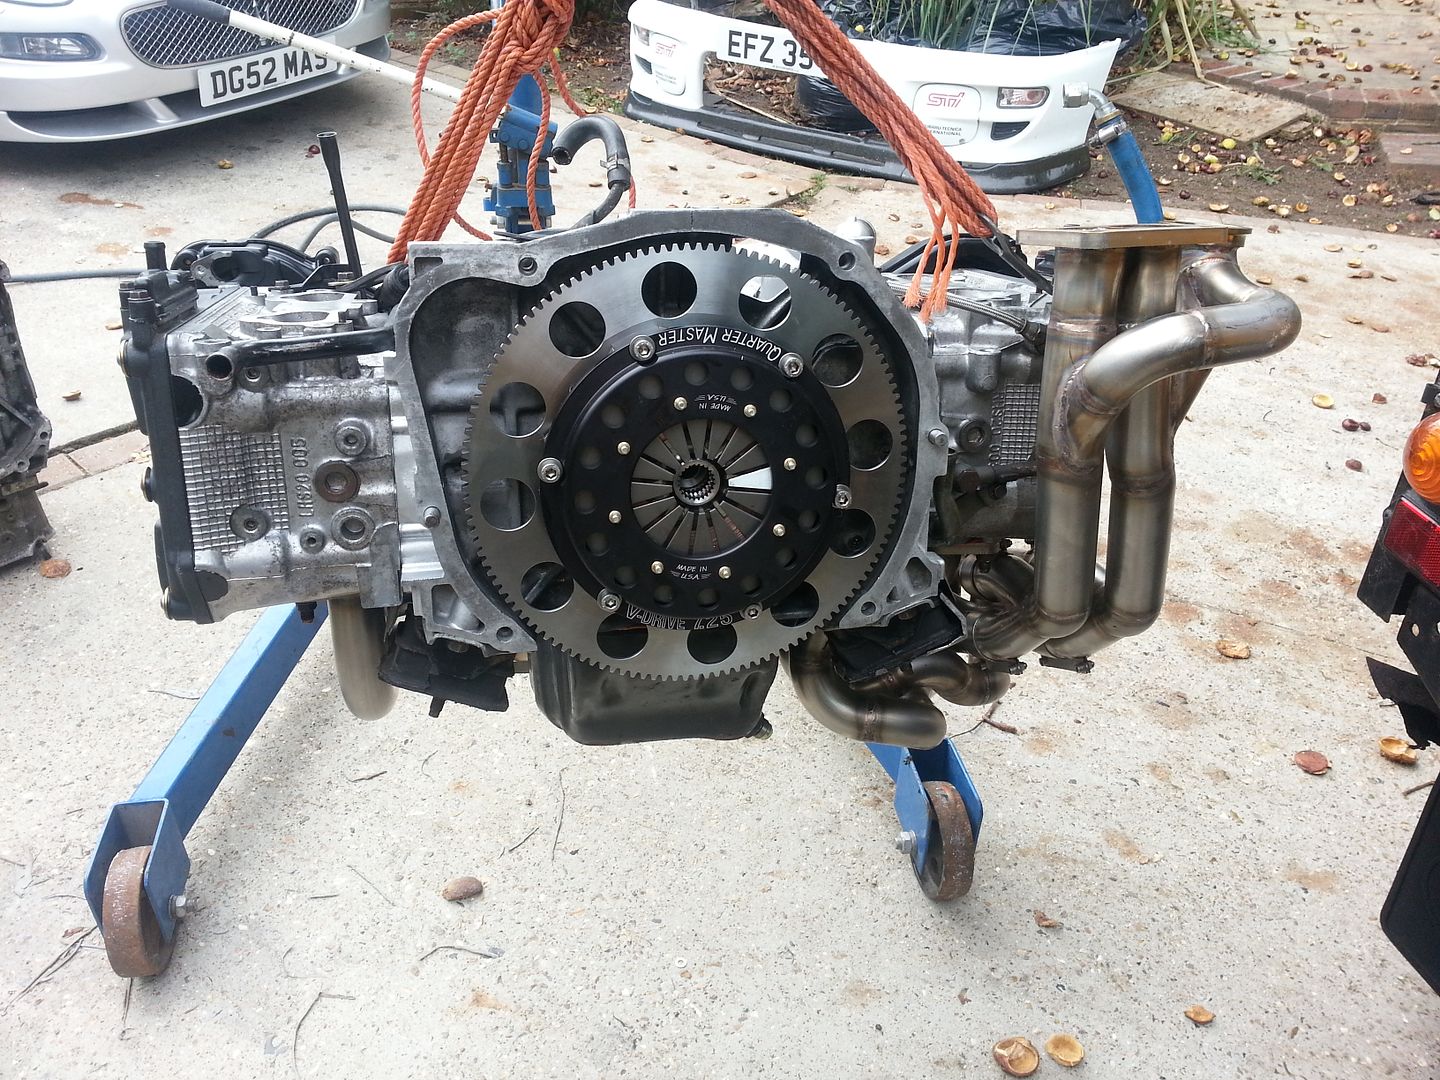 and in: 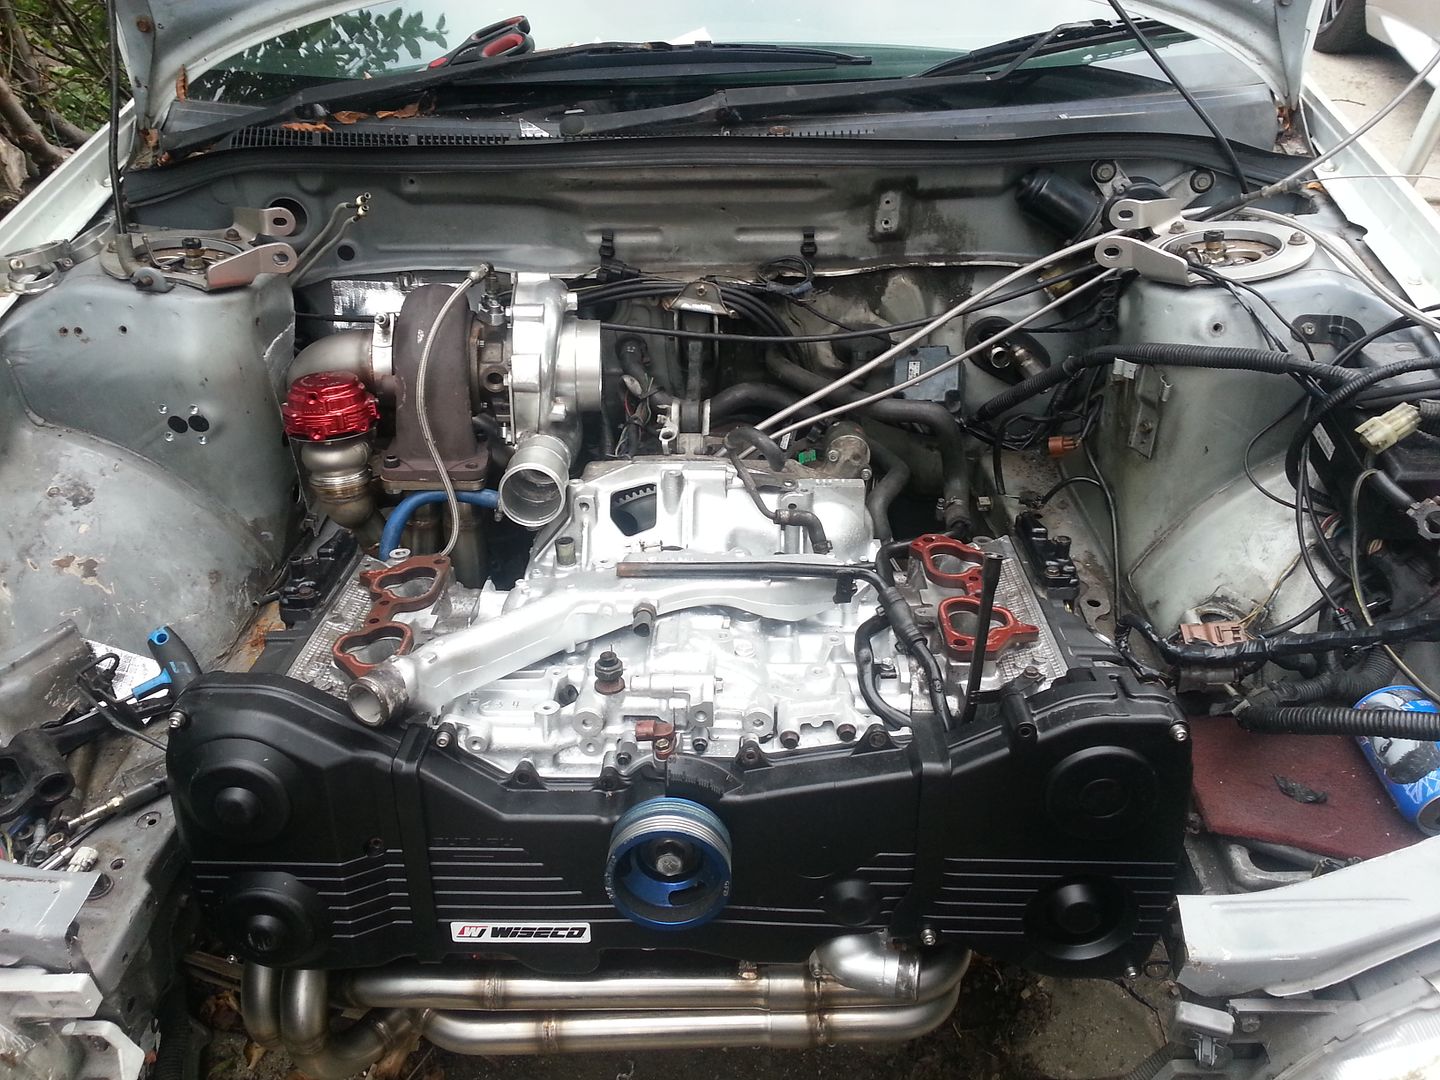 That's pretty much how she sits at the moment. Just a case of refitting everything. Making new lines here and there and just getting on with it!!!! |
|
#12
|
|||
|
|||
|
Wow that's fantastic, there's some very clever stuff done there and all nice and tidy to. Well done can't wait to see it finished
|
|
#13
|
||||
|
||||
 Nice project, loving the work on the headers! |
|
#14
|
||||
|
||||
|
Cracking write up, some real awesome stuff going on there and really interesting to an engine amateur like me, I enjoyed the pics...

|
|
#15
|
||||
|
||||
|
Great build this.you clearly know what you are doing. Have you your own business in engine builds etc ?
|
|
#16
|
||||
|
||||
|
Incredible workmanship and attention to detail, those headers look incredible.
__________________
2005 Spec B 6MT - KiDO tuned (~270Bhp)
Custom exhaust - Cosworth filter - Samco Intake - Tints - Bilstein B8/B6 & STI springs - SuperPro ALK - Whiteline positive shift kit, rack mounts, rear adjustable camber bushes, front ARB mounts & strut brace, 20mm rear ARB with AVO mounts, - Hardrace Gearbox and pitch mounts - Prodrive PFF7's - Front Brembos - Kenwood CarPlay - 1/2 carbon grille - STI front splitter |
|
#17
|
||||
|
||||
|
Great write-up, loving the pipework
 Nice plate on the Maserati BTW "is it yours"? |
|
#18
|
||||
|
||||
|
Wow, impressive indeed, very nice work. I guess power delivery on that turbo is going to be entertaining.
|
|
#19
|
||||
|
||||
|
Thats super cool! I wish i had an inkling about how to do any of that!
|
|
#20
|
||||
|
||||
|
That is awesome stuff, the turbo setup and manifold + clutch setup is very different! really looking forward to the next instalment
__________________
Somewhere drinking Coffee Mapped and maintained by FBTuning 07595 493581. |
|
#21
|
|||
|
|||
|
Thanks for all the comments people. Much appreciated
Quote:
Quote:
I have seen a couple of dyno graphs on 2.1 stroker engines and one from a 2.5 all with GT4088's (Mines a 4094) and I think you would be surprised. They spool up the same as a GT35. As the turbo is not the ideal choice I have come to a compromise on a few parts of the build to aid spool. |
|
#22
|
|||
|
|||
|
|
|
#23
|
||||
|
||||
|
Oo now that's different too!
__________________
Somewhere drinking Coffee Mapped and maintained by FBTuning 07595 493581. |
|
#24
|
|||
|
|||
|
|
|
#25
|
||||
|
||||
|
Looks a great job there, very clean install
__________________
2005 Spec B 6MT - KiDO tuned (~270Bhp)
Custom exhaust - Cosworth filter - Samco Intake - Tints - Bilstein B8/B6 & STI springs - SuperPro ALK - Whiteline positive shift kit, rack mounts, rear adjustable camber bushes, front ARB mounts & strut brace, 20mm rear ARB with AVO mounts, - Hardrace Gearbox and pitch mounts - Prodrive PFF7's - Front Brembos - Kenwood CarPlay - 1/2 carbon grille - STI front splitter |
|
#26
|
|||
|
|||
|
Cheers chap. Truth be told I'd have liked to have painted the bay aswell but a good clean will have to do for now!
|
|
#27
|
|||
|
|||
|
Bit more plumbing done. I decided to put a tie rod in for the turbo for an extra added support. Unsupported weight of a turbo on a red hot set of headers is one of the biggest contributors to cracks in manifolds in general, always worth bearing in mind. I'd whole heartily forgotten how long it takes to put hard lines in! Breather pipes done along with the water pipes and power steering. With the power steering I have used a combination of hard line and swaged fittings to get down to the rack.
Tie rod support 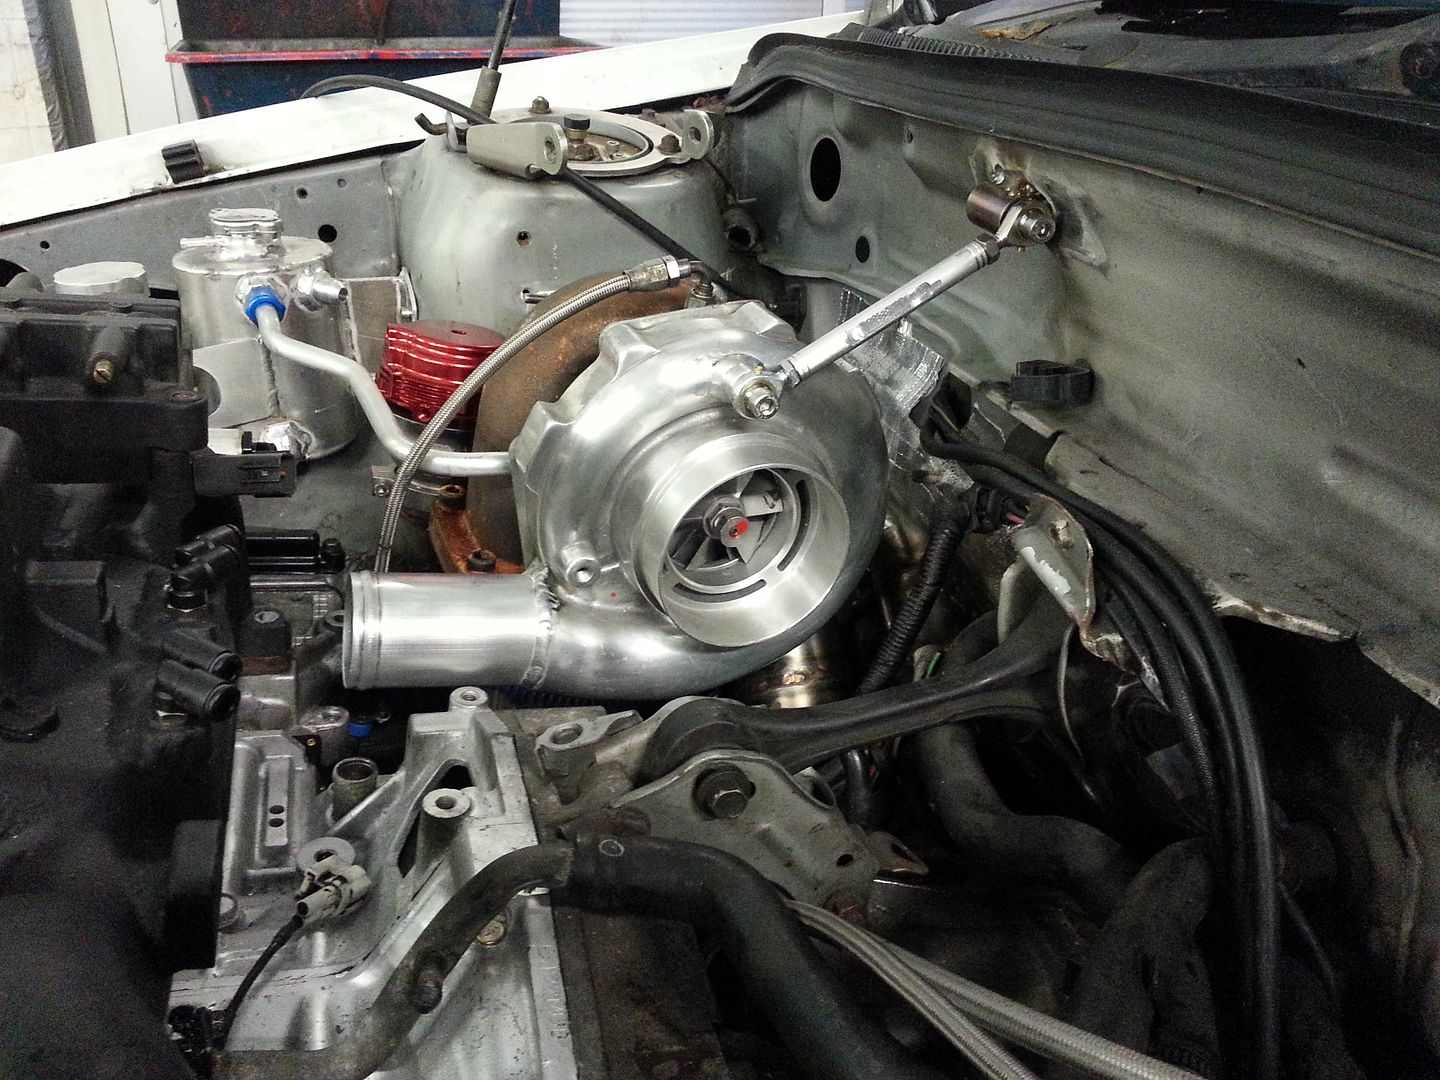 Engine bay with the hard lines in 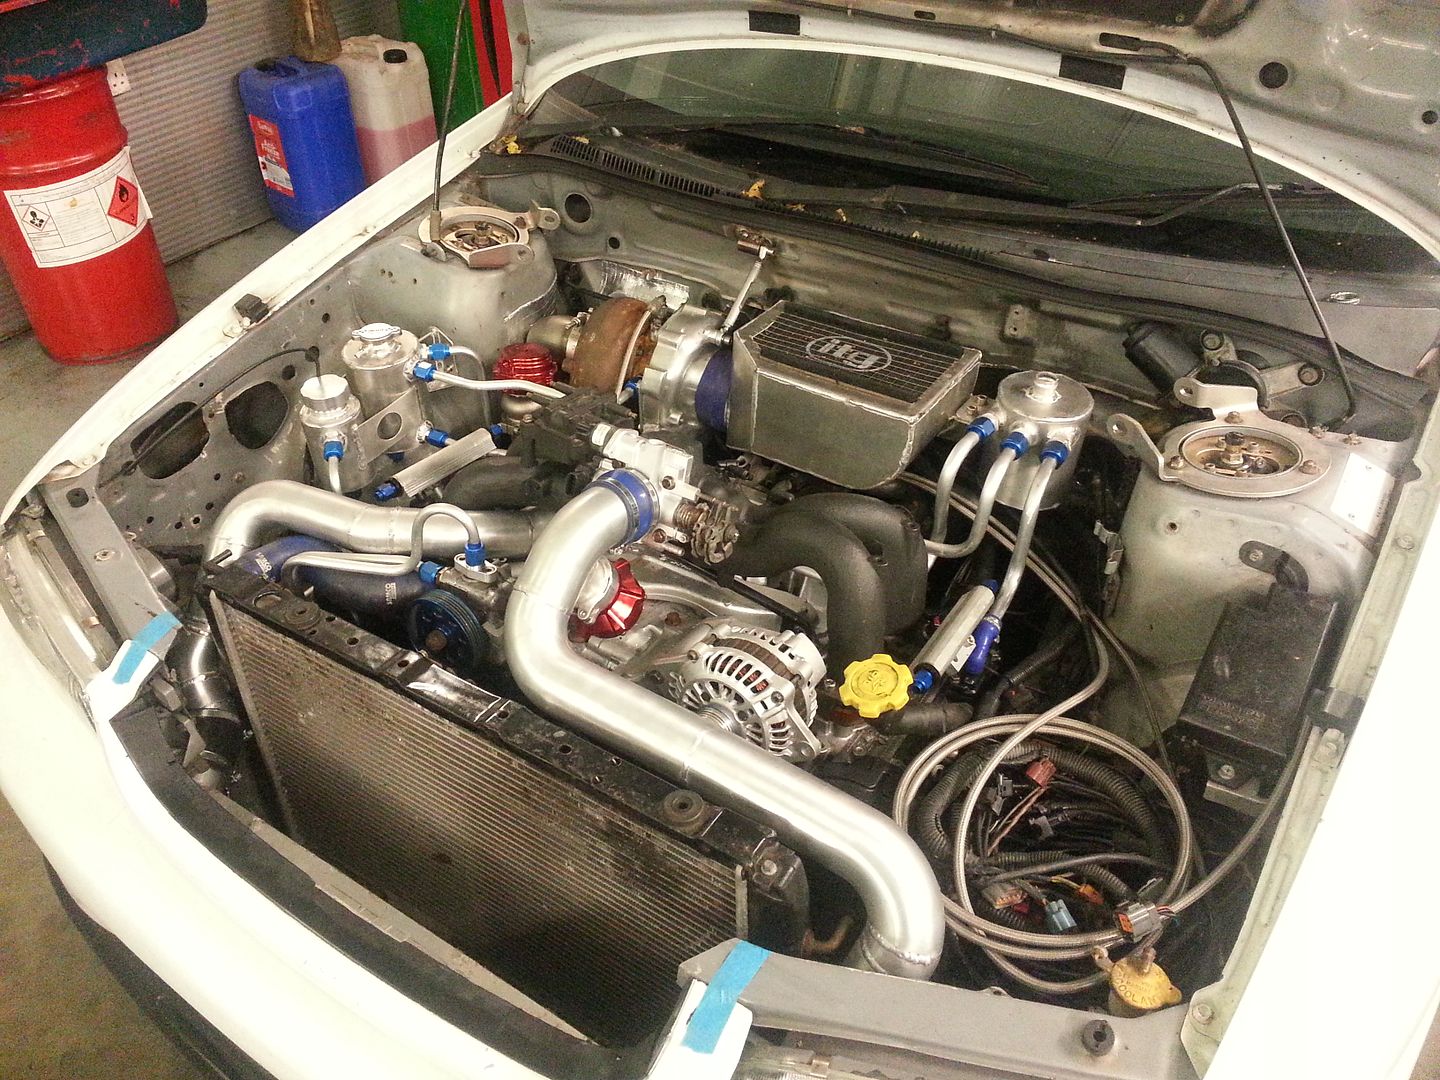 Slightly better view of the water header and power steering tanks 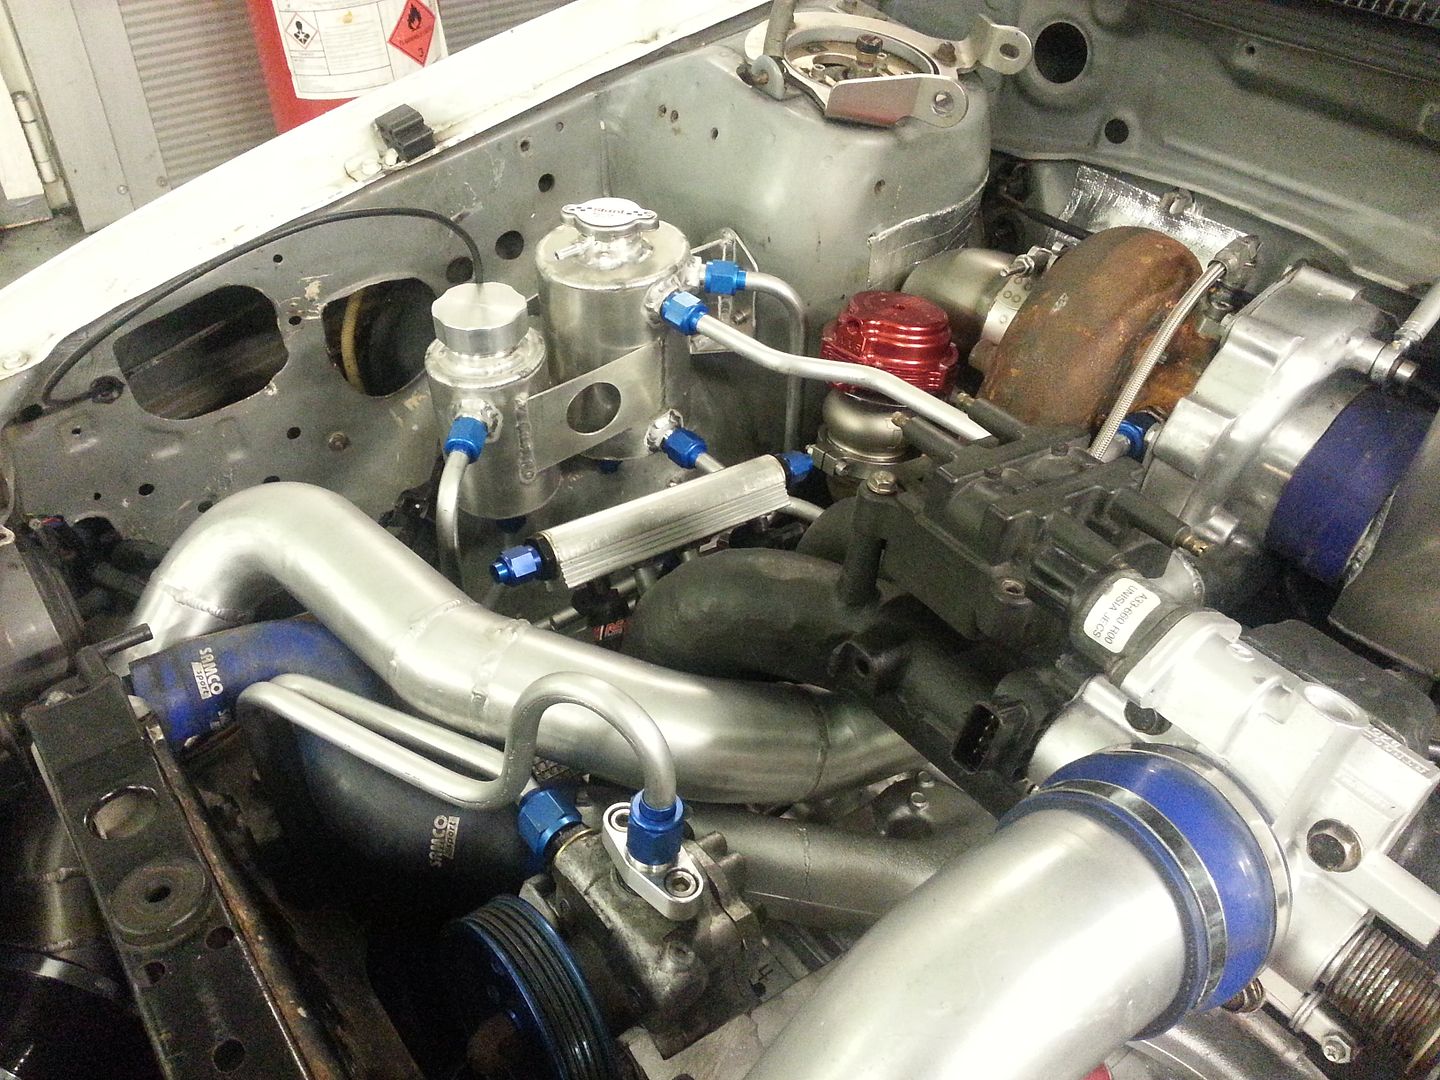 Slowly slowly catchy monkey! |
|
#28
|
||||
|
||||
|
Won't the engine movement on acceleration cause problems with the hardlines?
Looks great btw
__________________
Somewhere drinking Coffee Mapped and maintained by FBTuning 07595 493581. |
|
#29
|
|||
|
|||
|
The header tank is yet to be rubber mounted. Waiting on the bits from suzuki which will solve that issue. The breather bits will all move with the engine and the power steering lines are half rubber hose on the rack end. If everything was hard mounted to the body and then to the motor then yes your right you can get issues with the fittings when using hard lines.
|
|
#30
|
||||
|
||||
|
Aaa cool! Looking forward to seeing more
__________________
Somewhere drinking Coffee Mapped and maintained by FBTuning 07595 493581. |
|
#31
|
|||
|
|||
|
Thanks dude,
Couple of loose endy bits tied up. Bit more wiring and behind the scenes stuff done like running lines etc. OPB pedal box is now in. I managed to get a second hand one off a mate that's a classic specific box. After other bits taking so long I now have the intercooler core for the V mount intercooler set up. That's nearly finished. Rad end tanks are done. Just need to weld on the pipe for the hoses. Waiting on the ally for that. Will start making/welding the brackets and mounting point on the car and coolers so I can get all that in situ permanently then move onto the pipe work. Makes having done the front mount mods a little pointless but there we go! Also changed the mount for the turbo from the bulk head to the engine. Machined a little tower for it to mount too. And you can see in one of the pics that the FPR is there now too. Turbo mount: 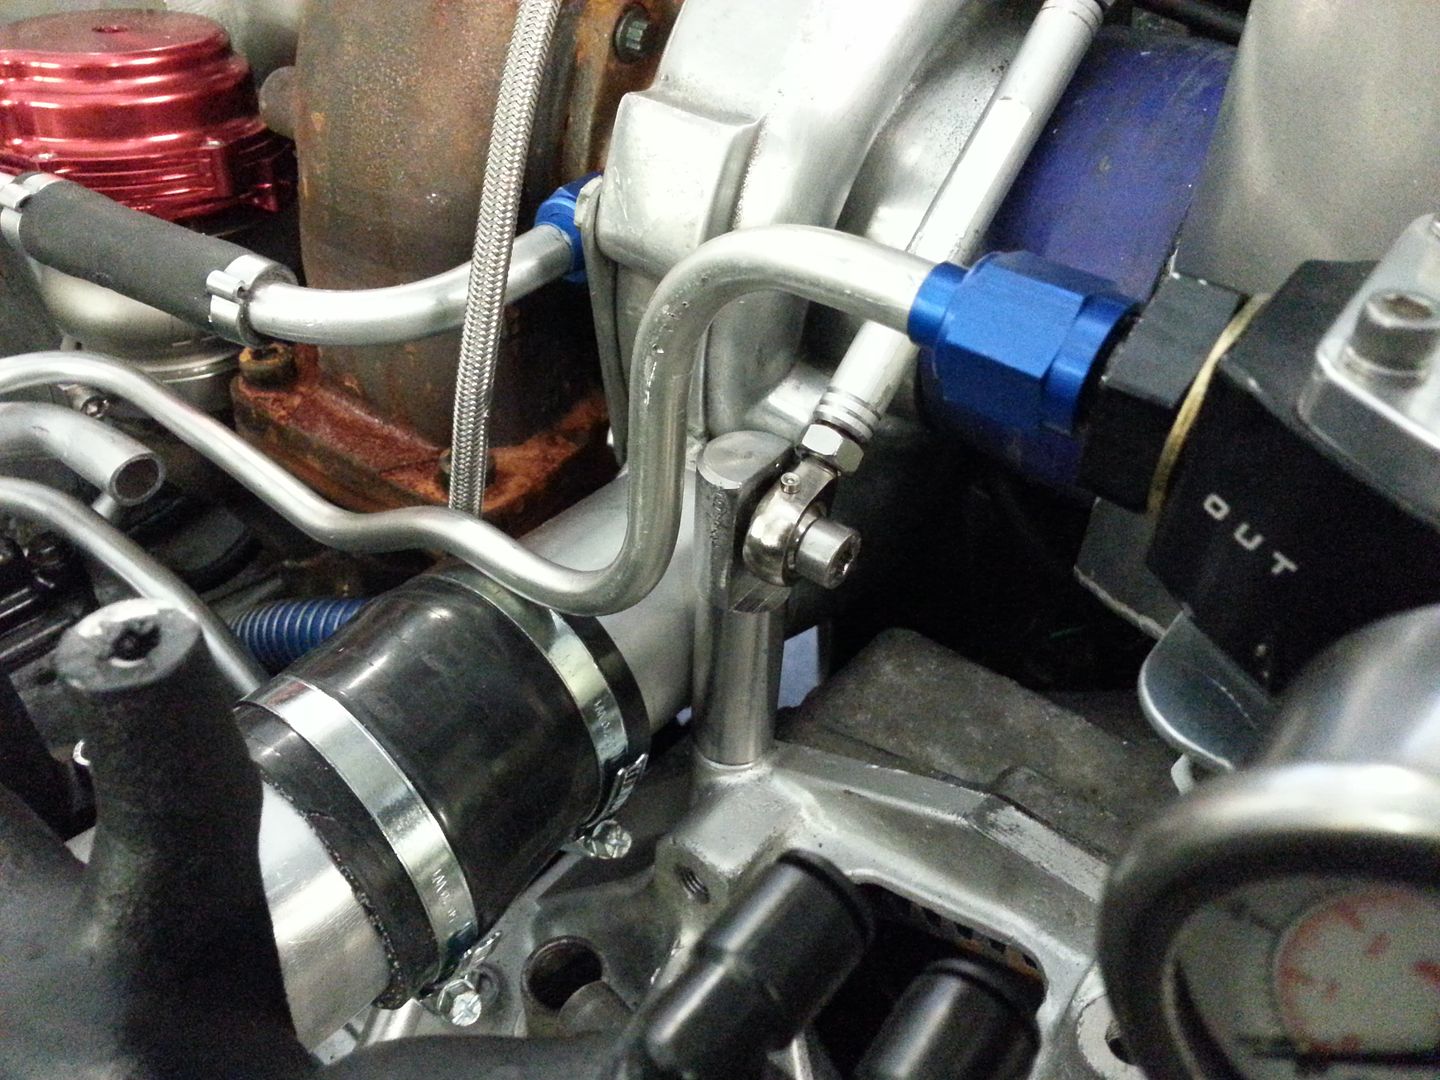 Engine bay shot as it was before the new core turned up! FPR in there on the air box, which i'm still not totally happy with. The air box I mean. 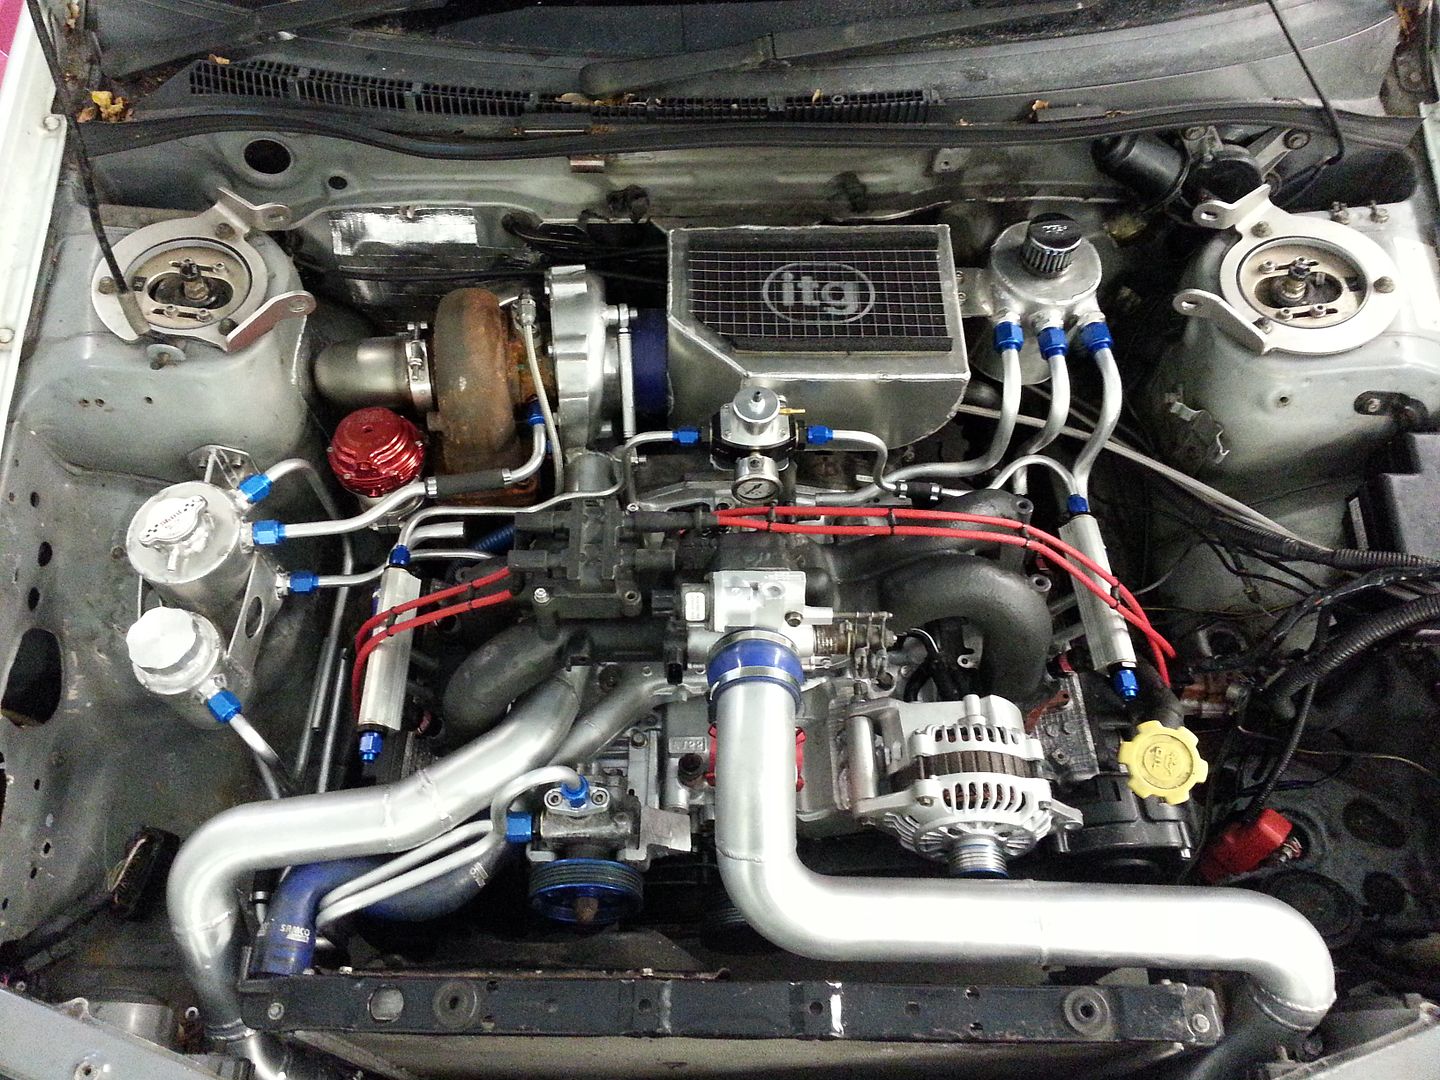 Just a snap while the car was in the air of the whole exhaust. Shows how the header squirrels around. I tried to keep the system as straight as possible. 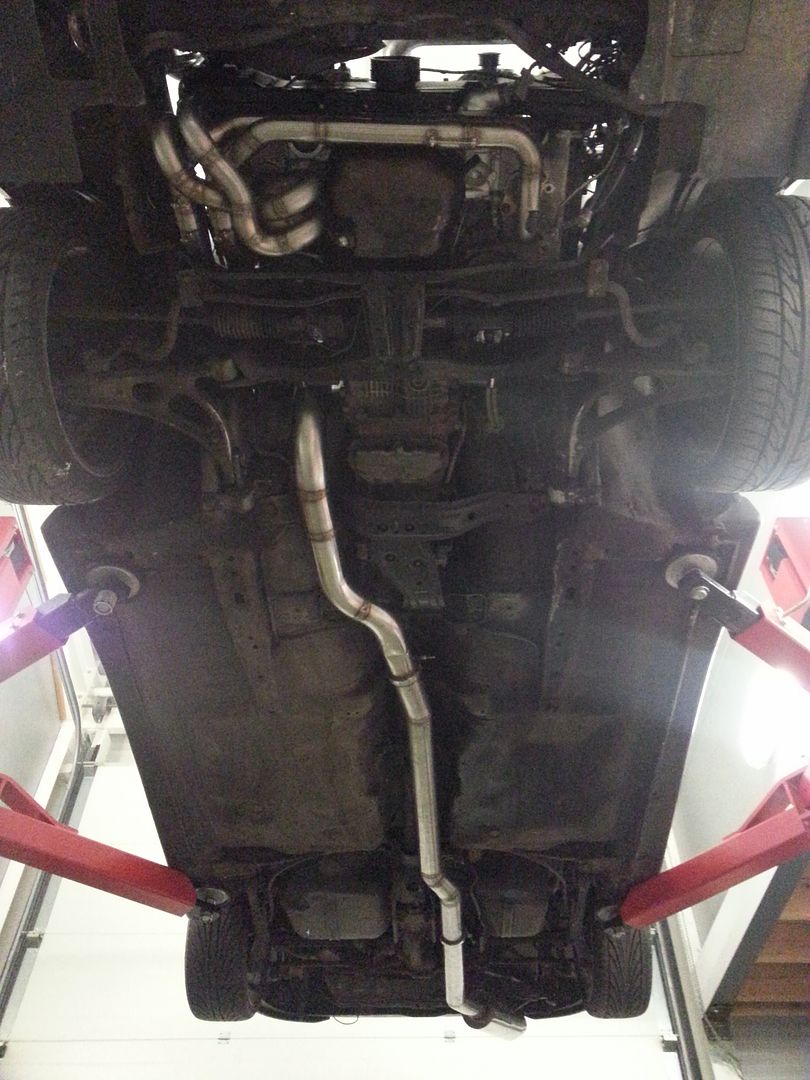 Quick "throw in" pic of the v mounted intercooler core. It won't wind up sitting quite there but gives a good enough idea. 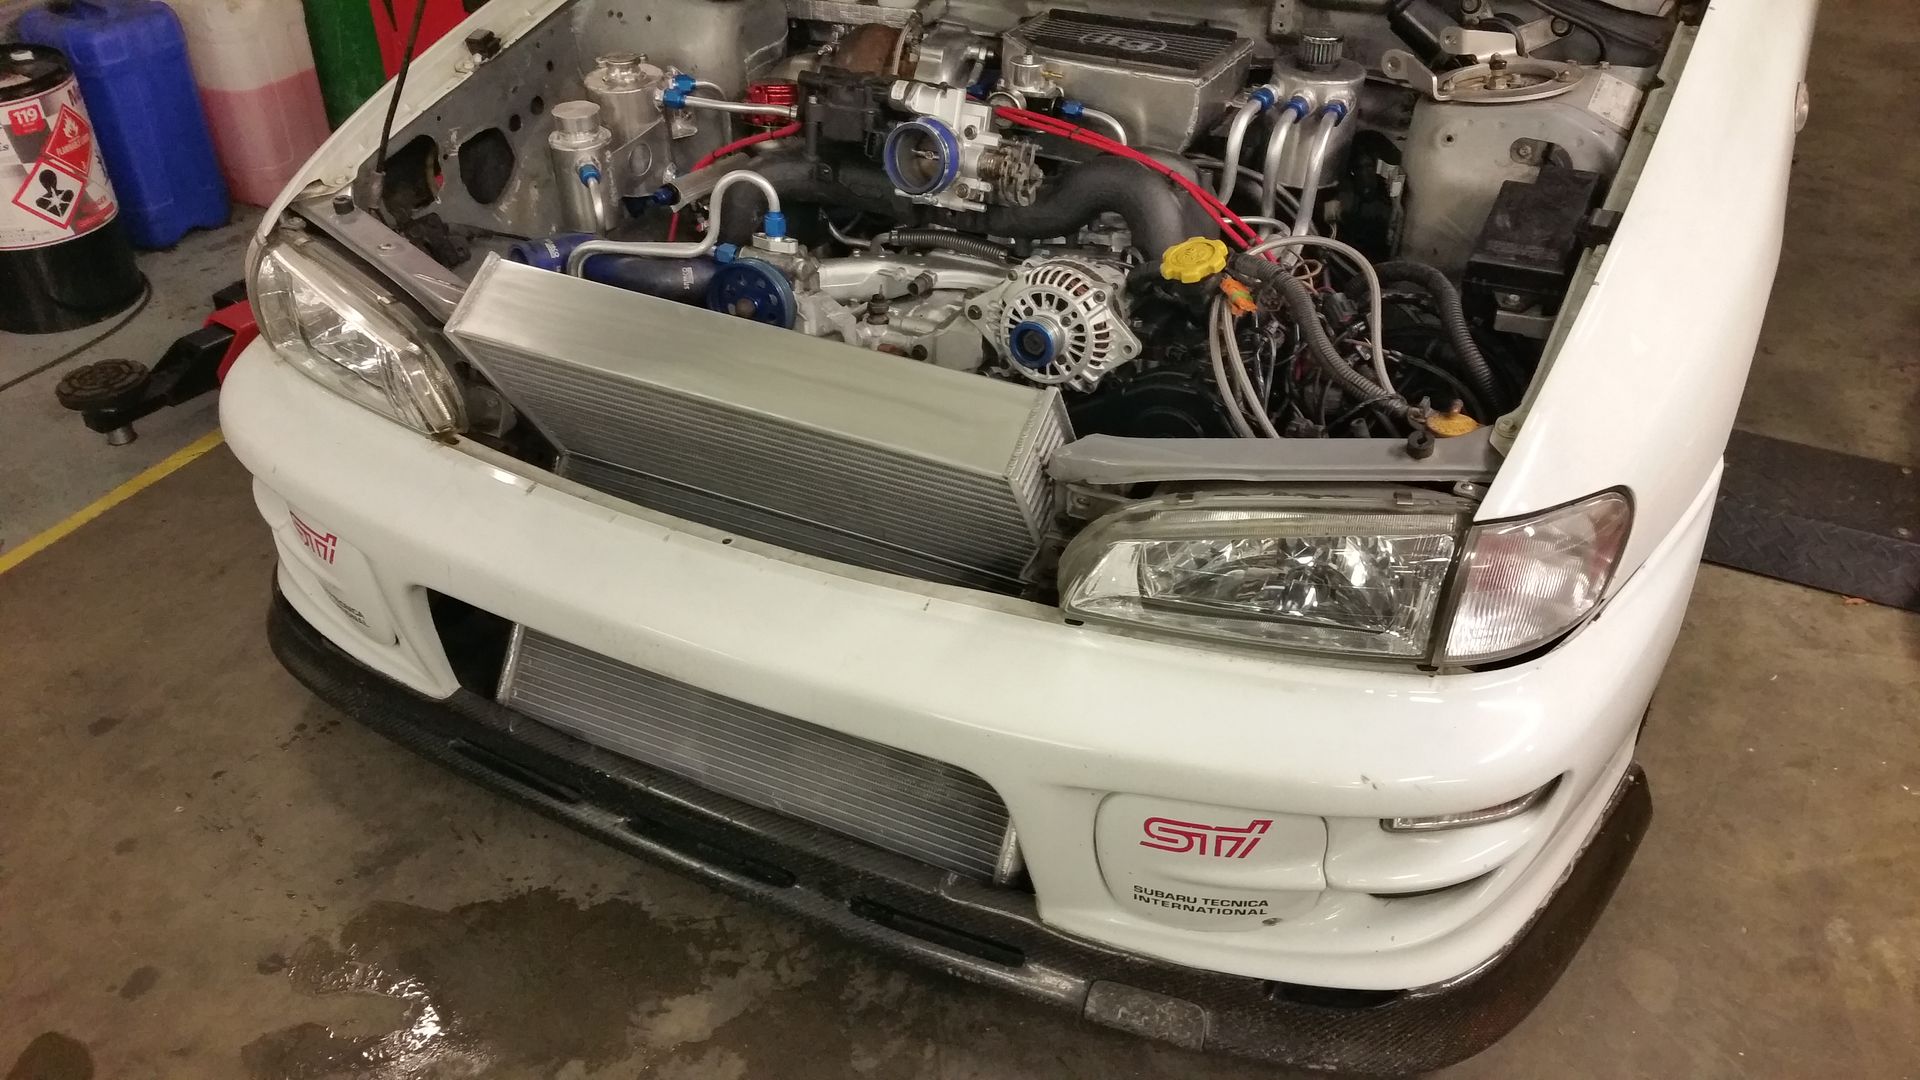 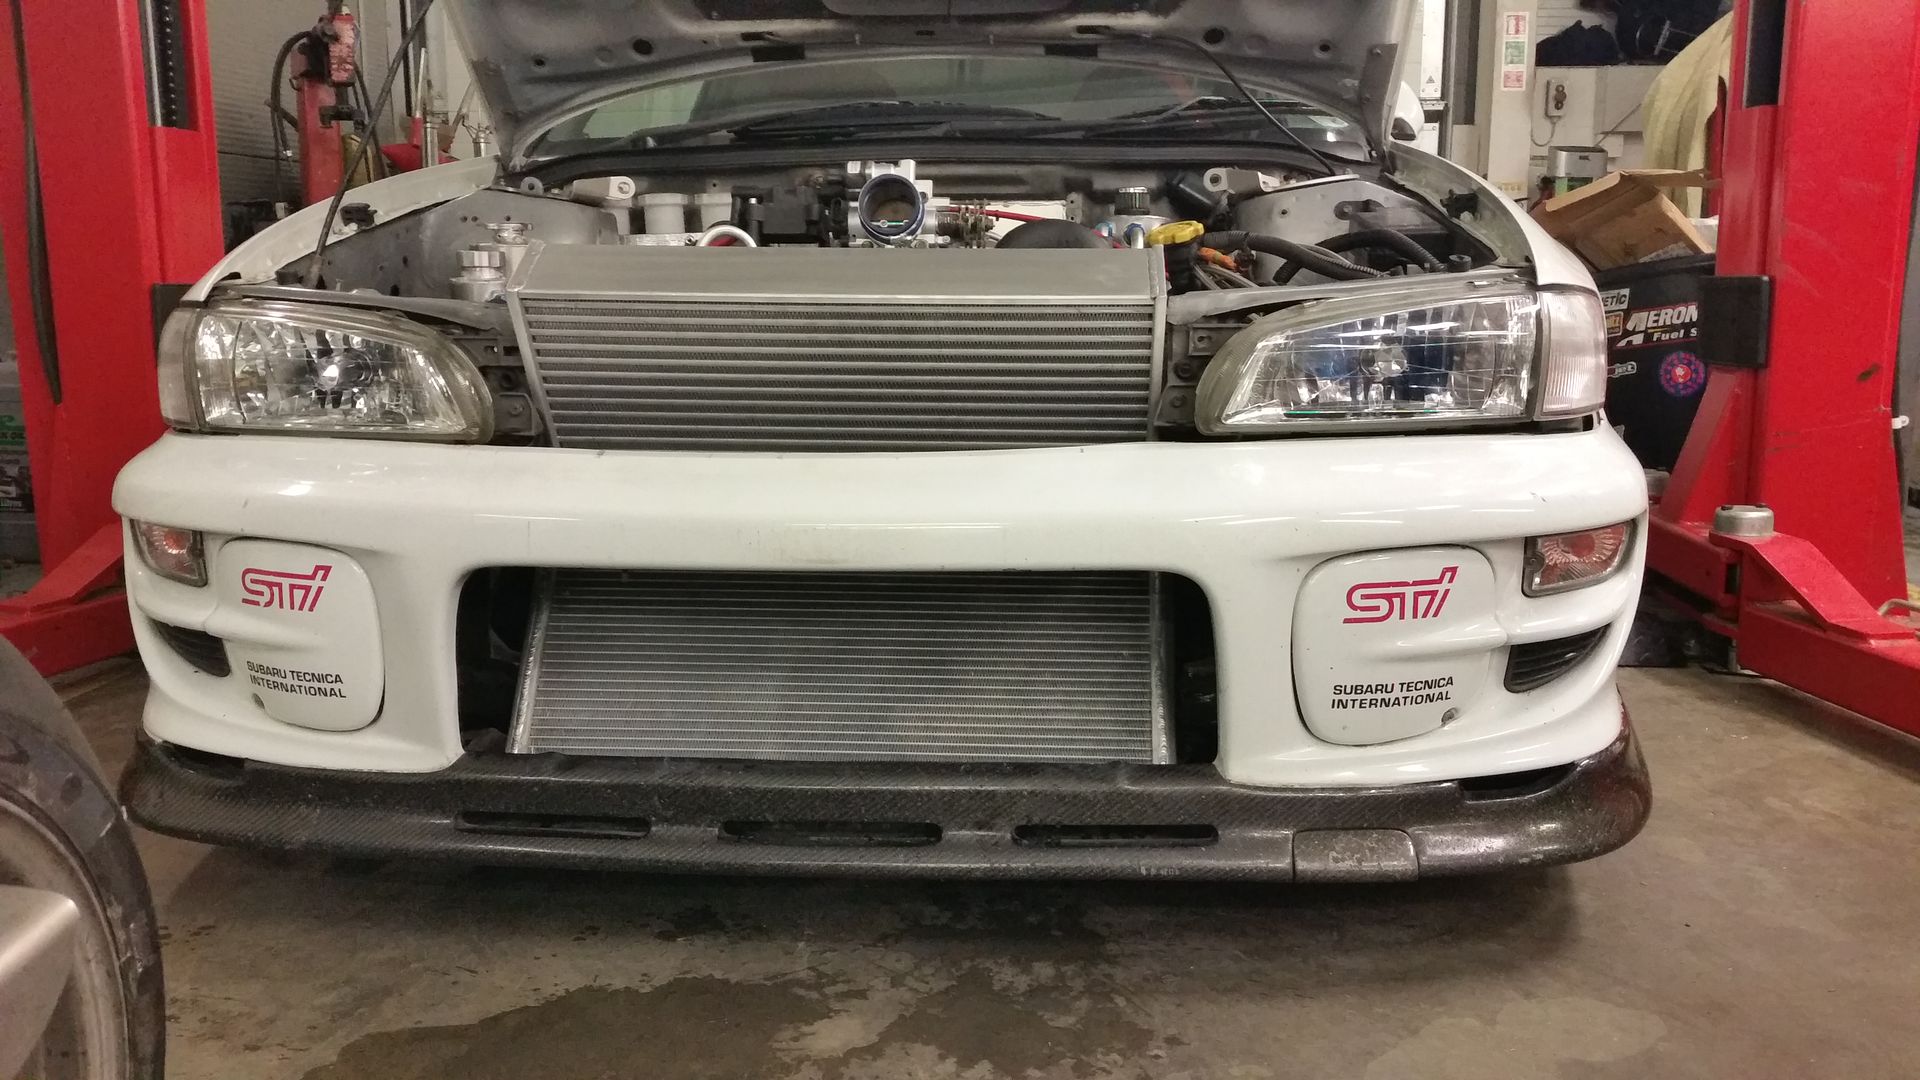 With the end tanks welded on and nearly finished up: 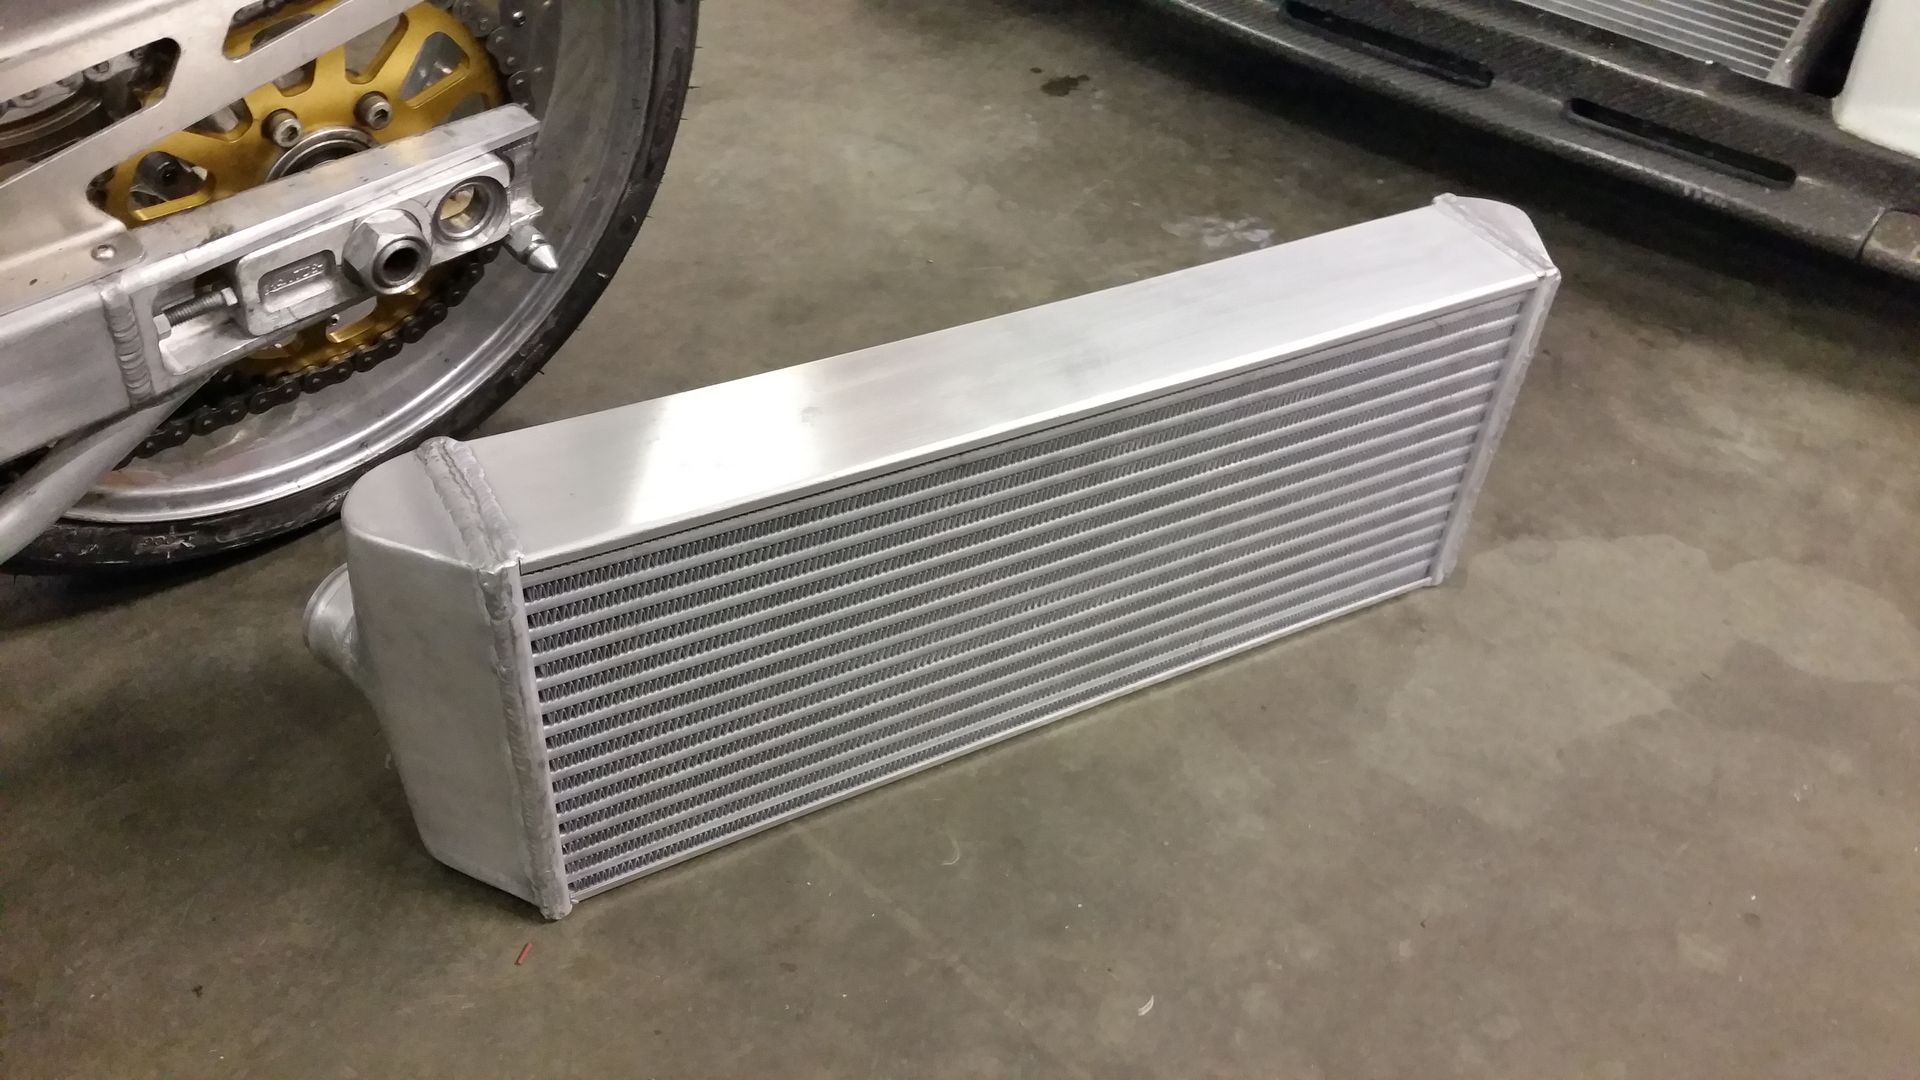 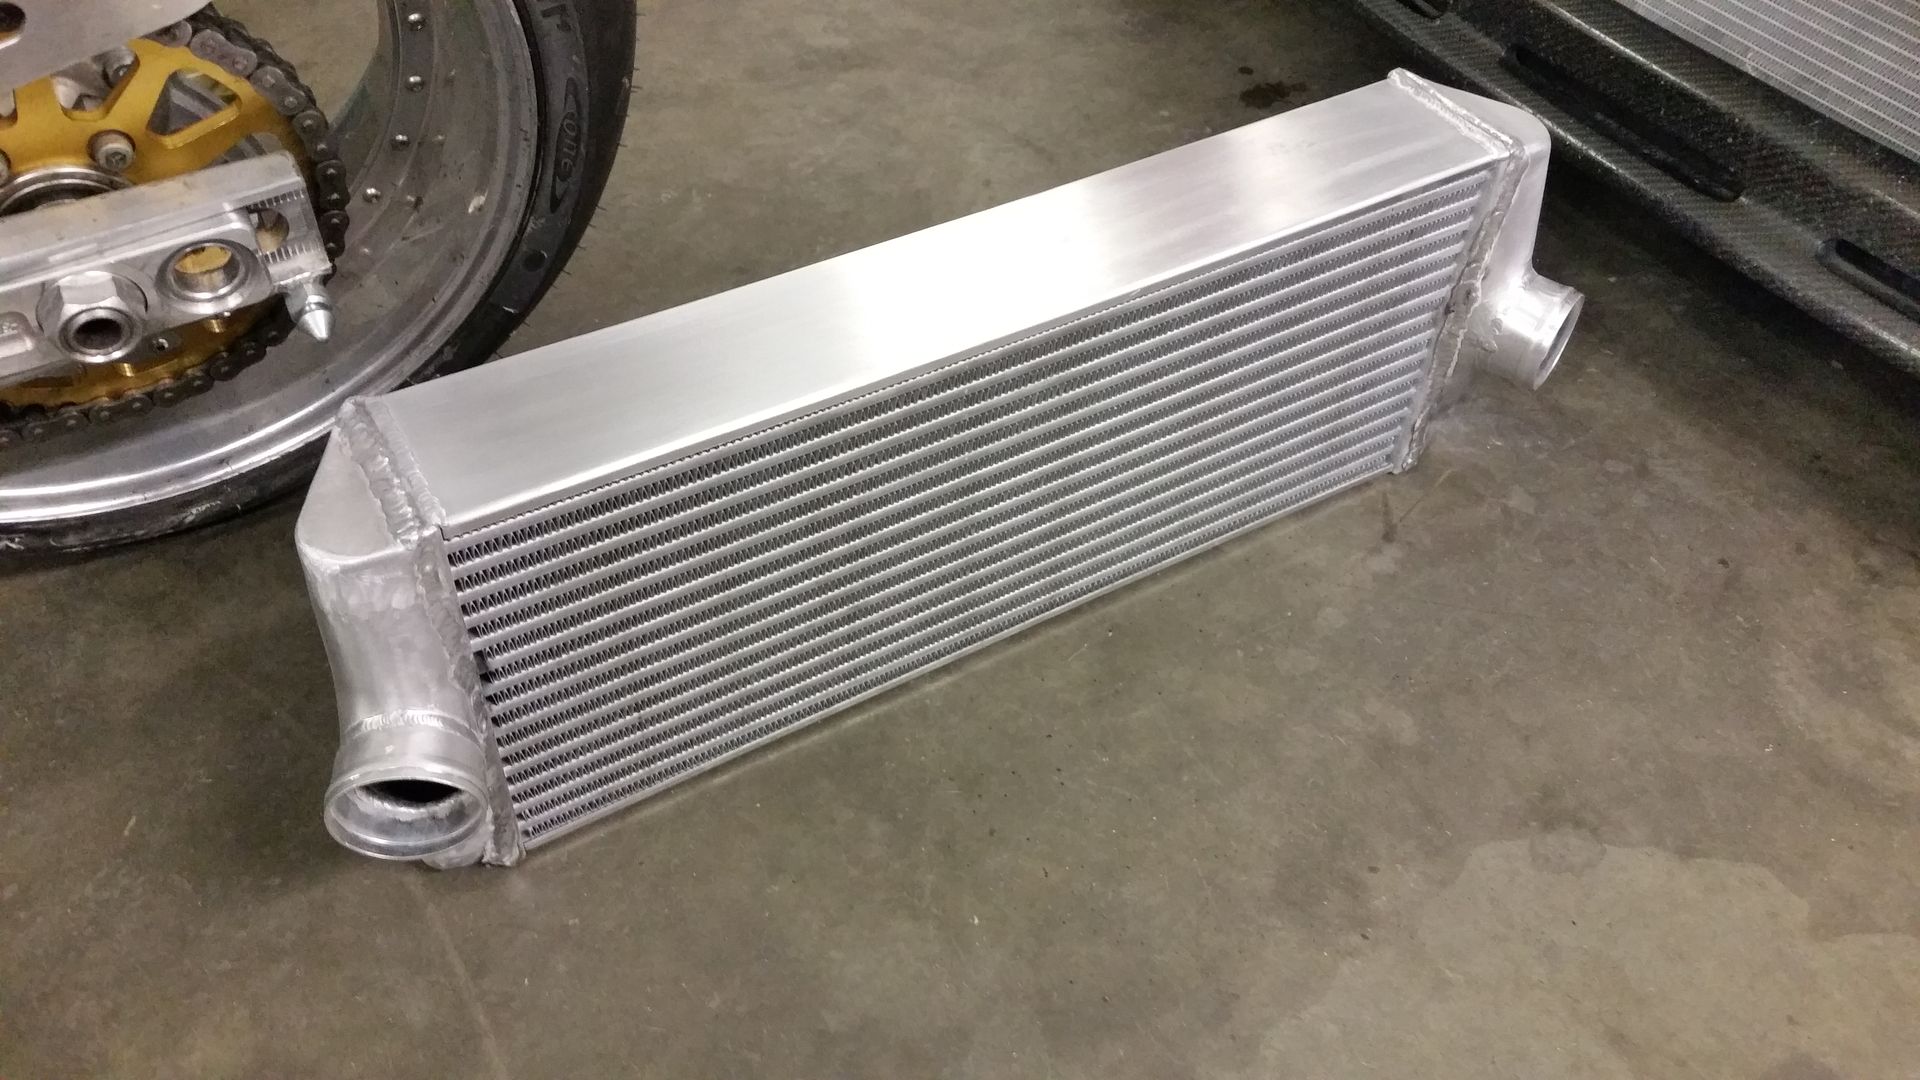 Will get a bit more done in the morning and hopefully get it all mounted in there with the pipe work by the weekend! Last edited by seventune; 18-11-2014 at 10:52 PM. |
|
#32
|
||||
|
||||
|
Loving this thread some cracking work and welding keep up the good work .
__________________
Maintained by Hypertech and Mapped by Andy Forrest 1998 UK Turbo , 1998 Terzo , 1997 JDM Type R the money pit , 2004 black WRX STI Type UK , 2004 blue FSTI |
|
#33
|
|||
|
|||
|
cheers dude,
righty, Intercooler finished and coloured: 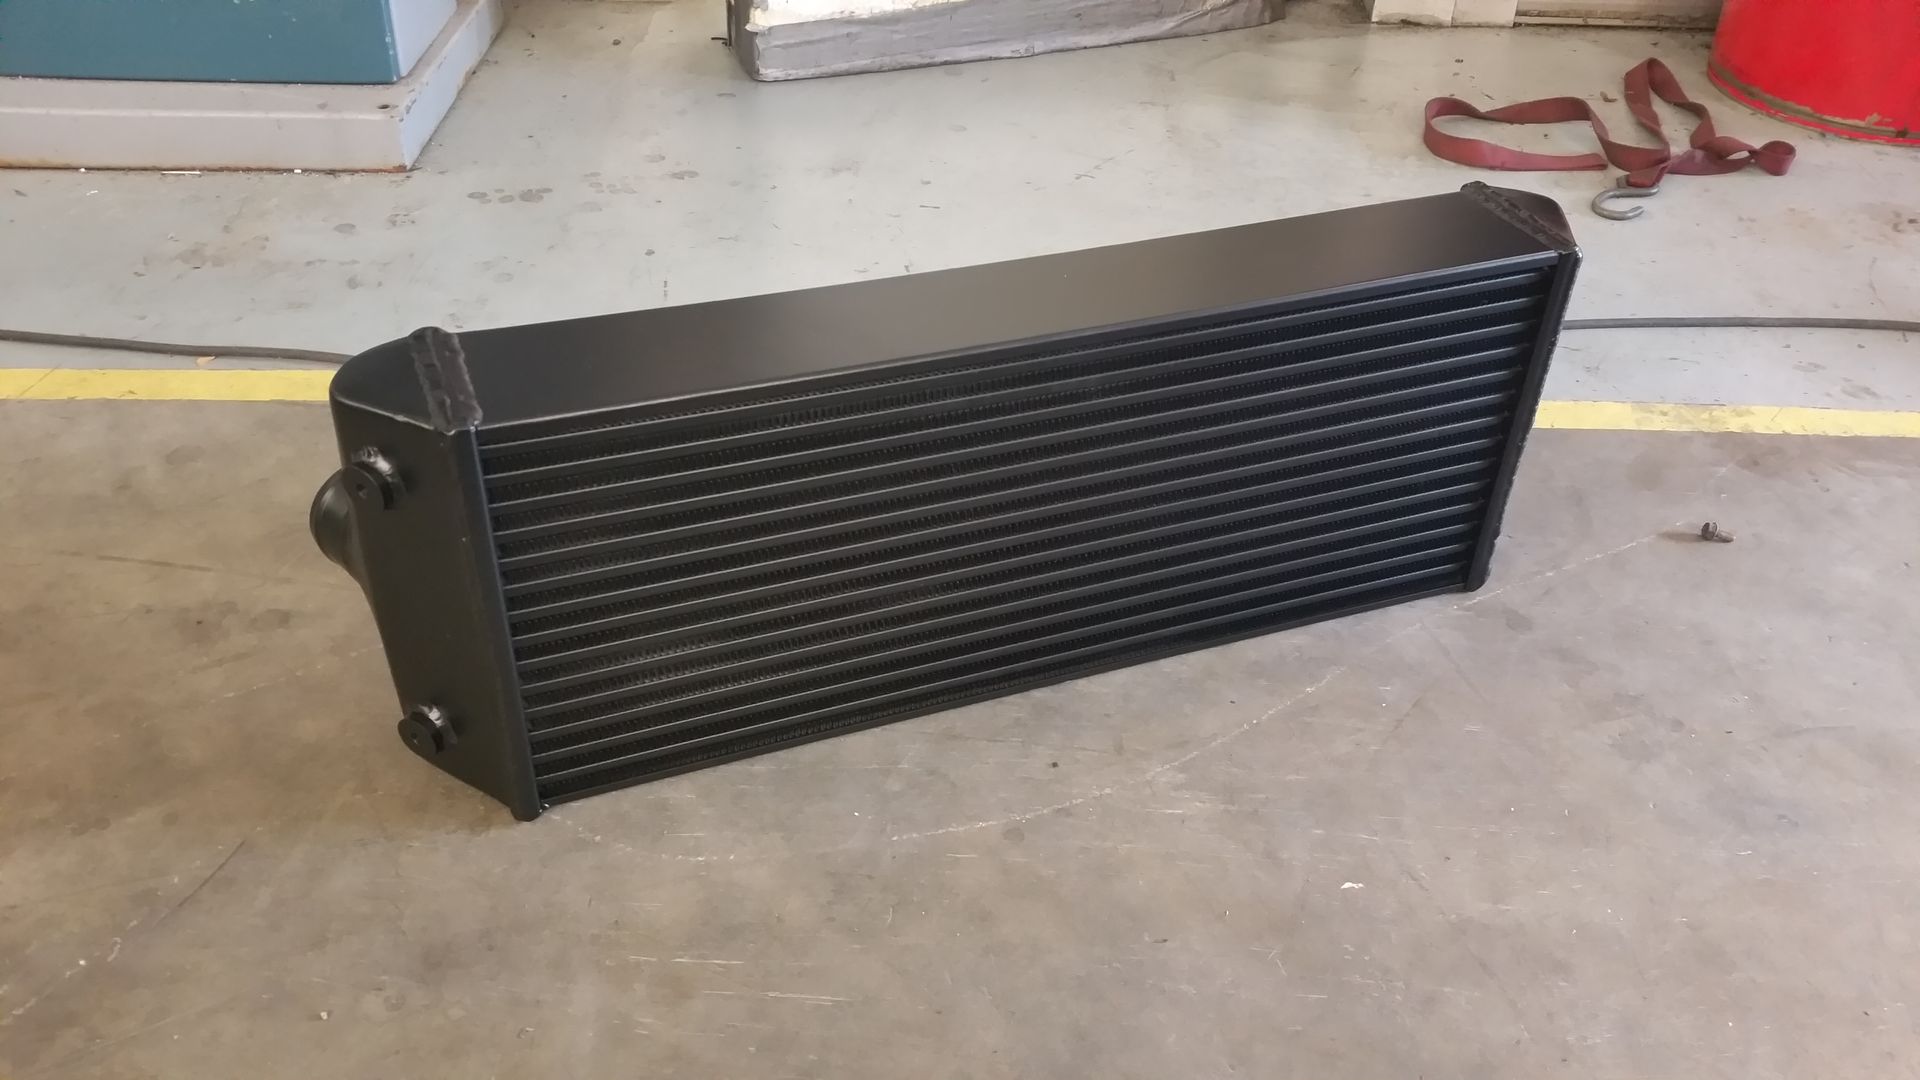 As you have probably see in the older pics I've had to mess aground who the slam panel. This left head headlights and remaining section of the slam panel a touch wobbley so I had knocked up a bracket to take up the slack. Not the prettiest but will do the trick. 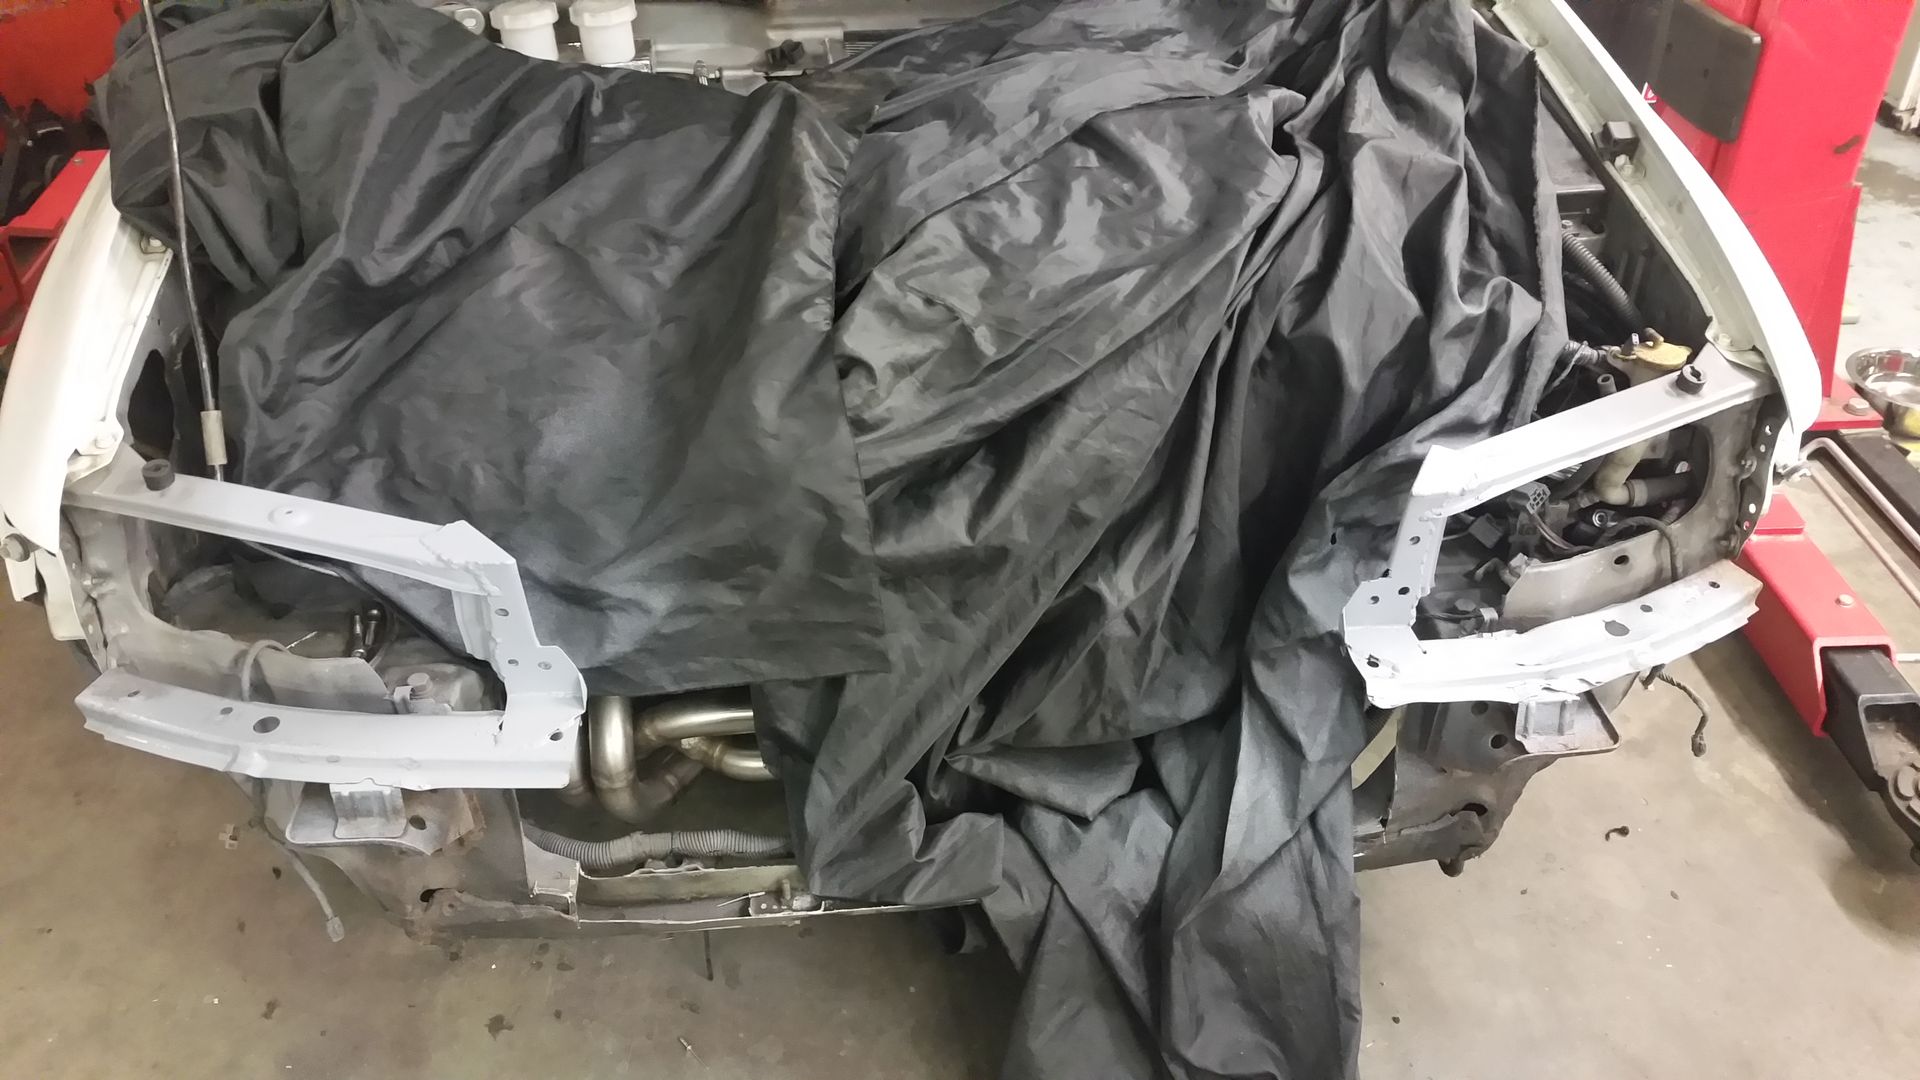 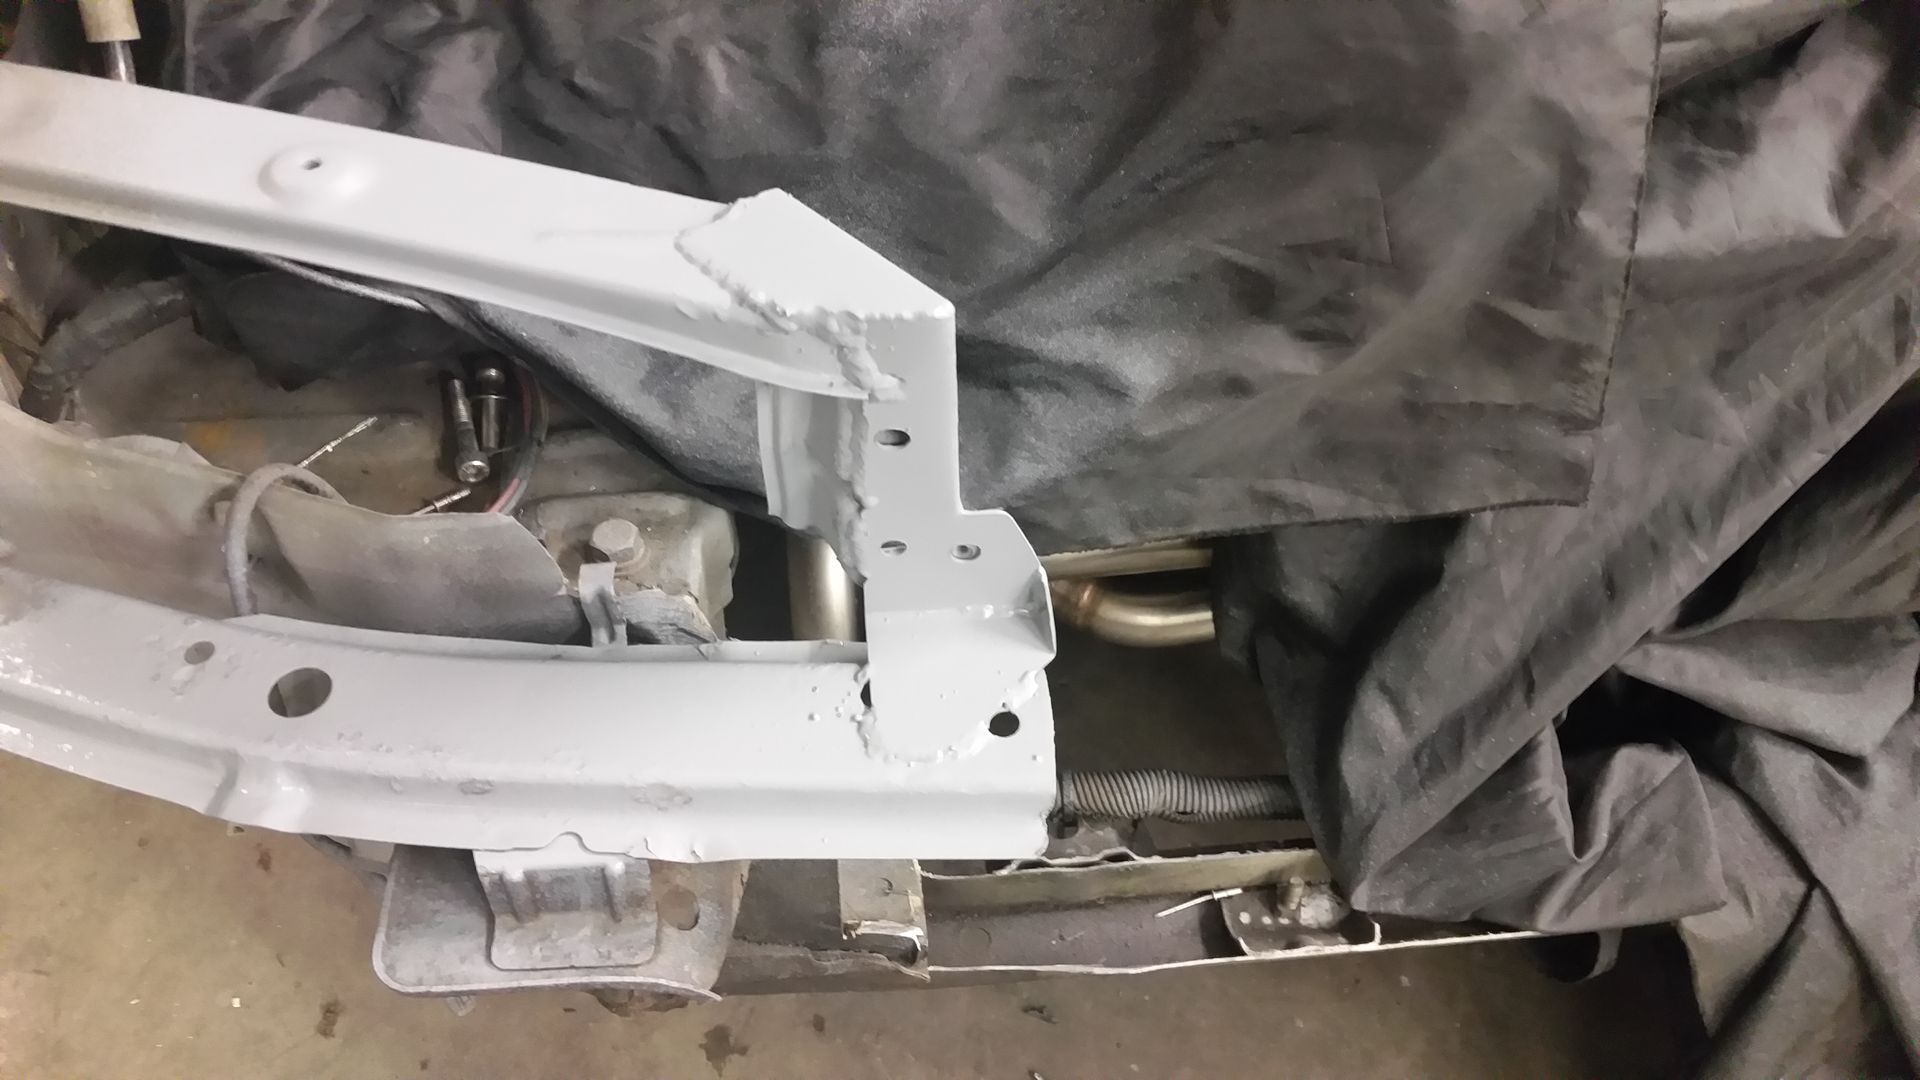 Then the intercooler in place. The rad is in place but not finished yet. Will get the intercooler pipes sorted in the morning. 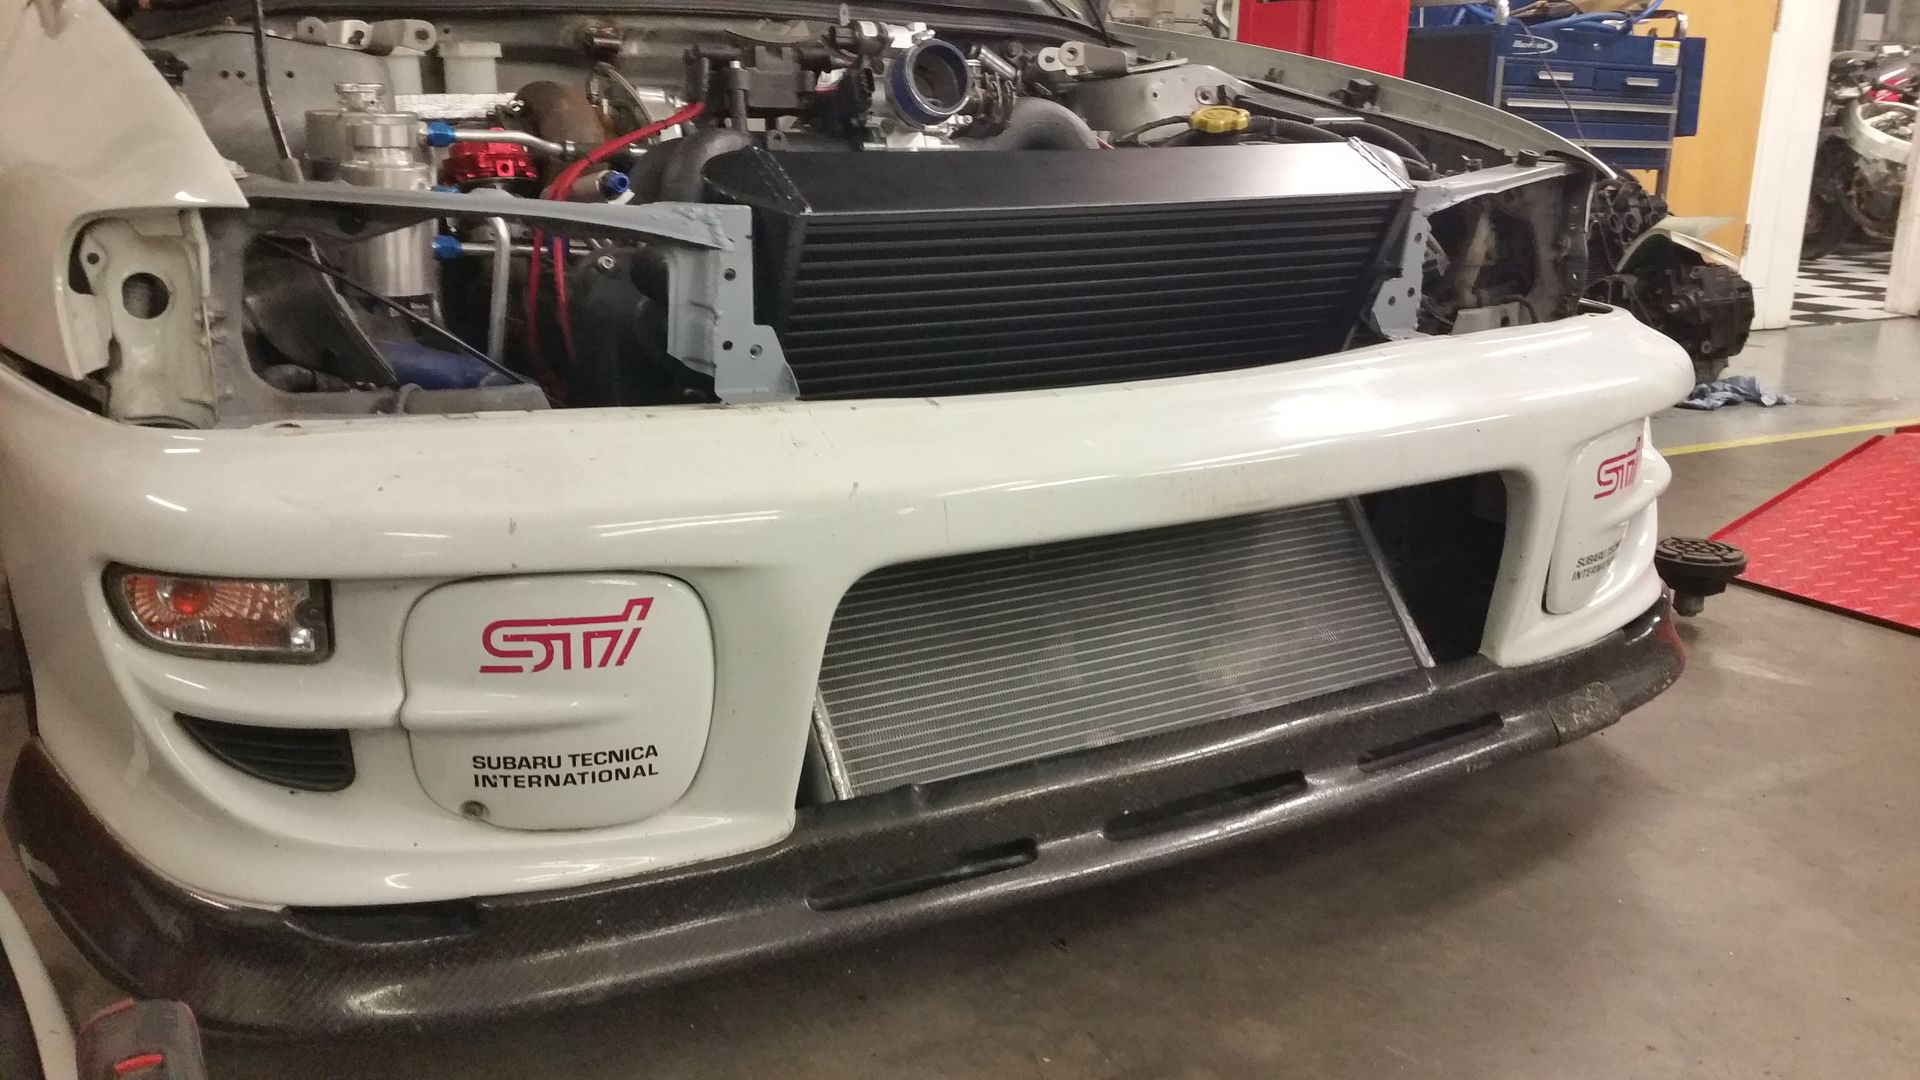 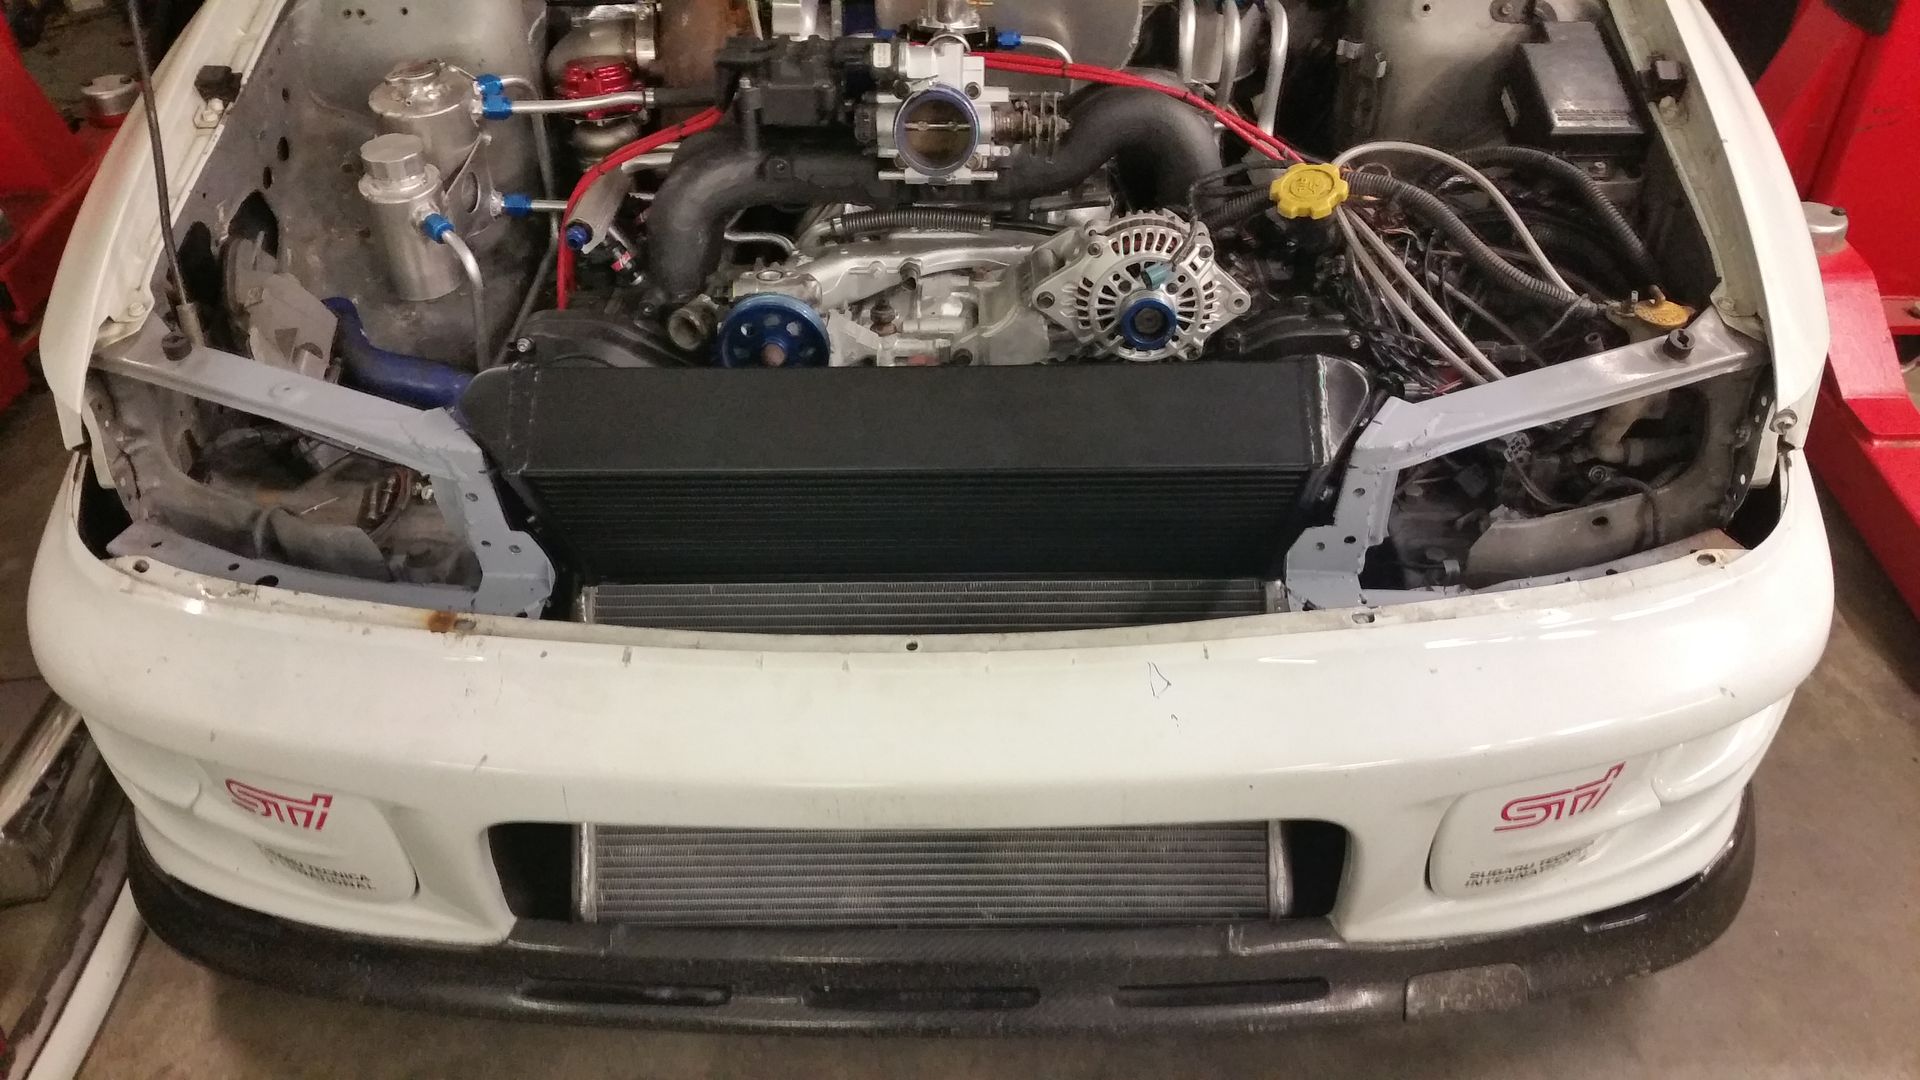
|
|
#34
|
||||
|
||||
|
awesome stuff.....must be near paint the bay and get it running?
|
|
#35
|
||||
|
||||
|
I'm really really liking the V-mounted rad/intercooler, its the way the WRC cars do it so something must be right about it!
__________________
Somewhere drinking Coffee Mapped and maintained by FBTuning 07595 493581. |
|
#36
|
|||
|
|||
|
Thanks. Yeah inspired by the old wrc set up. Always wanted to do it!
So got into the build today got a fair whack of niggelly jobs done. Everything is wired up and in aside from the rad fans (need to buy those still ) and one of the fuel pumps in the rear. All of the vaccum plumbing is done. Along with most of the pedal box lines. Still need to do the brake lines. I desperately need too redo the HT leads. I can't live with those being red. An upgrade to new age coil packs will be in order at some point. Winds me up the BOV and wastegate being red. Few more of the pipes still need coating too along with the rad. I was hoping to get all the water system tied up today but the tube never turned up as promised by the supplier. Oil filter relocation and cooler is also now in. Need to make some ducting for that and also for the v mounted intercooler. Vac pipe stuff behind the plenum 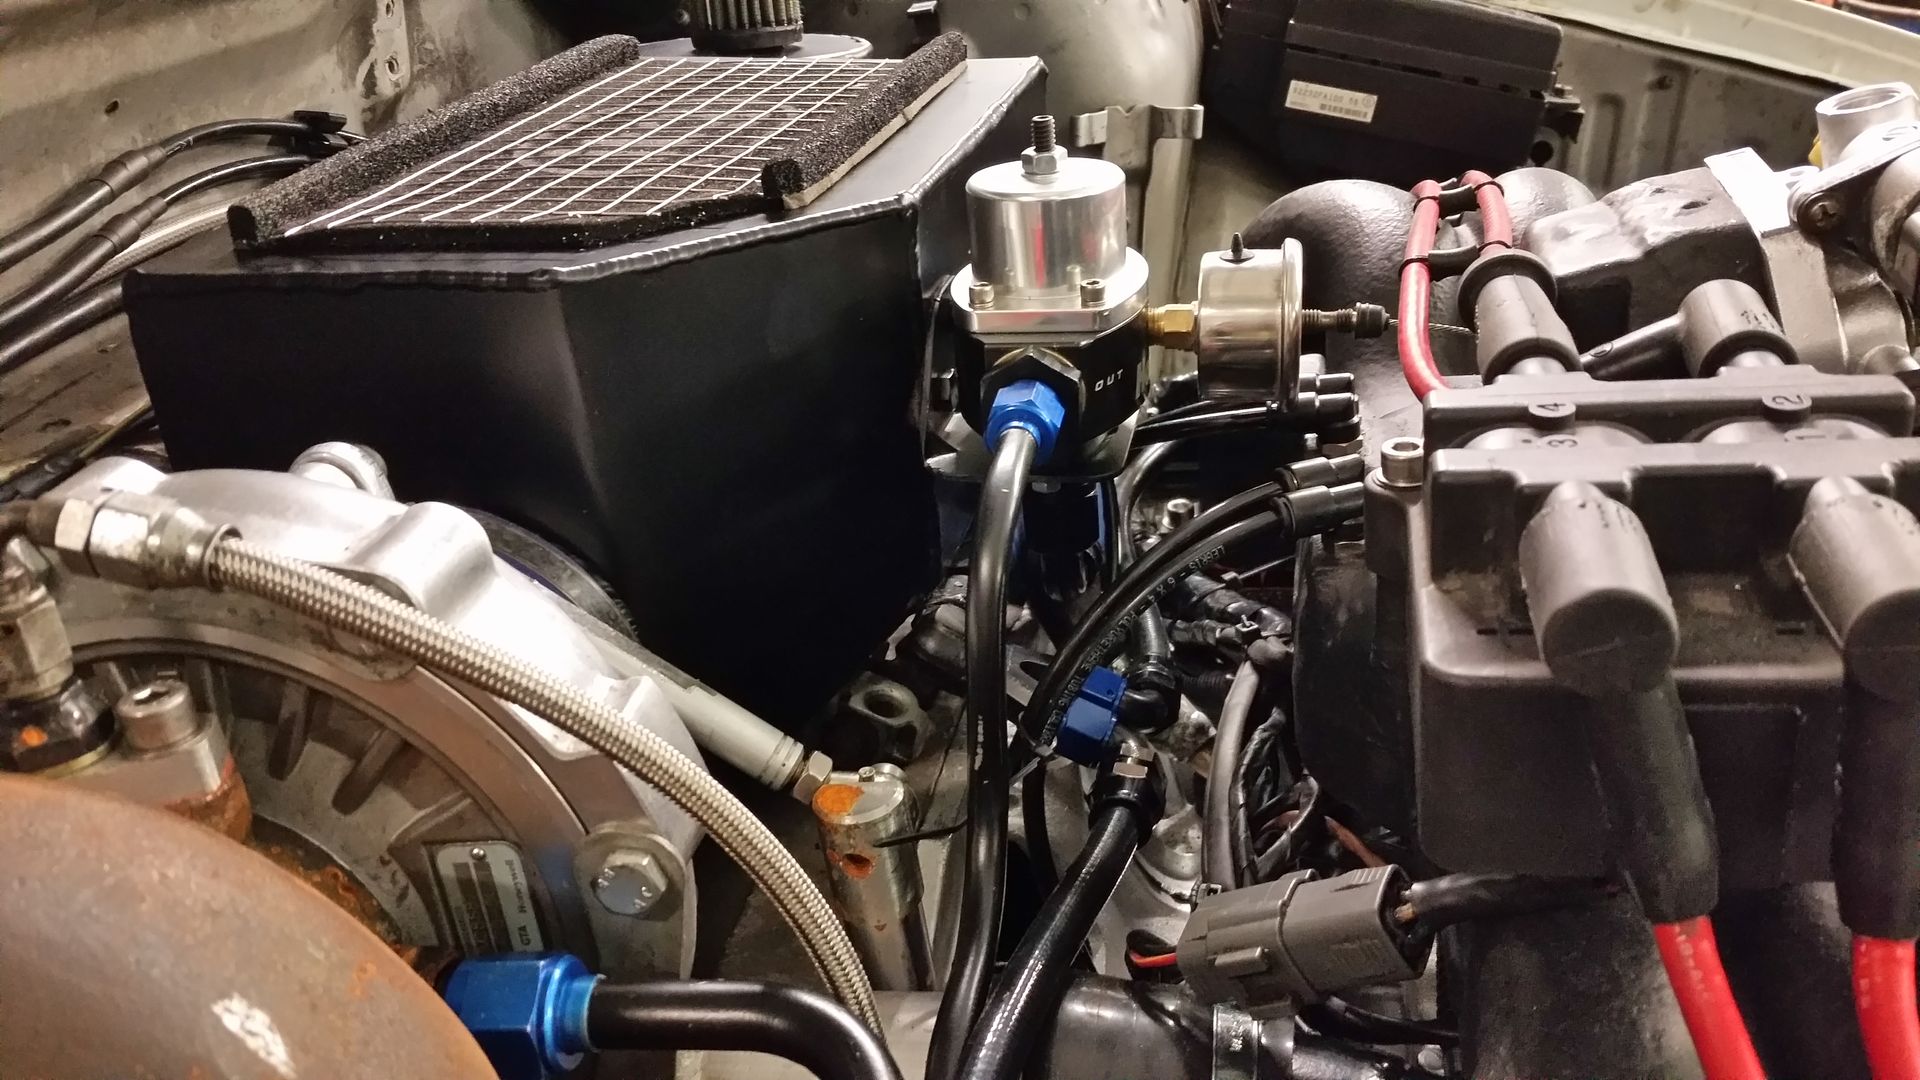 v mount intercooler brackets either side now in 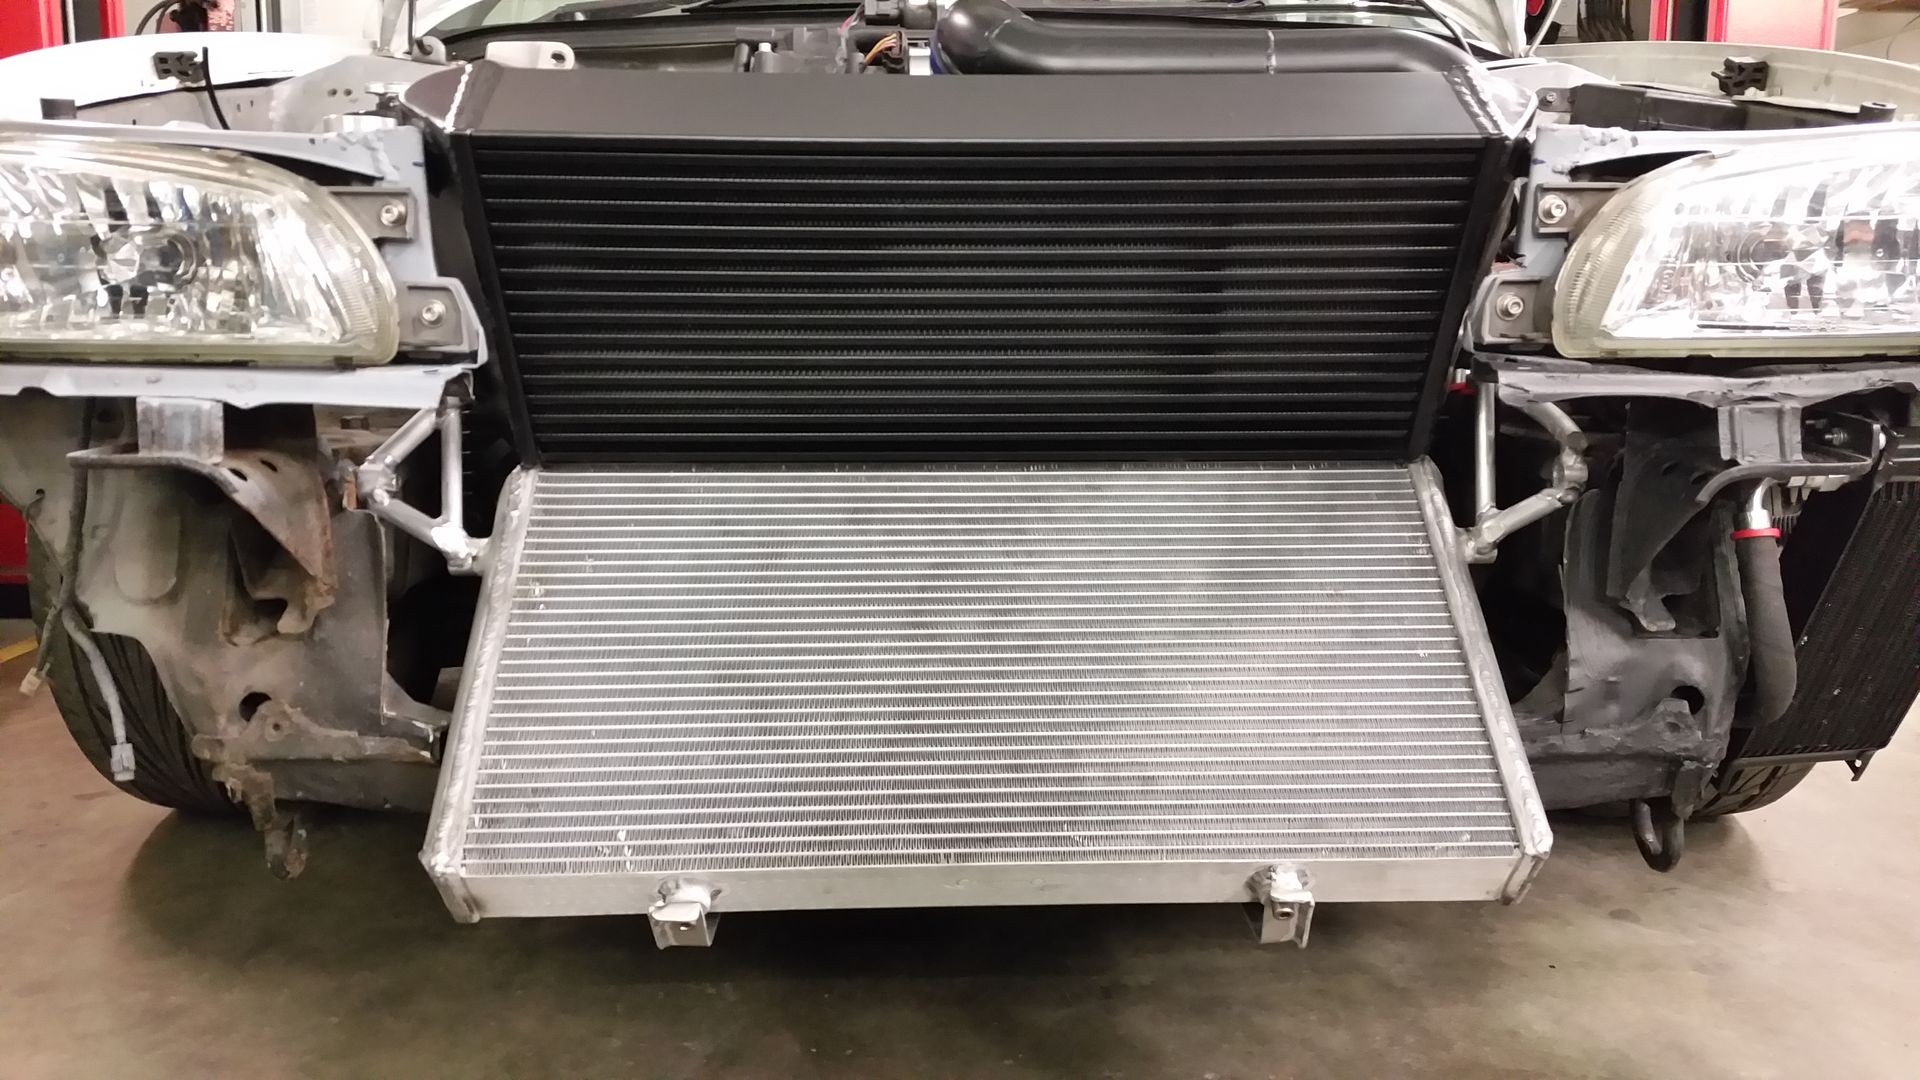 oil cooler and relocated filter 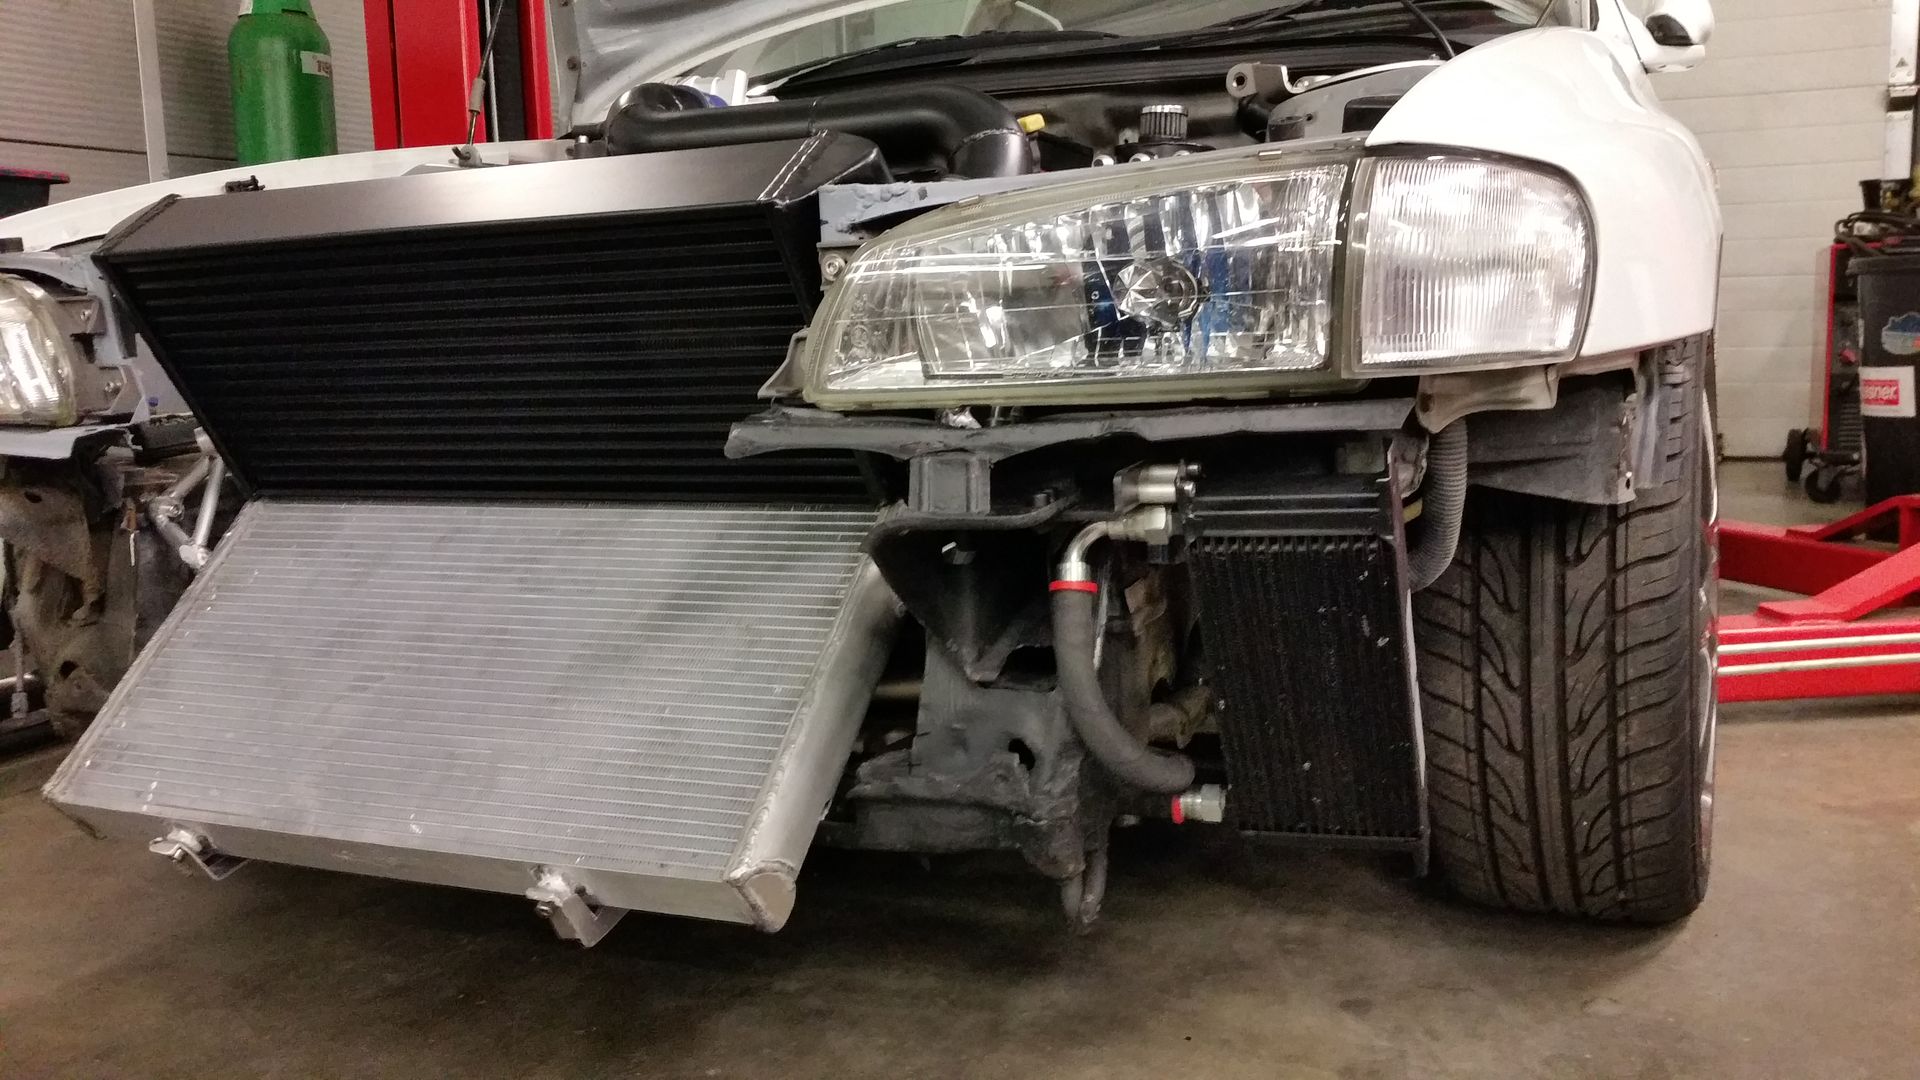 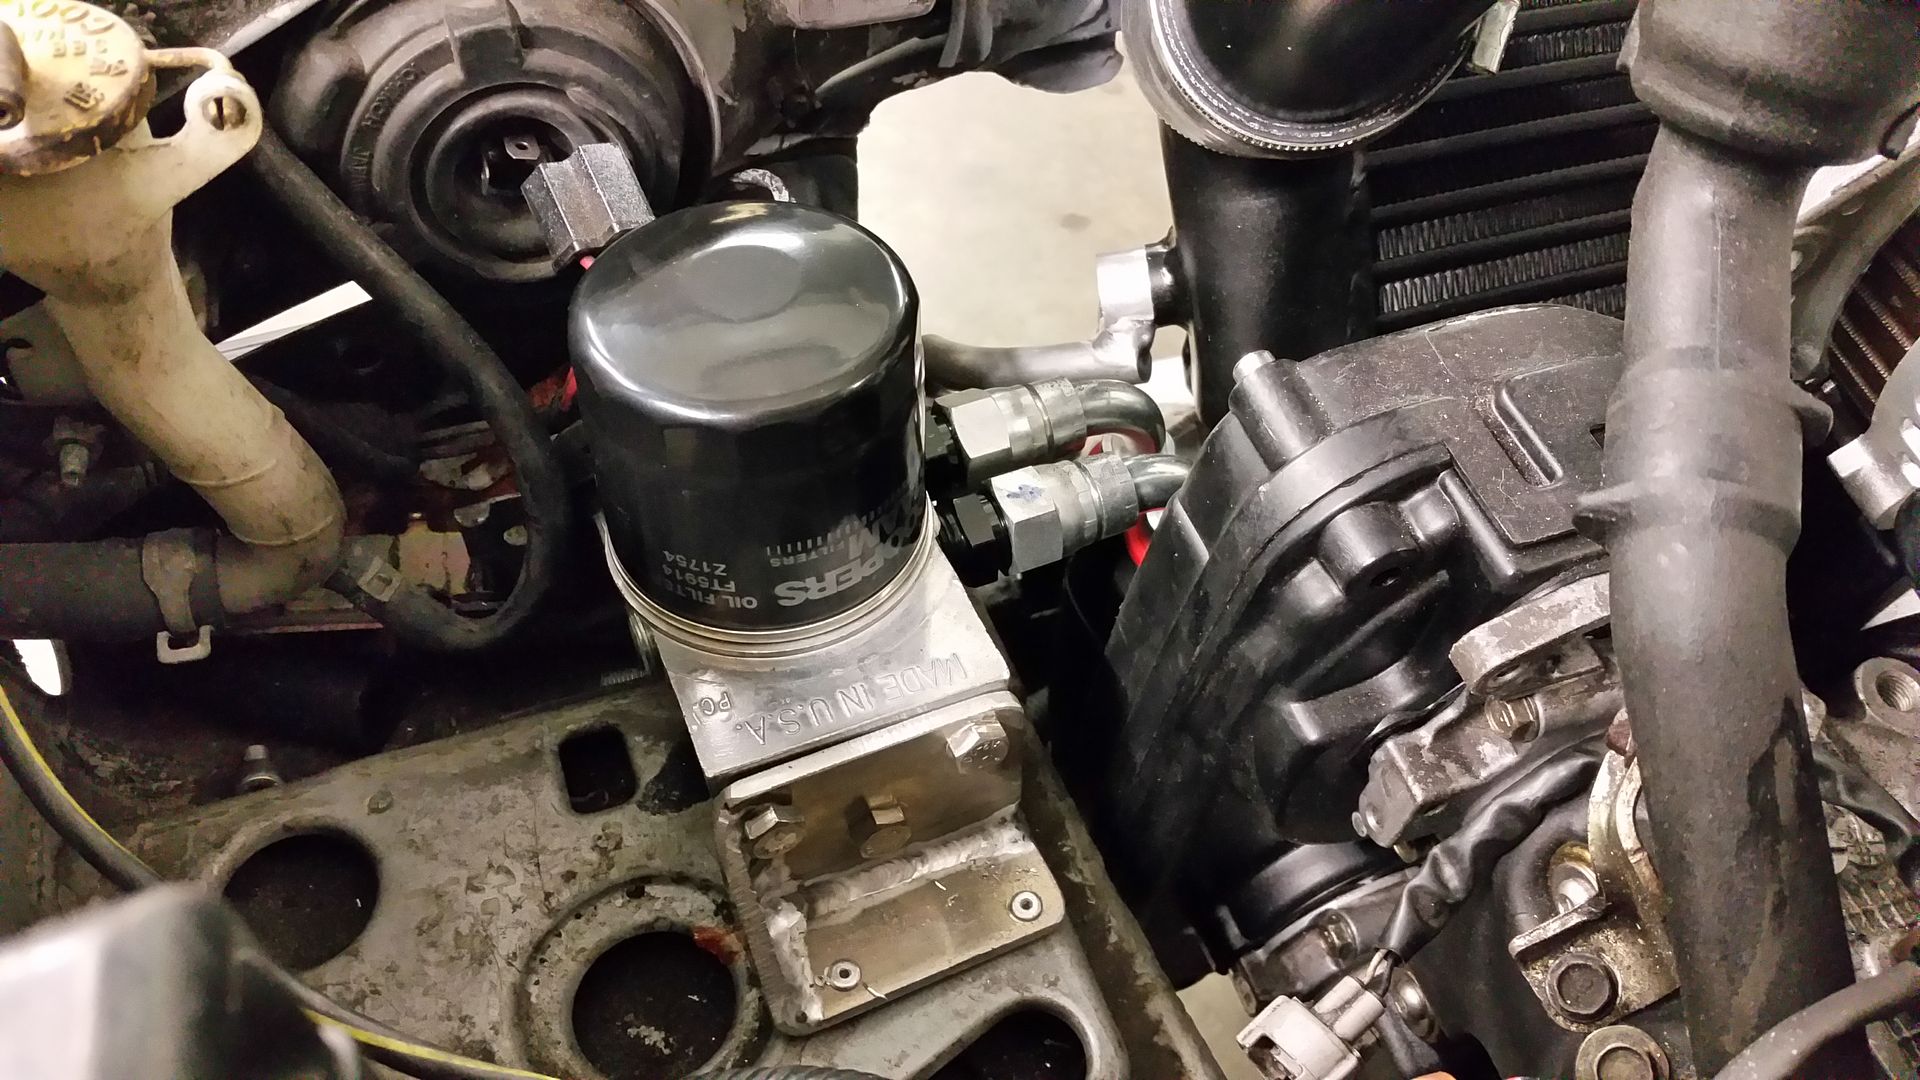 Can anyone tell me why my thread is just one long page instead of several with fewer posts? |
|
#37
|
||||
|
||||
|
That v mount cooler is looking pretty damn sweet now but how are you going to shut the bonnet or have you got a mad crazy mod idea up your sleeve for the bonnet .
__________________
Maintained by Hypertech and Mapped by Andy Forrest 1998 UK Turbo , 1998 Terzo , 1997 JDM Type R the money pit , 2004 black WRX STI Type UK , 2004 blue FSTI |
|
#38
|
||||
|
||||
|
Quote:
This just seems really long on one page as its filled out with build photos |
|
#39
|
|||
|
|||
|
The bonnet will be on aero catches. Just not got them on yet!
Finally got all the v mounted intercooler in and finished. You'll note that the rad pipes are cut and welded. They won't be staying like that for too long. Had to do it that way so I could figure out all the best and routing as it quite tight under the cooler. I've also put in a 2nd filling point for the coolant to help with bleeding the system. But it's all in and for the most part I'm pretty happy with they way it all sits in there. 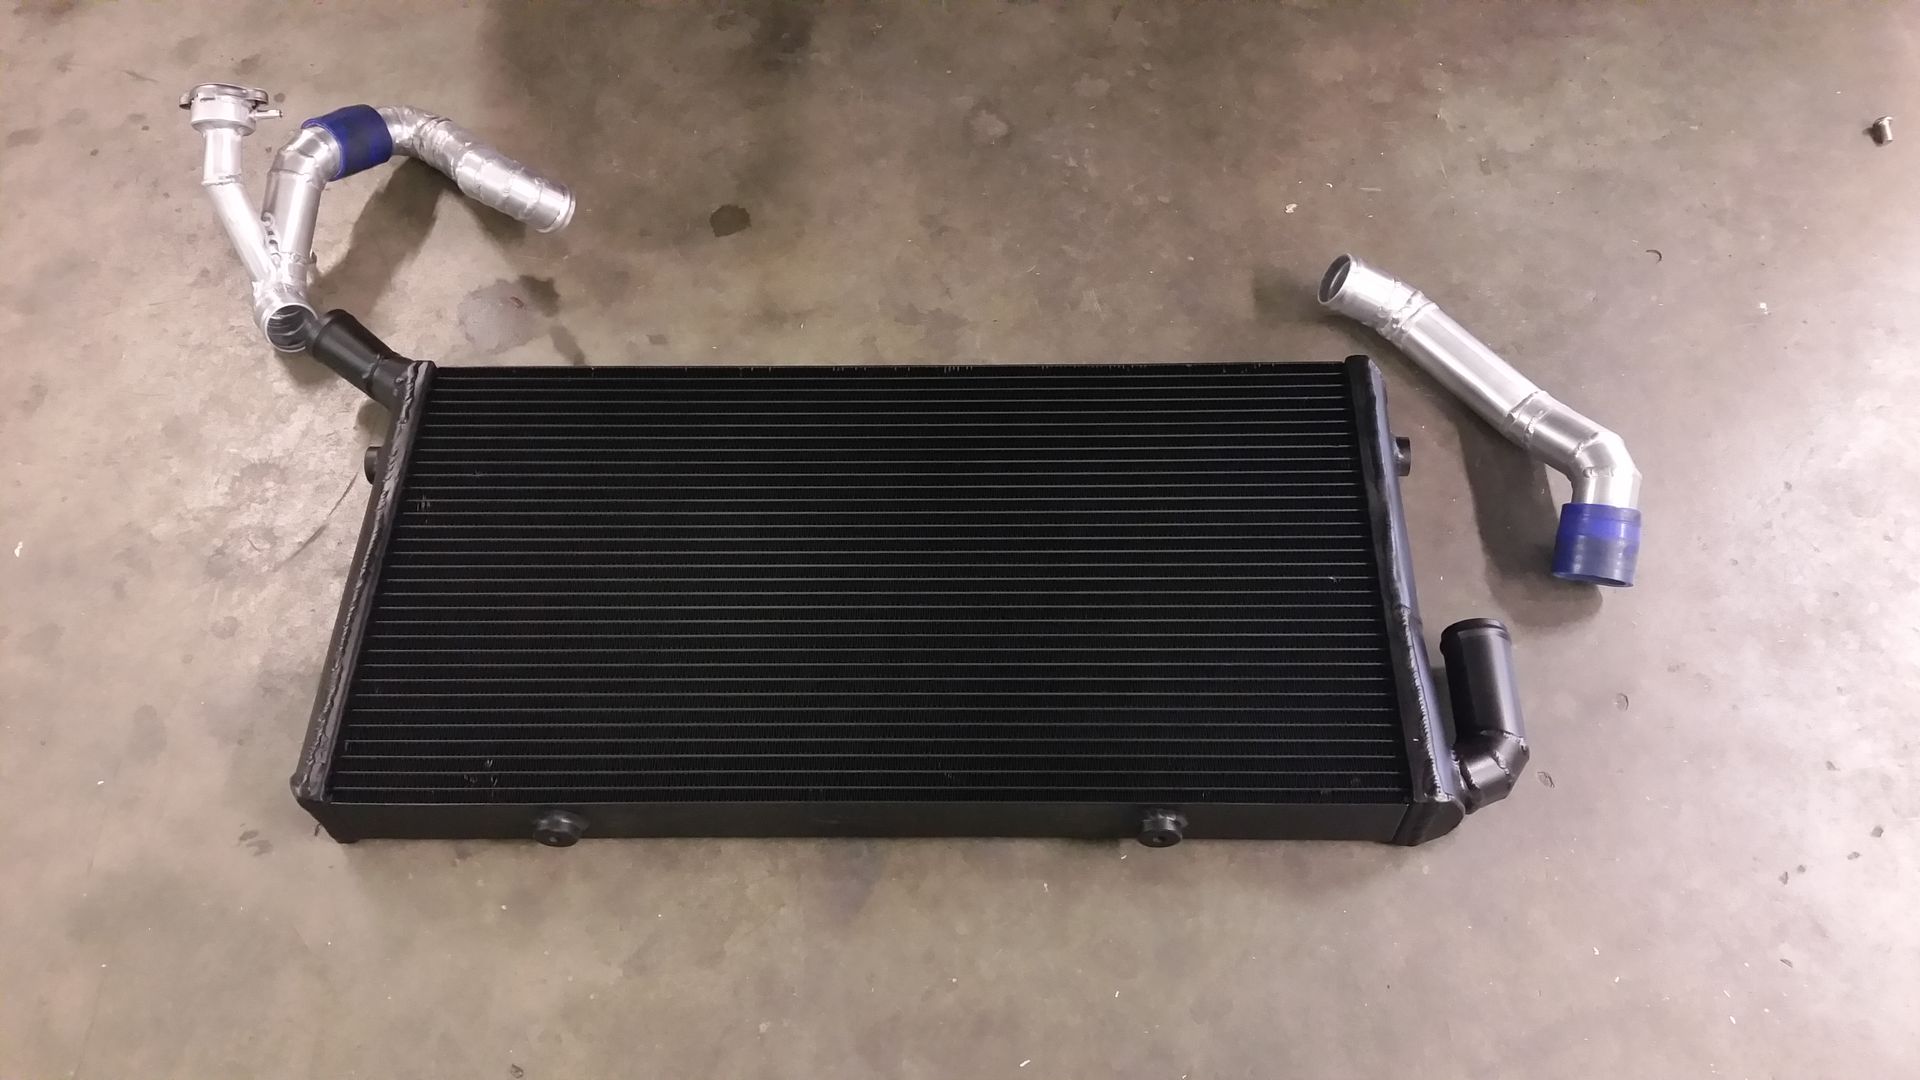 You can see how I needed to snake the pipe under the cooler pipe. Now I have the angles etc I will be ordering proper bends to make it nicer. 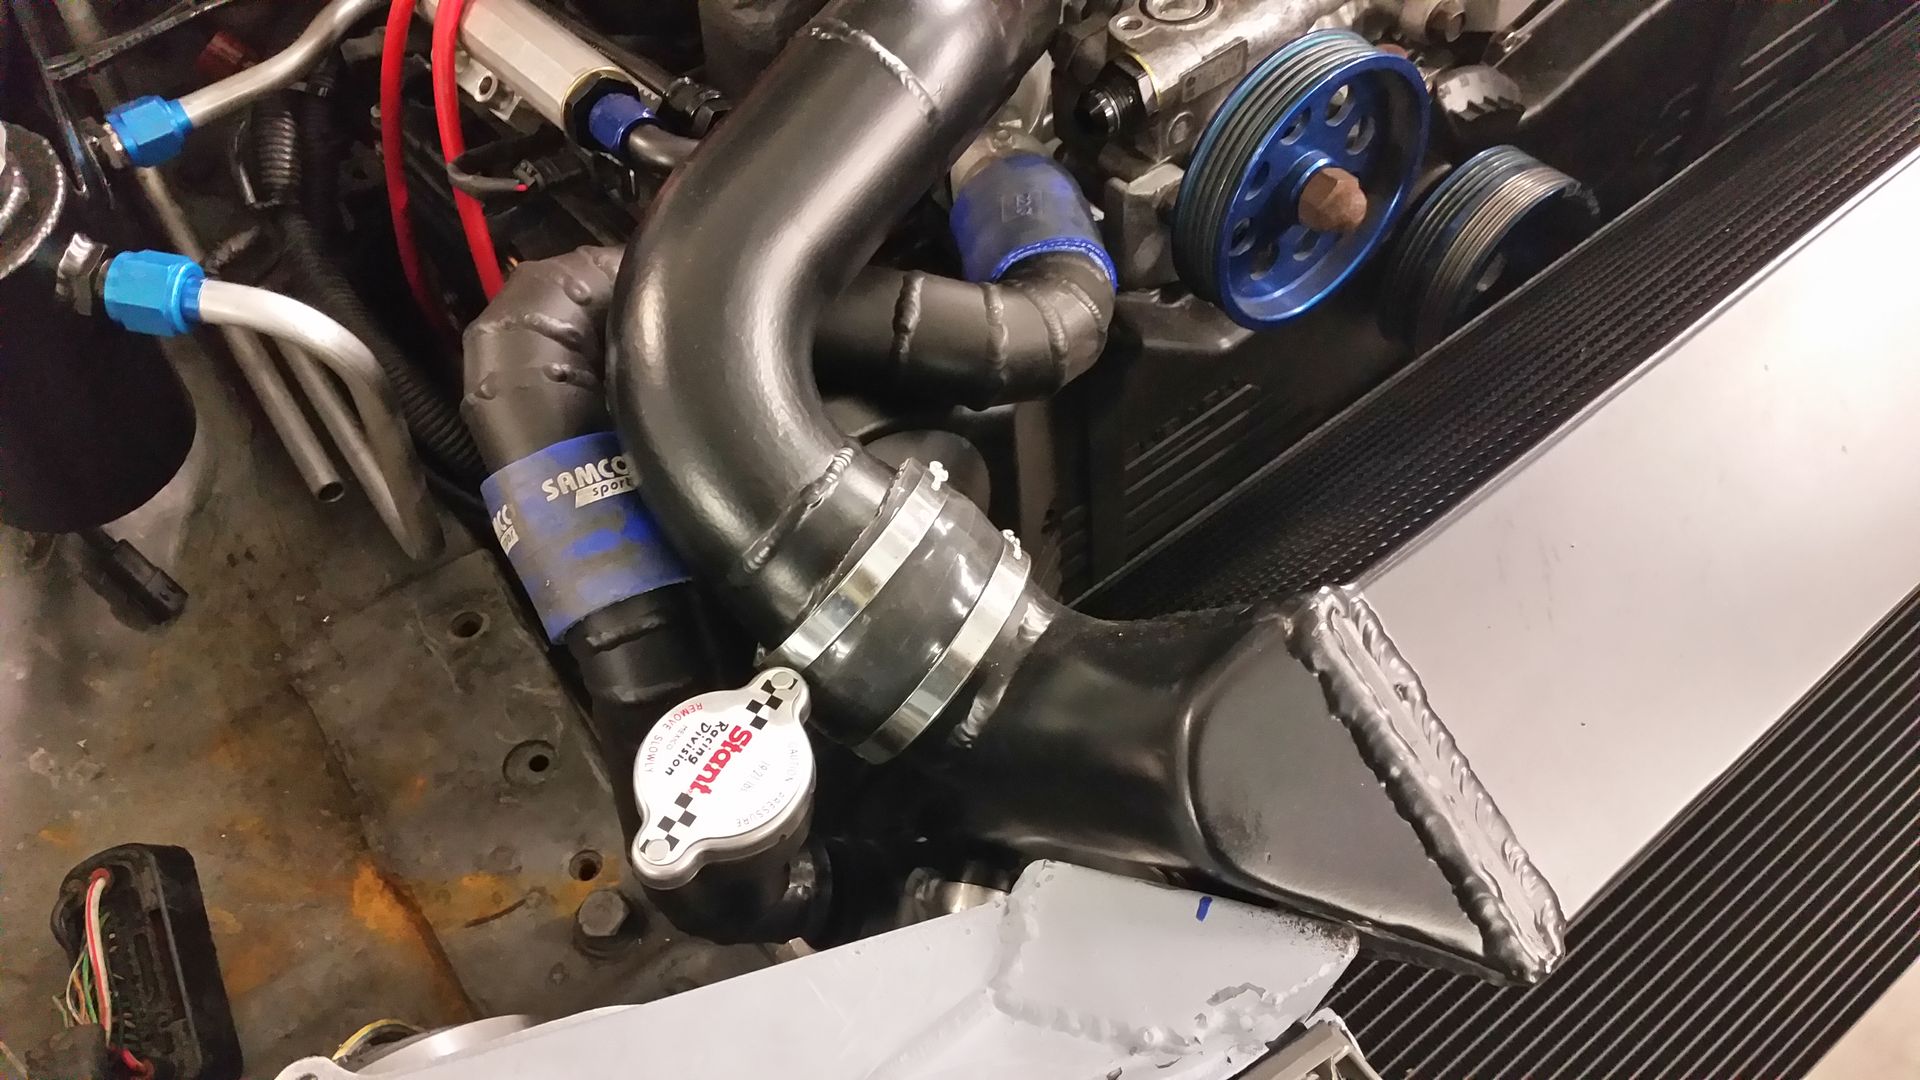 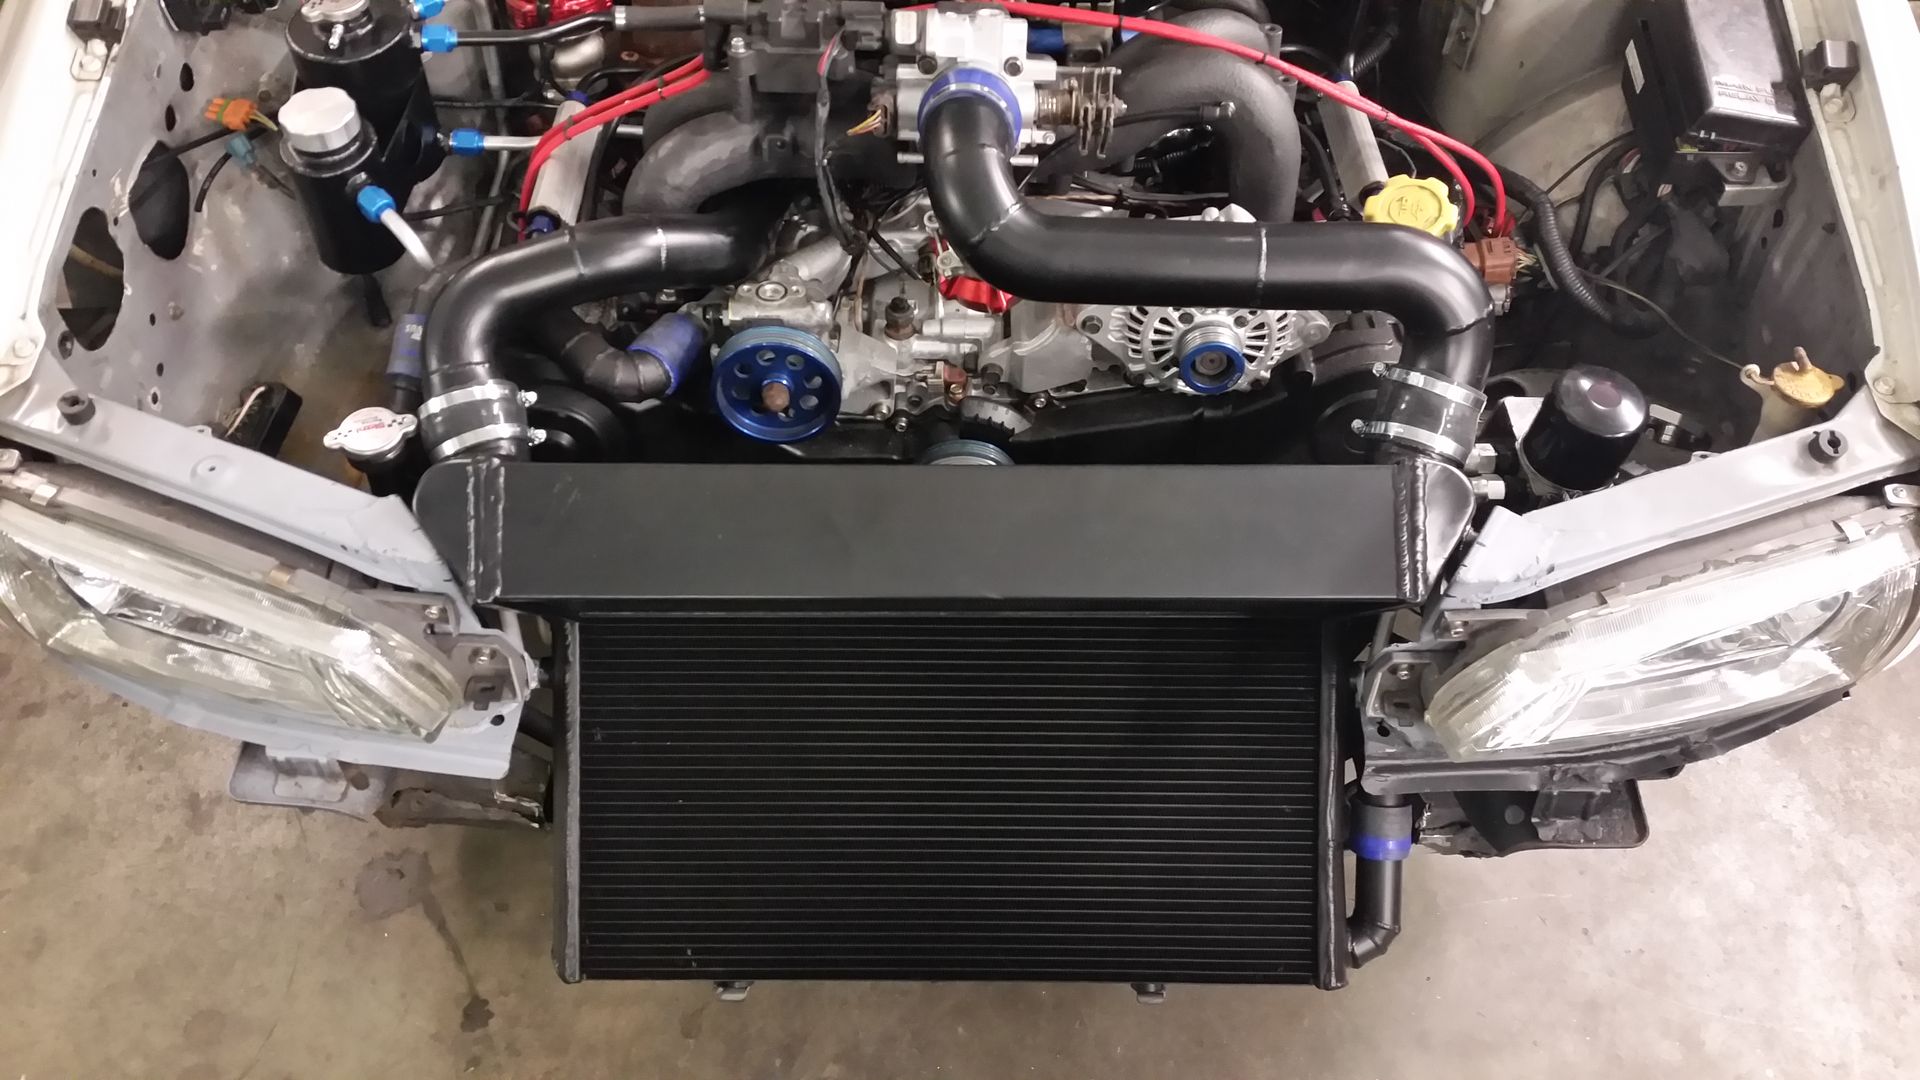 With the bumper back on.... 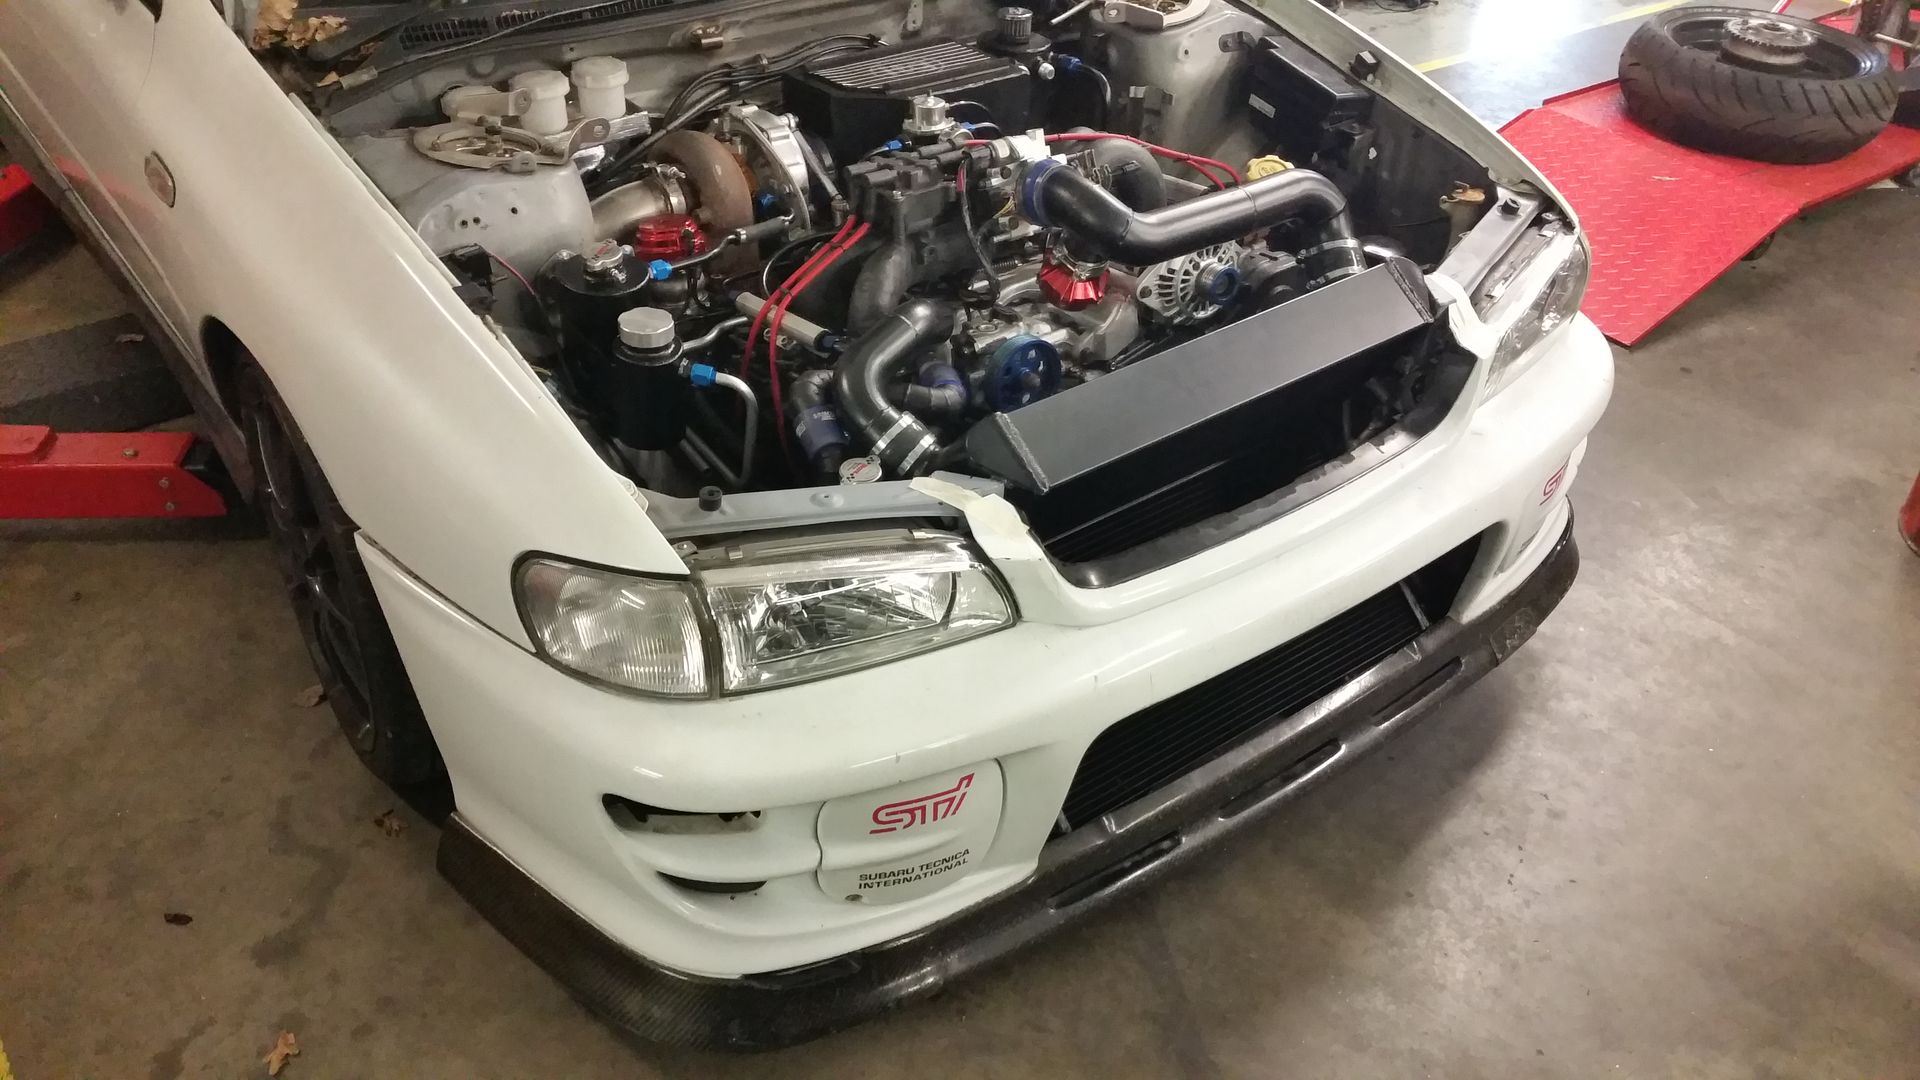 All stelthy like...... no one will ever know 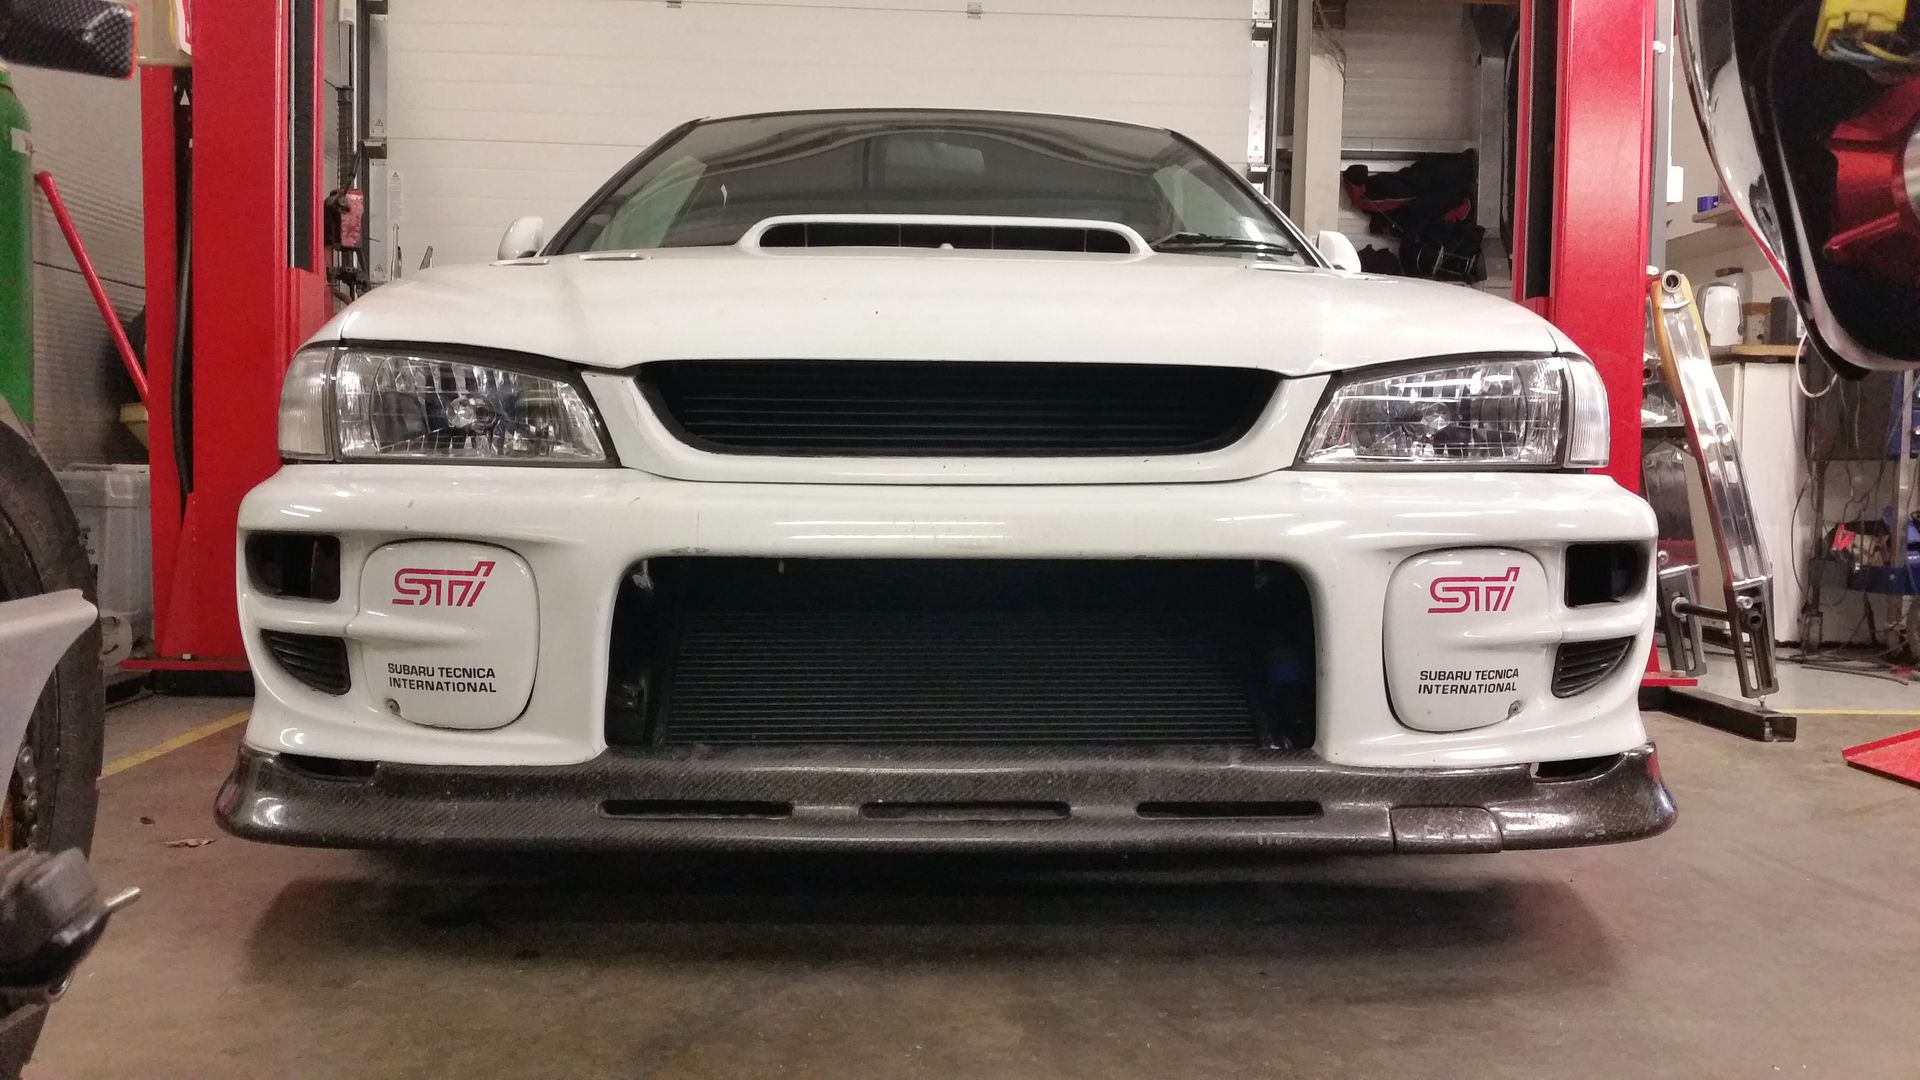
|
|
#40
|
||||
|
||||
|
Like that looks so subtle .
__________________
Maintained by Hypertech and Mapped by Andy Forrest 1998 UK Turbo , 1998 Terzo , 1997 JDM Type R the money pit , 2004 black WRX STI Type UK , 2004 blue FSTI |
|
#41
|
||||
|
||||
|
|
|
#42
|
|||
|
|||
|
Few more bits done since the last update.
Tyres needed replacing. This was a hard one actually. In the end I settled for the NS-2R's. 225/40/18. Given the reviews in both the dry and the wet, on and off the road for the money they worth a shot. People have said how they are better than the R888 in terms of longevity, grip and wet grip (most importantly on UK roads). That have been compared to the AD08 Yoko on a number of occasions and not come up too bad. 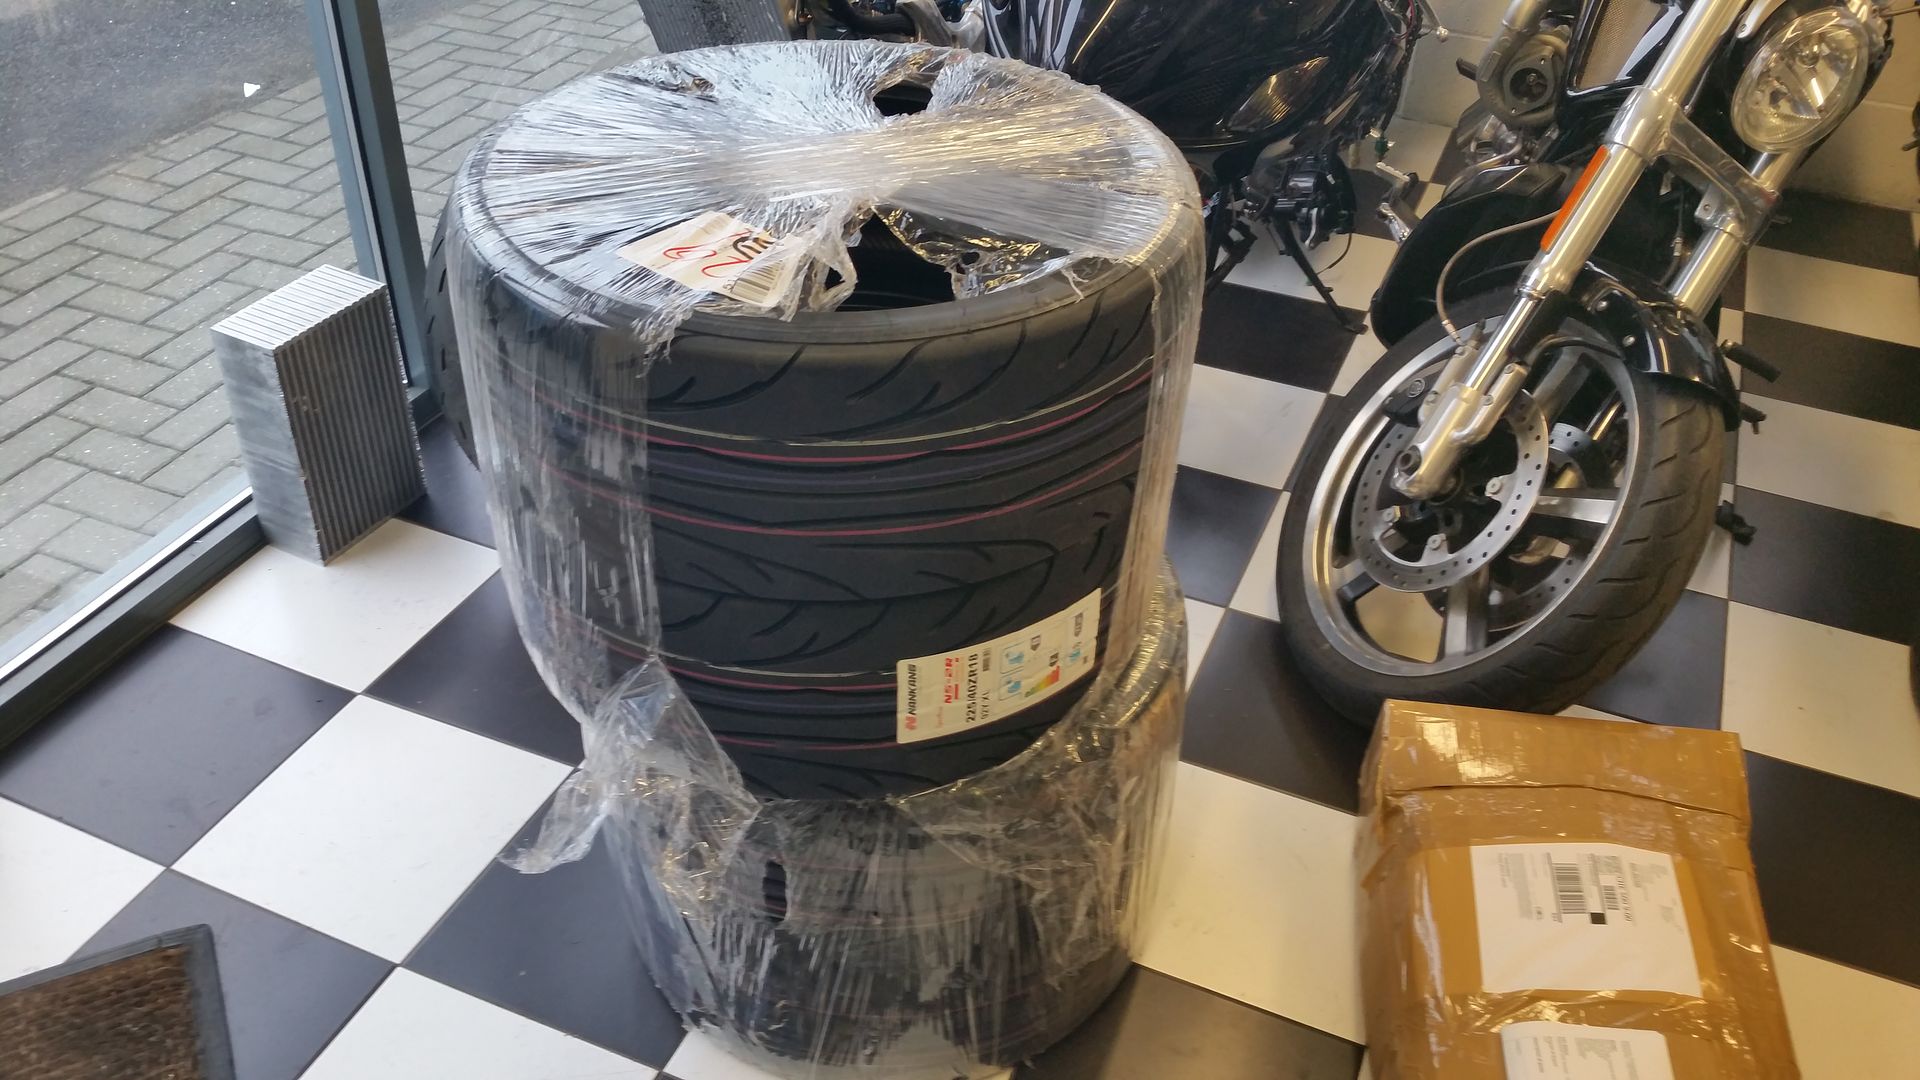 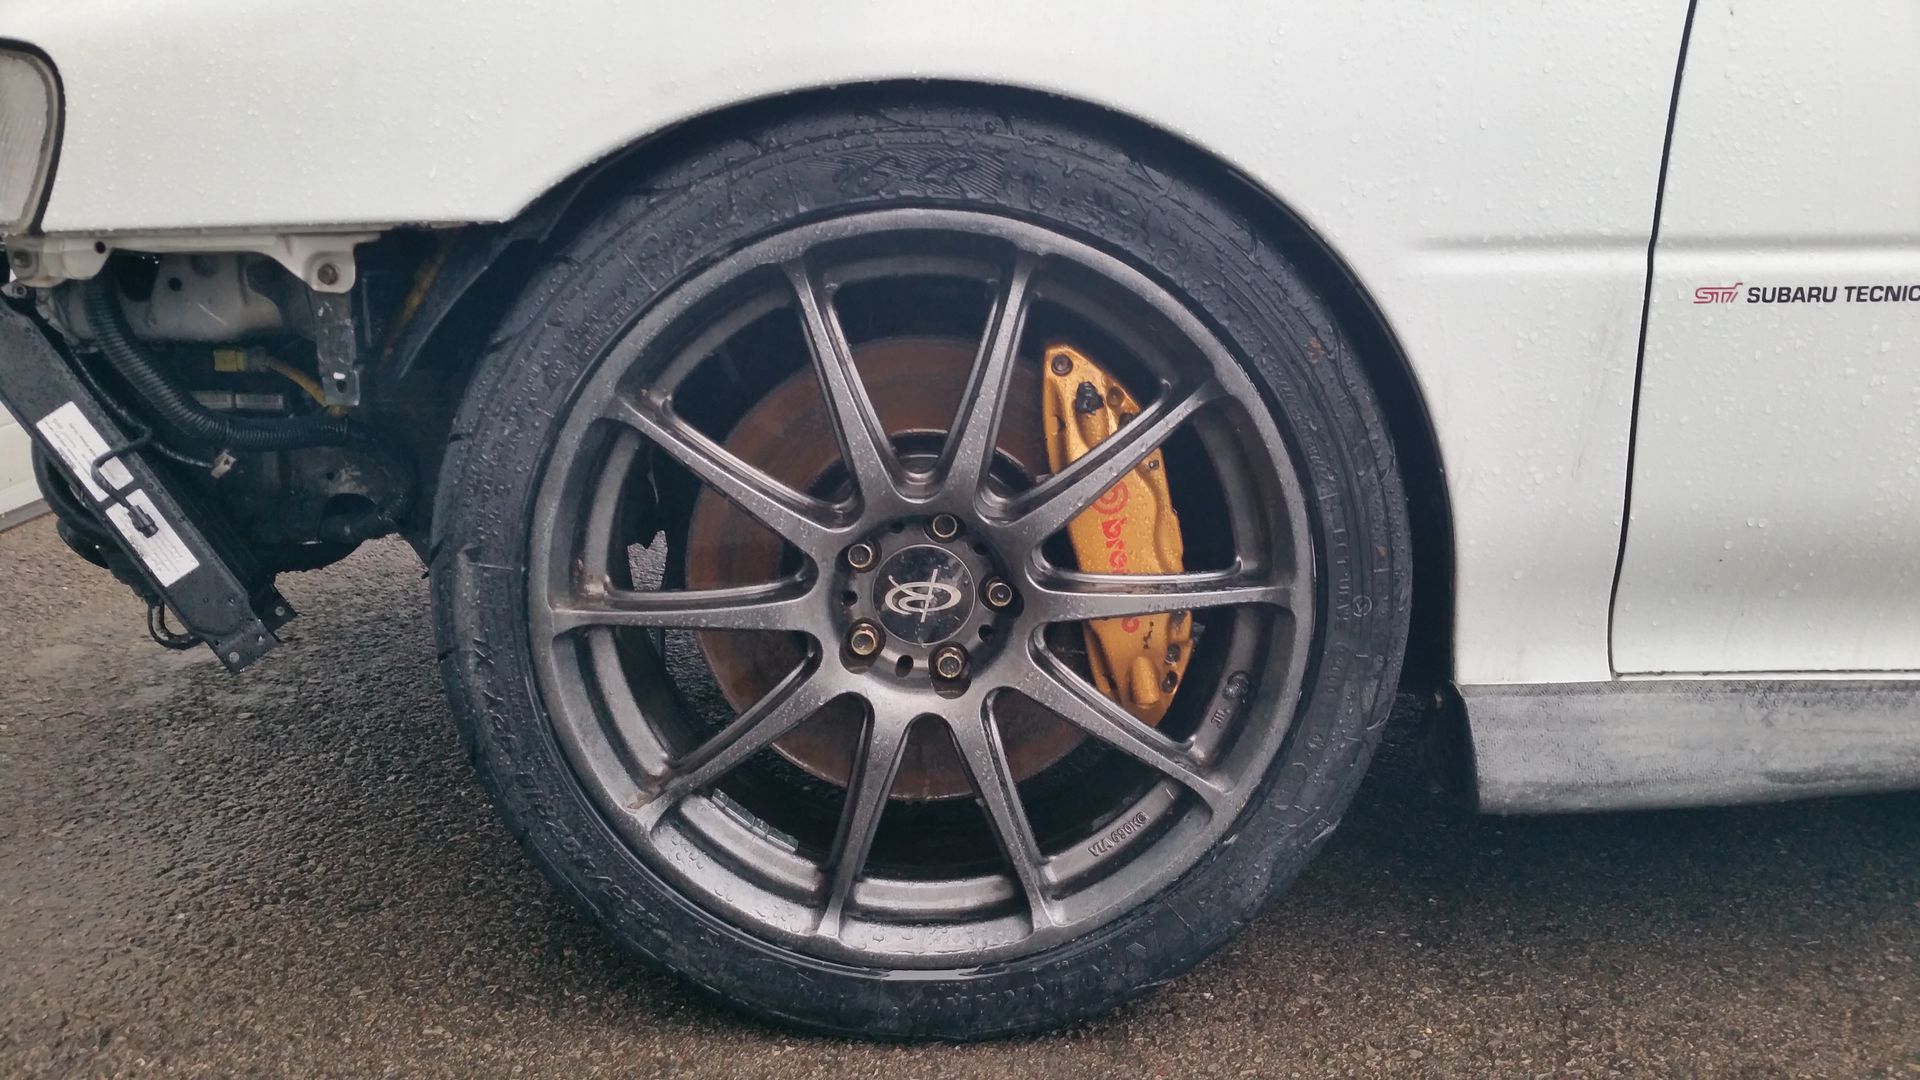 I also think the fatter wall gives the car a more purposeful stance too. 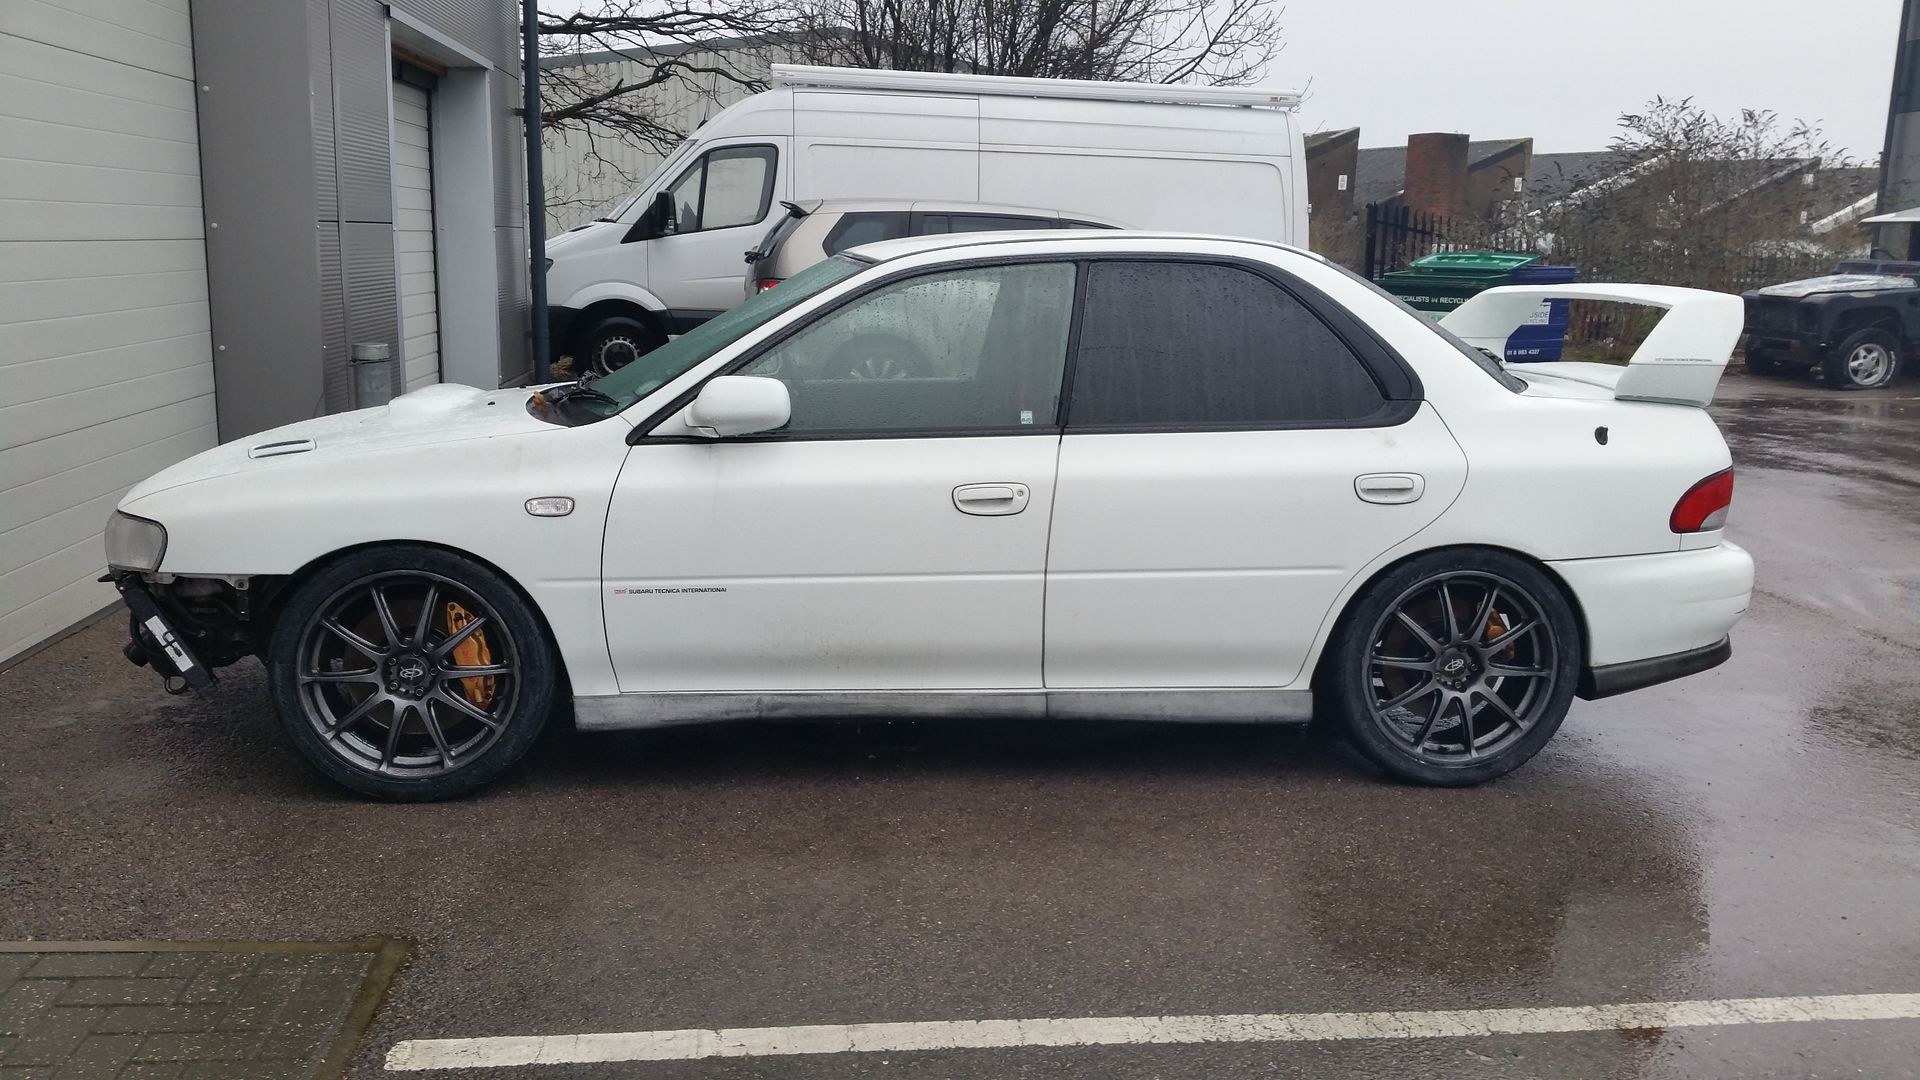 Next up was the pedal box. This is now in fully but I only have this pic. I do still need to make the heel plate to go over the cylinders. 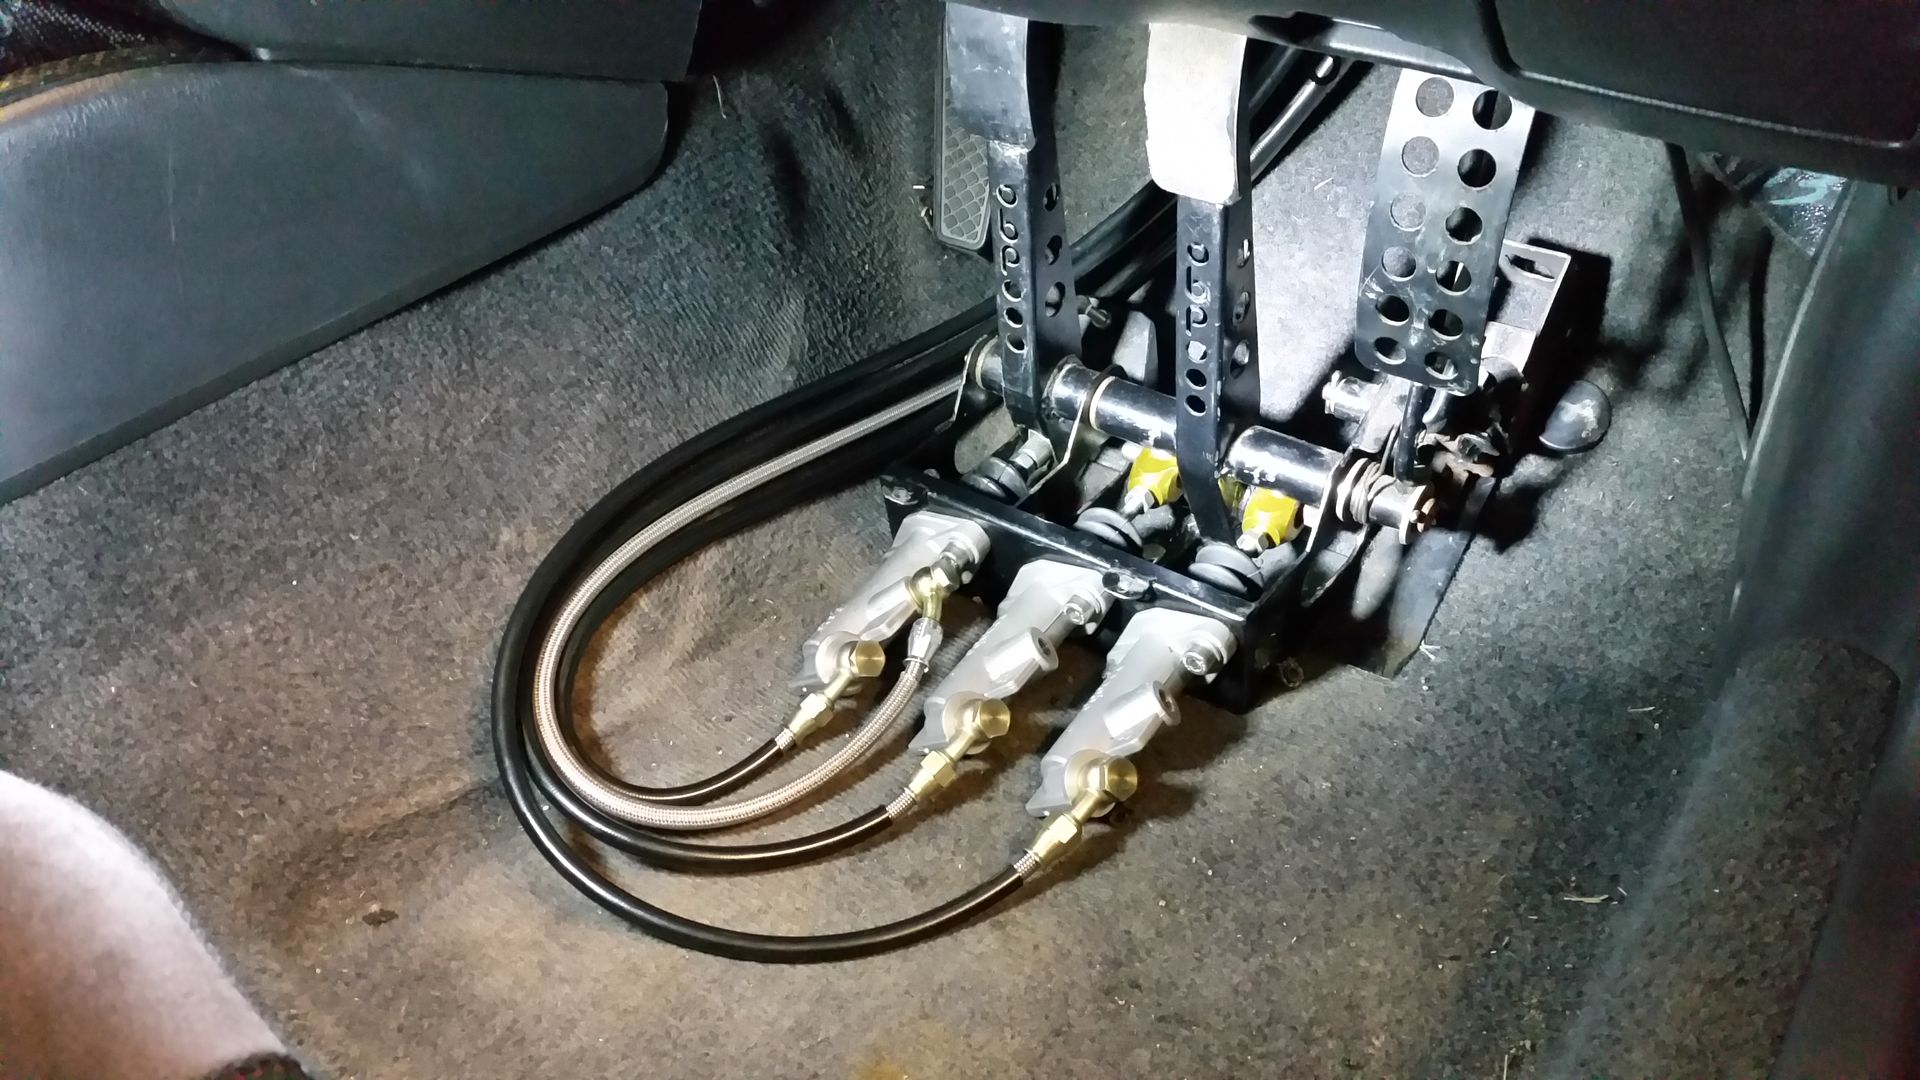 Where the mods have been made for the V mount intercooler I have welded in a larger brace bar at the bottom. This also gives more room for the fans on the rad. 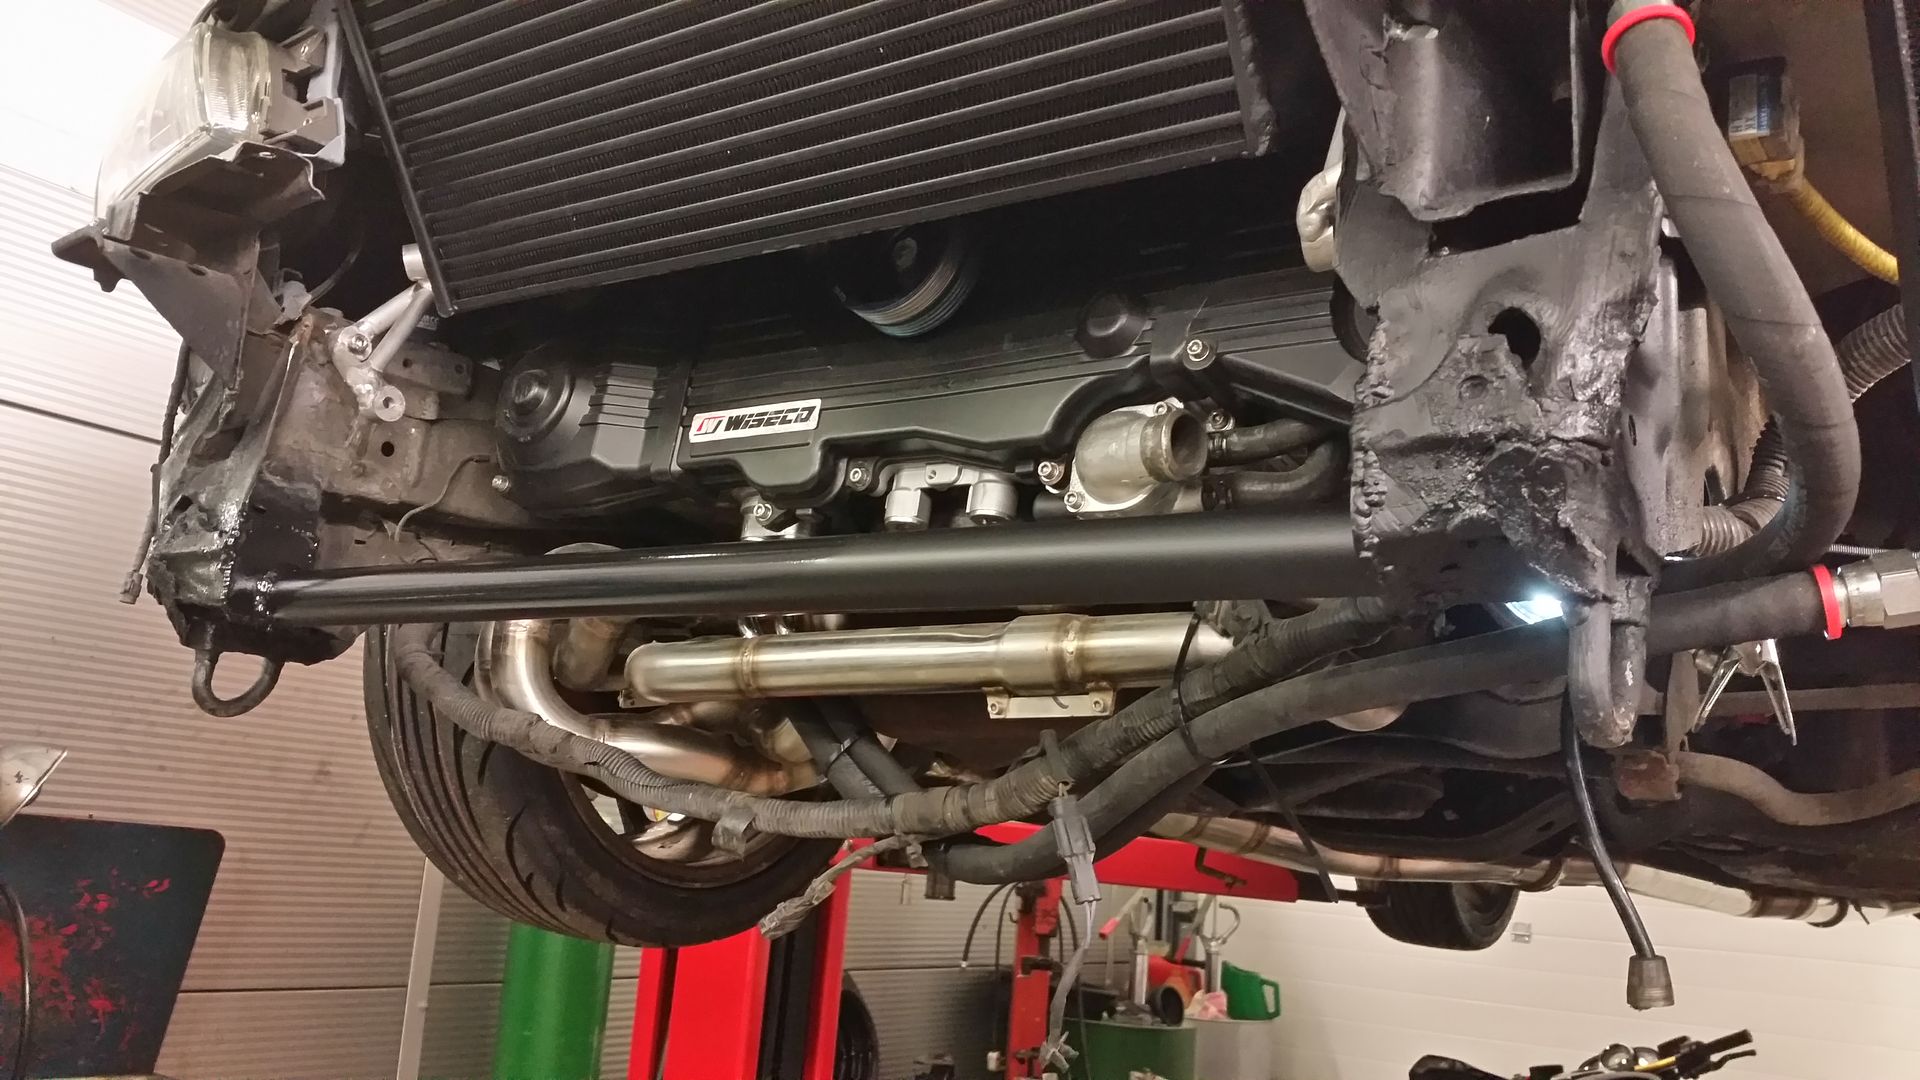 With the bumper back on 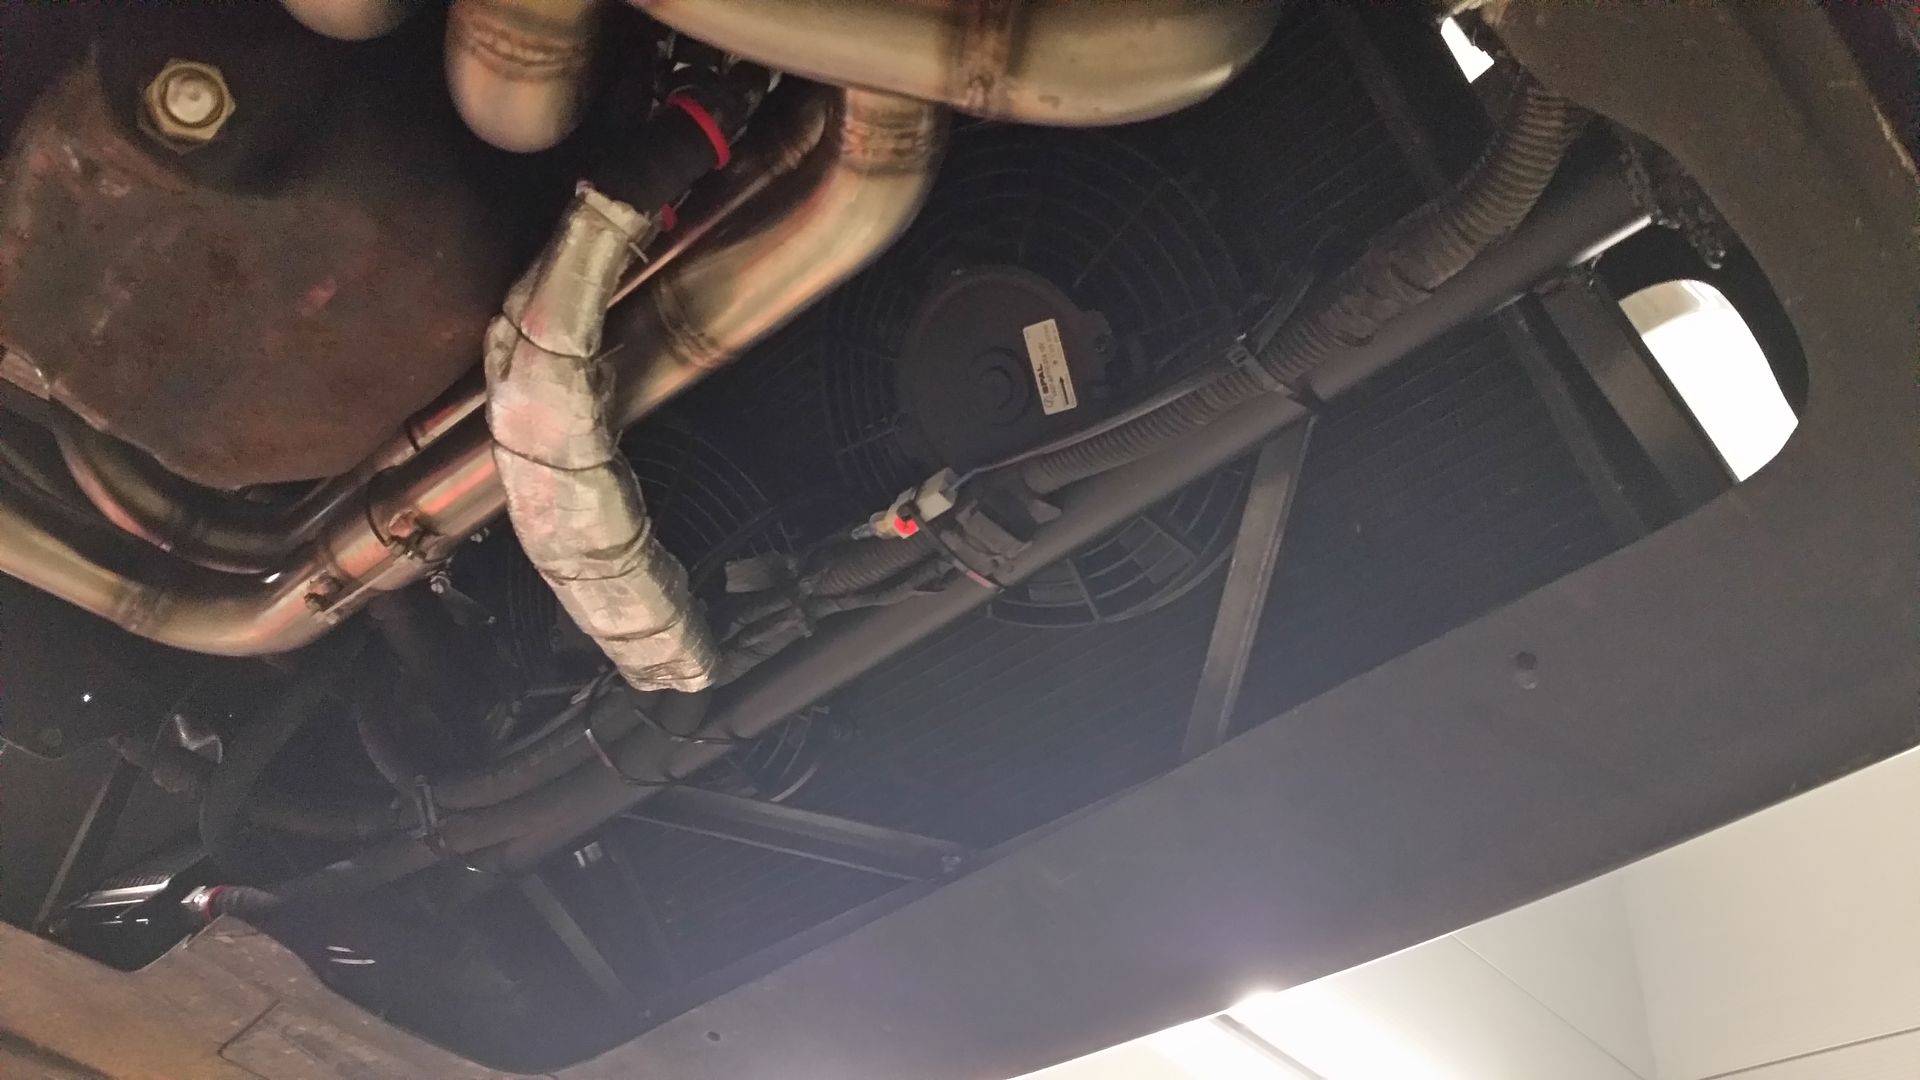 Few interior bits on the go. I wanted to change the wheel and boss for OMP items. I love a nice quick release but given they are race parts they take a bit of getting in the car without have the steering wheel hitting you in the chest. With the pedals where they are the new further back seating position required a dish wheel. I opted for a bolted quick release over the welded type I have used before as they work better with the steering coloum controls. I'm in the process if making the boss to fit the spline on the coloum but a small spacer was also need to get the horn button in the wheel as the wheel sits flush on the racing boss. 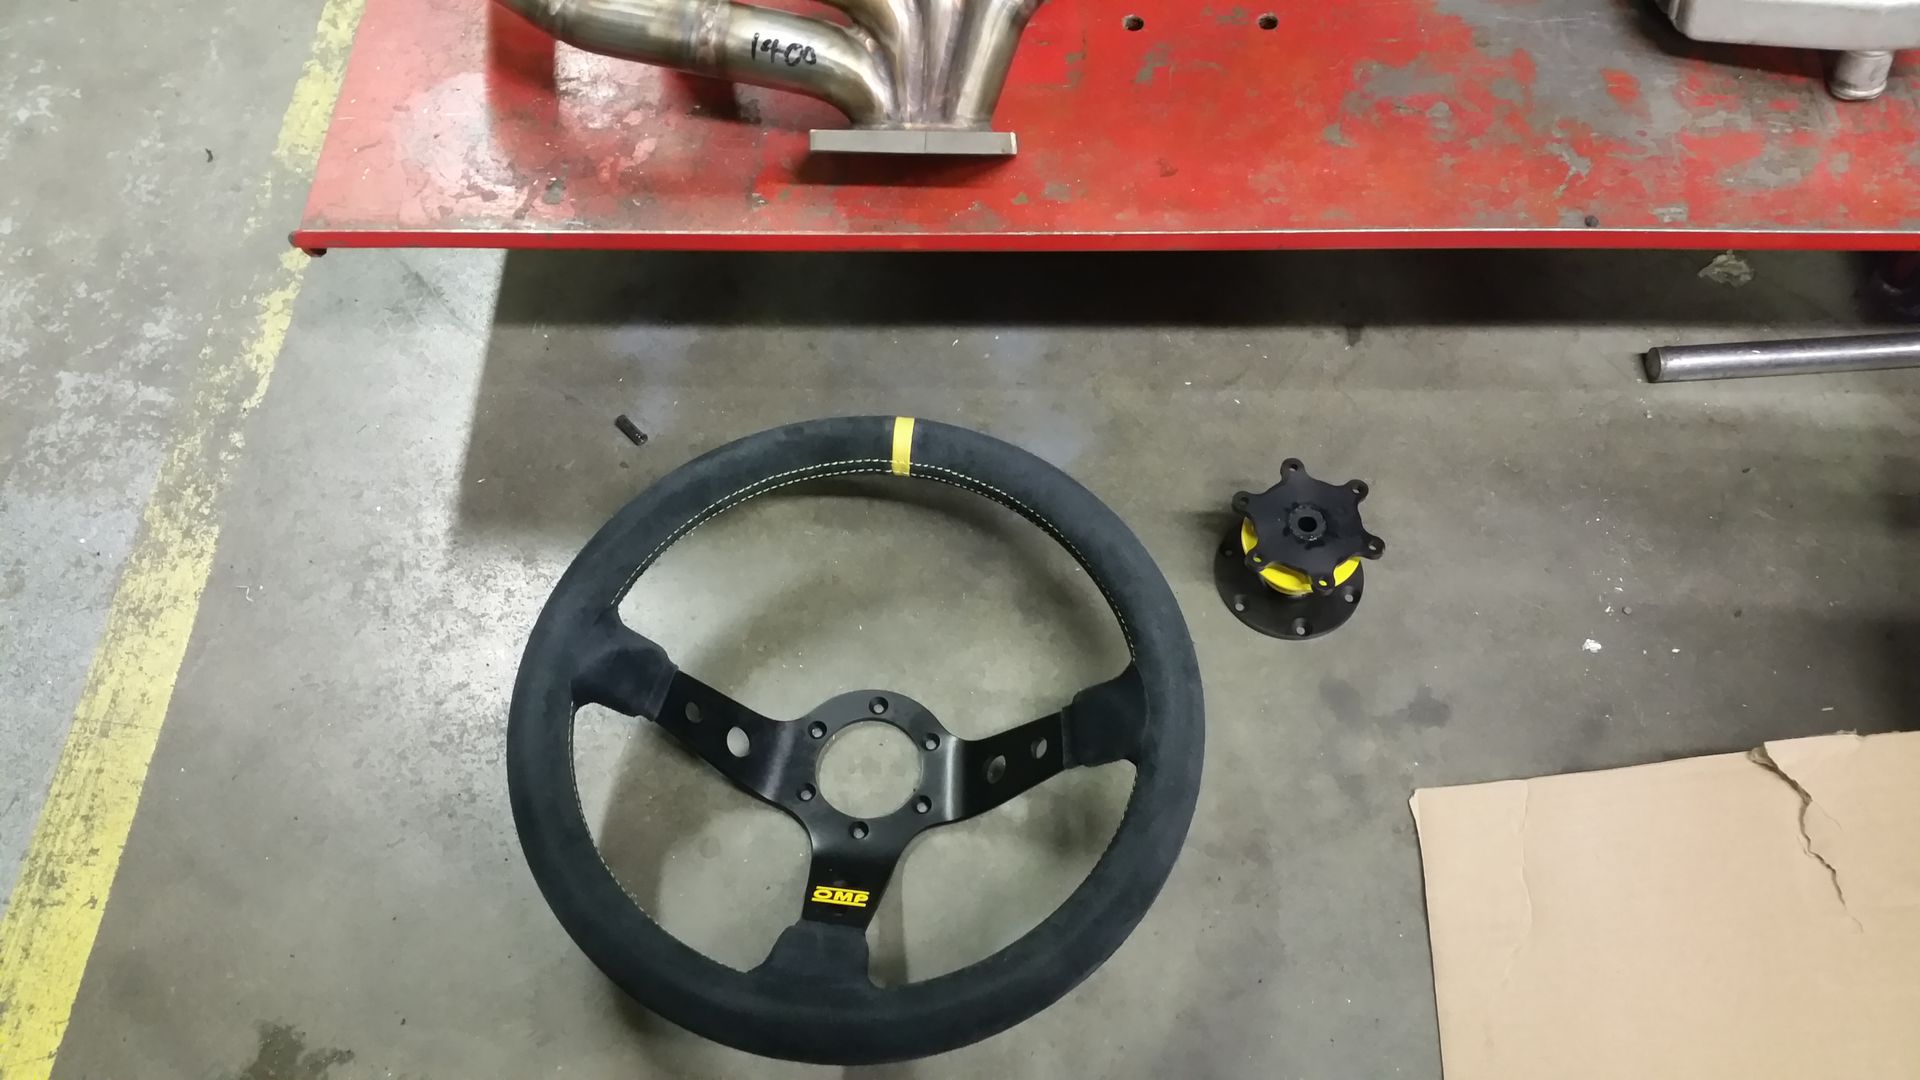 the spacer 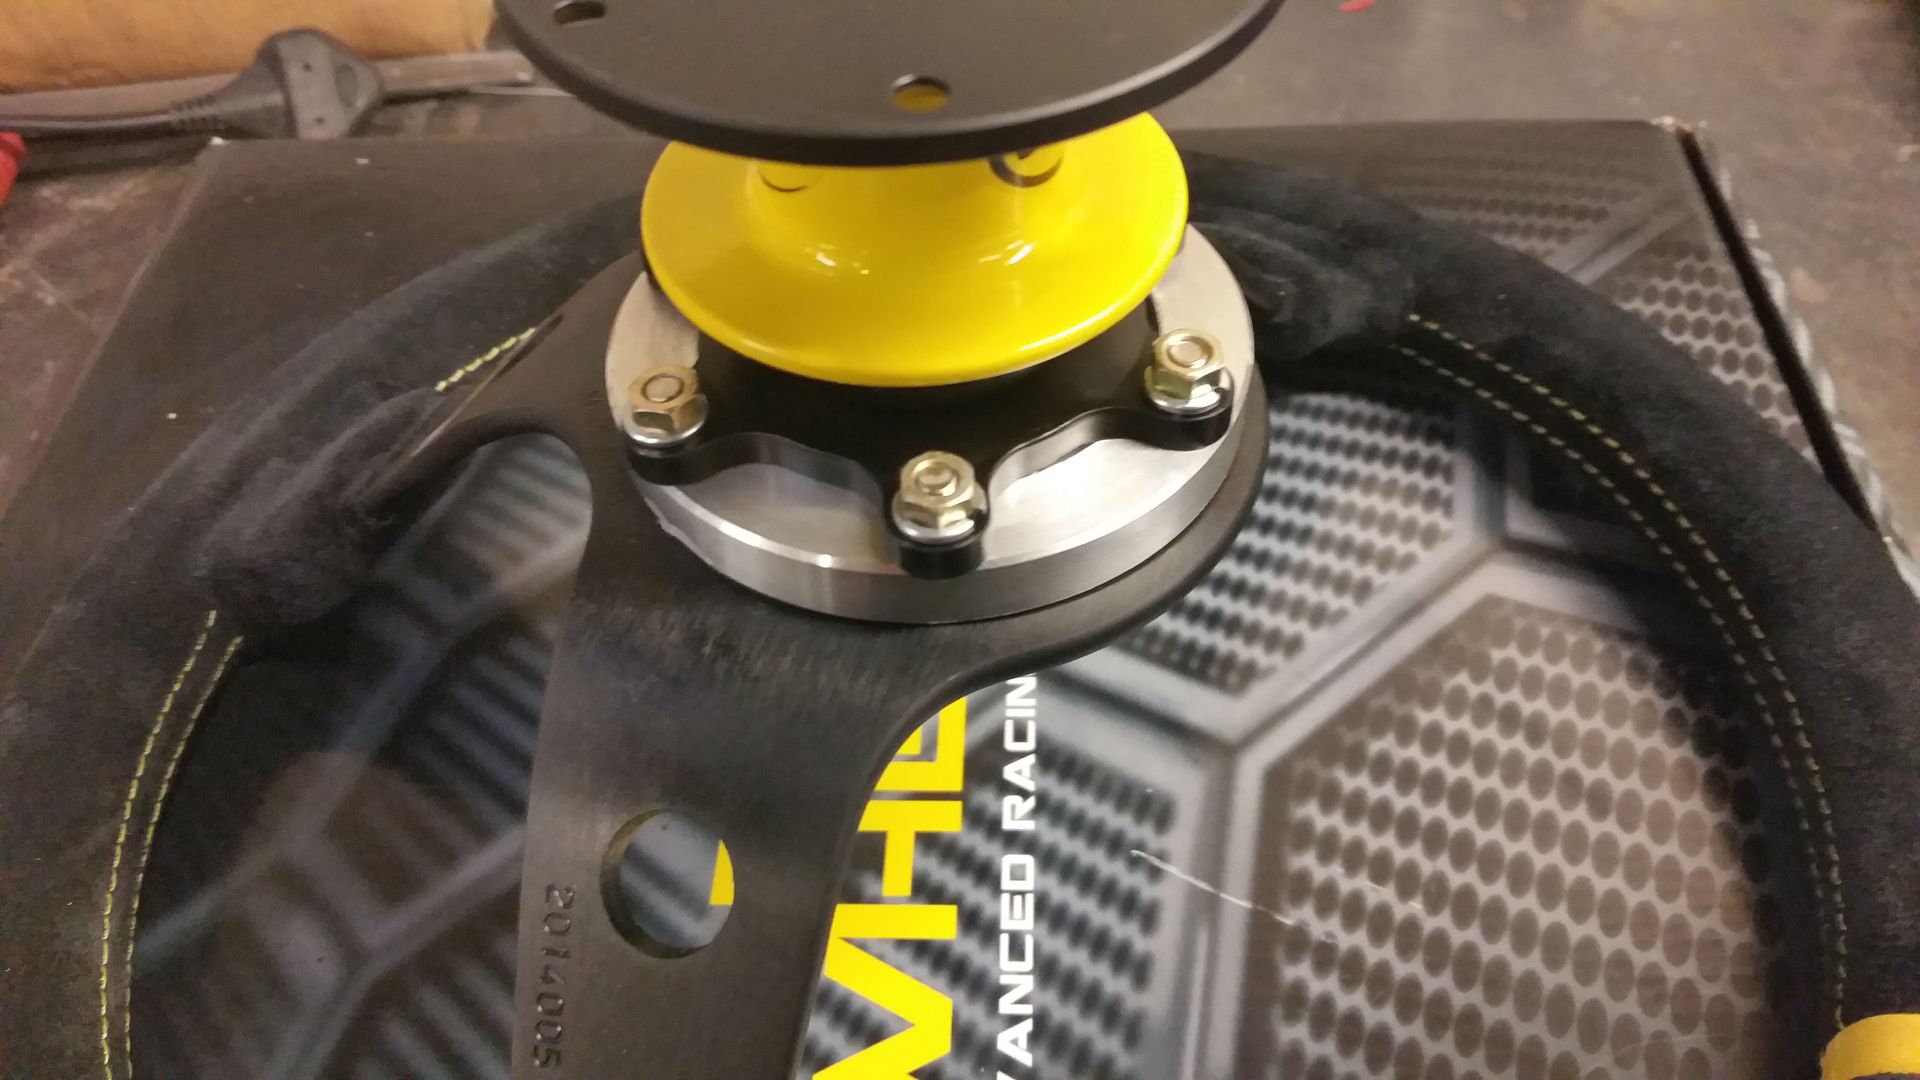 Will finish the other bit on the morning and the wheel mounted up. I also wanted to put kill switches on the pumps, fans and ignition. I couldn't resist a push start either. I've ditched the double din stereo and utilized the lower space for the switch panel 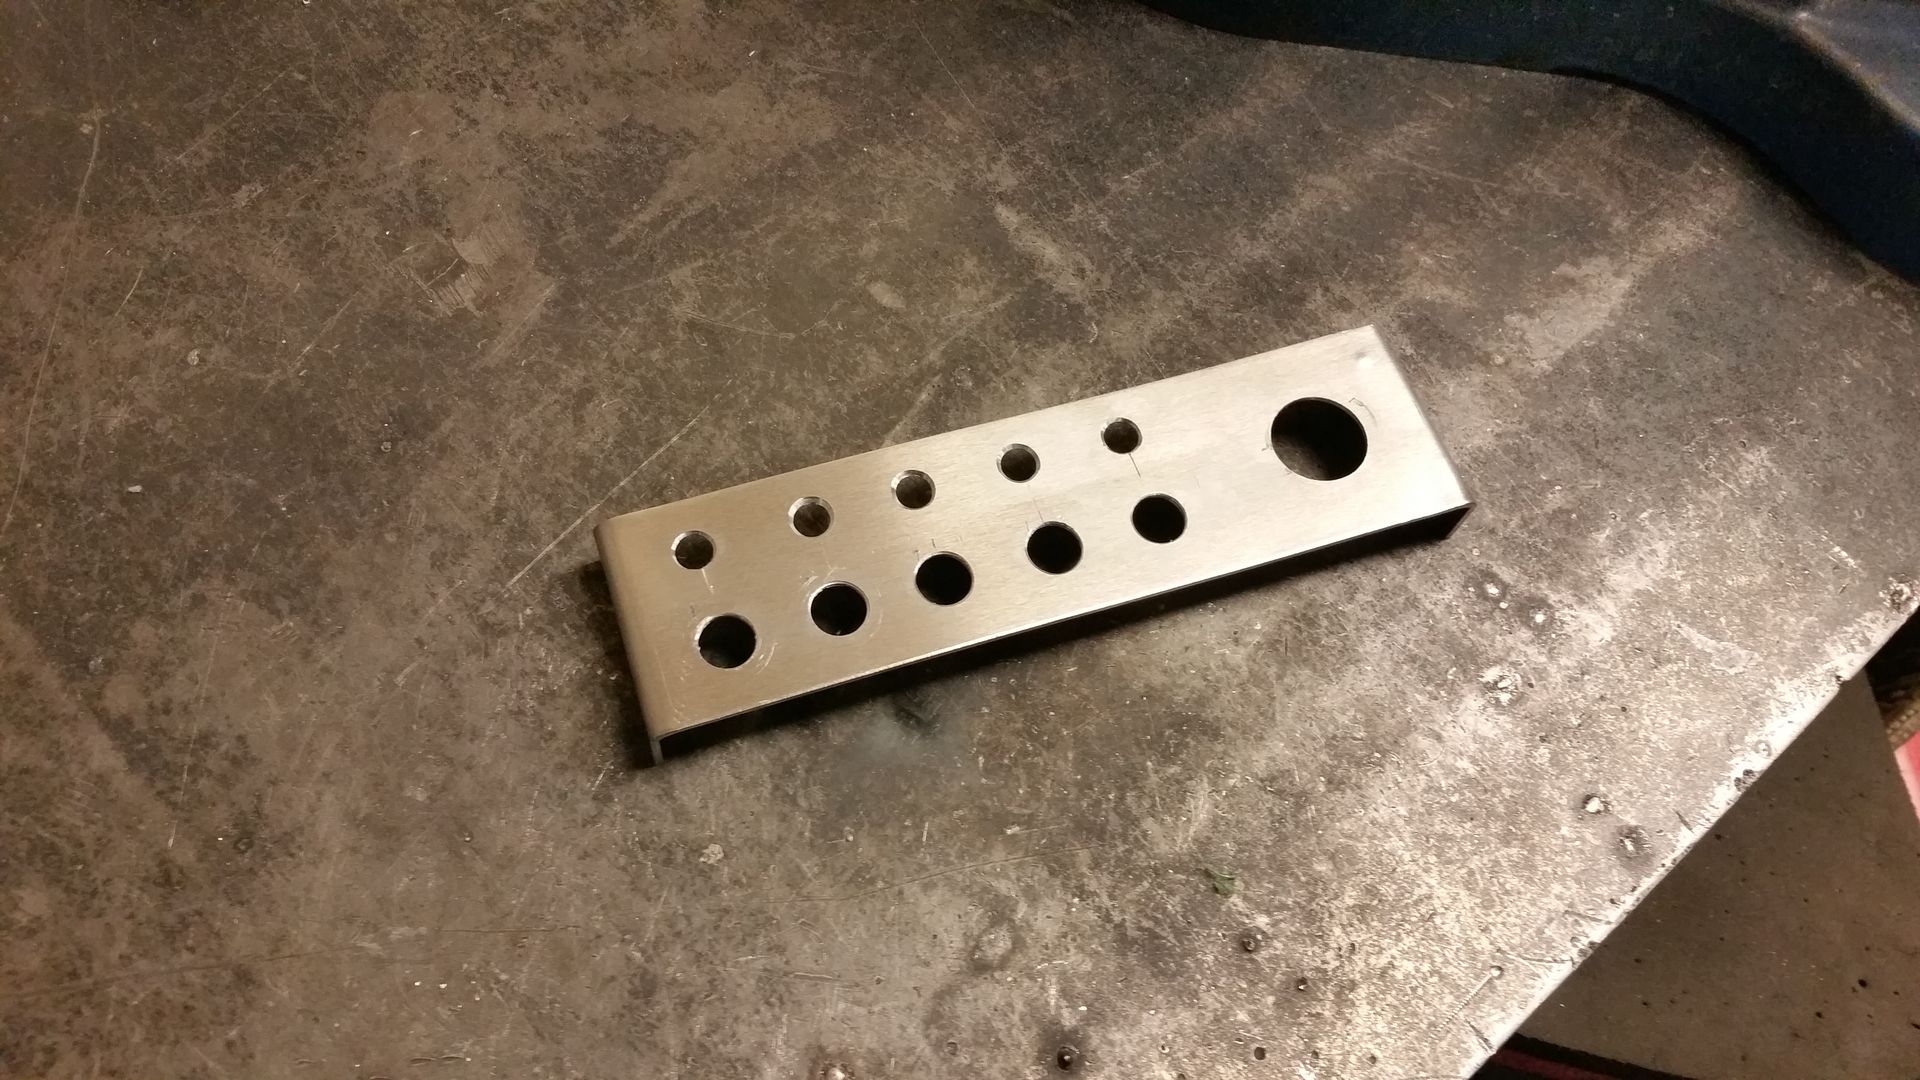 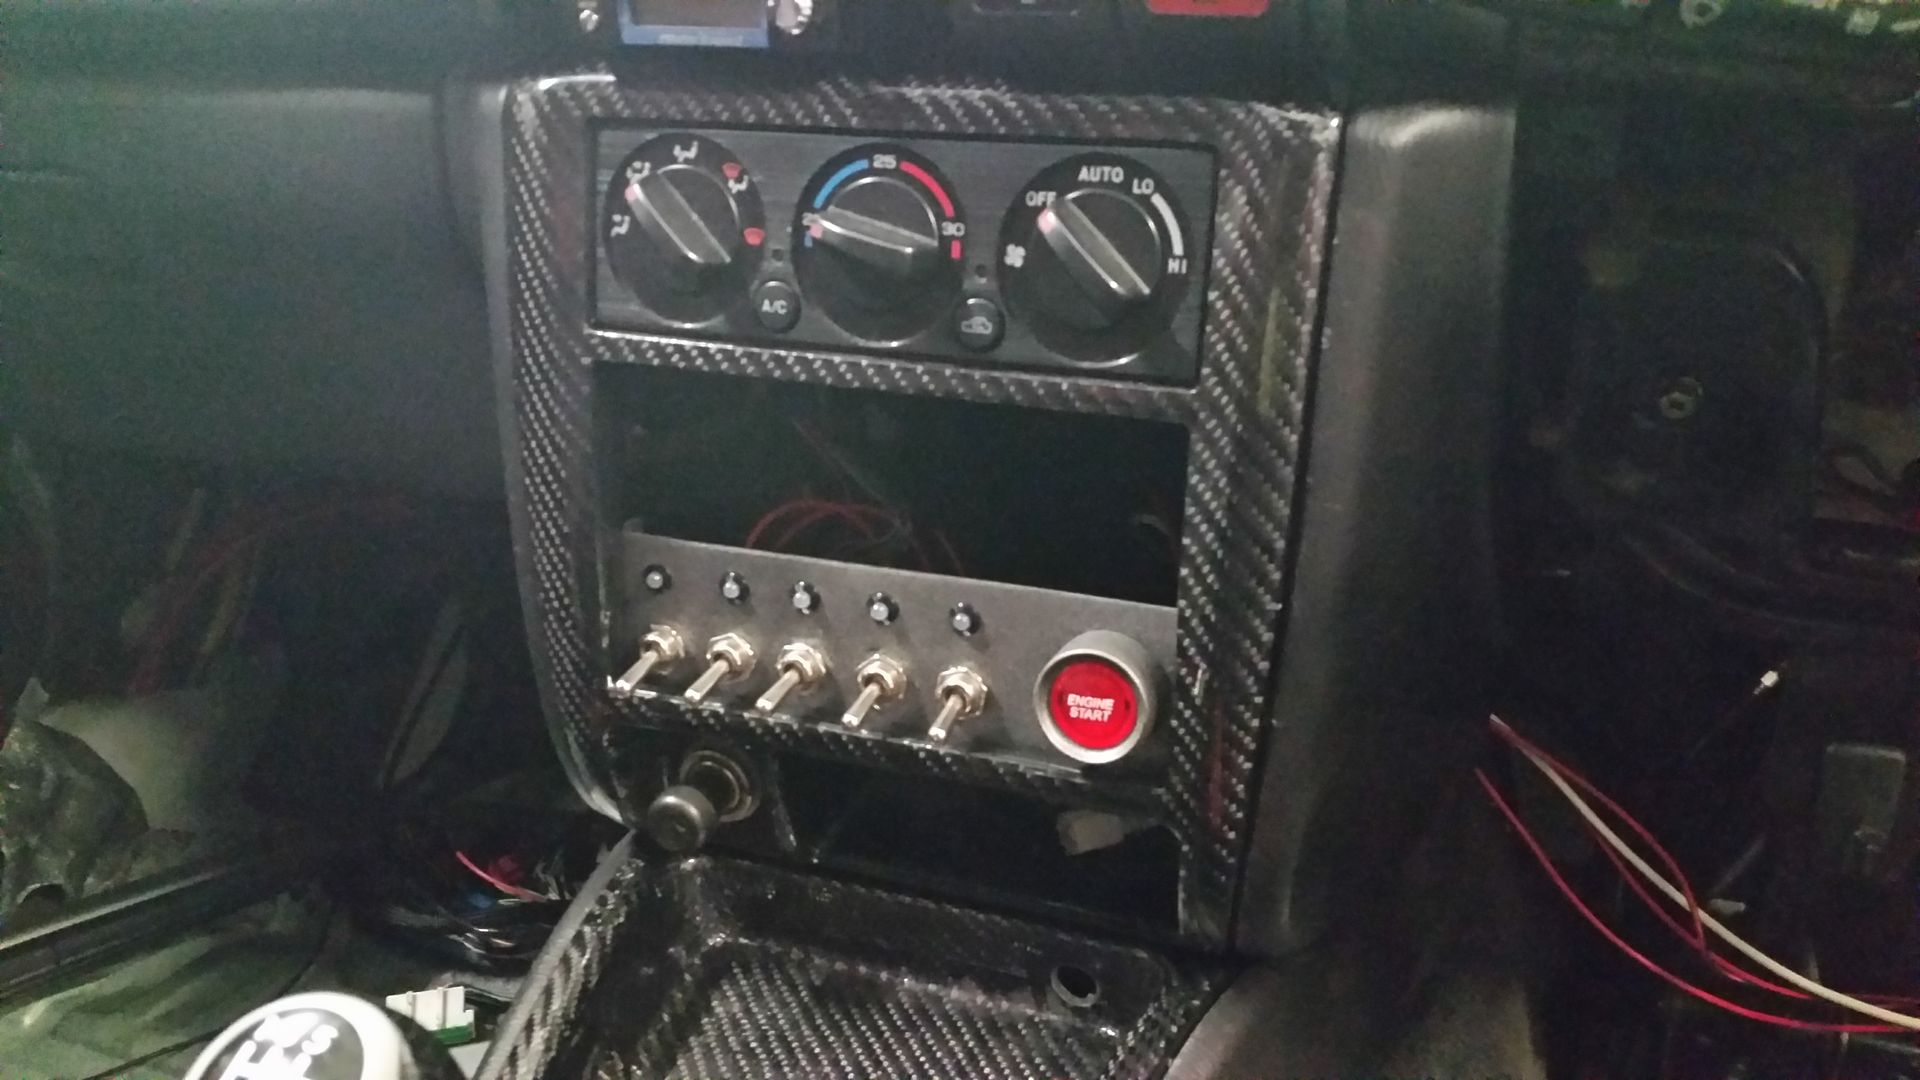 So close to starting her up now. Next couple of days hopefully. |
|
#43
|
||||
|
||||
|
Liking this a lot, look forward to seeing your future posts
 Quote:
|
|
#44
|
||||
|
||||
|
Just been through this again
__________________
Somewhere drinking Coffee Mapped and maintained by FBTuning 07595 493581. |
|
#45
|
|||
|
|||
|
Cheers guys.
Got the steering in this morning. I'm going get a little boot to sit up being the new boss to cover the gap between the coloum and plastic covers. Now you may think way go to all the effort and not just buy and off the shelf adaptor. The answer is the distance. With the pedals being further back I bought a dished steering wheel to compensate. Then with the quick release mechanism it added a lot of length to the wheel assembly. I made this boss to make that all as short as possible. In doing saves about 2" which was perfect. I cut the spline out of the stock wheel. The made an ally ring so that the two would be an interference fit. Then welded them front and back. This boss would then take the wheel hub. Centre machined down 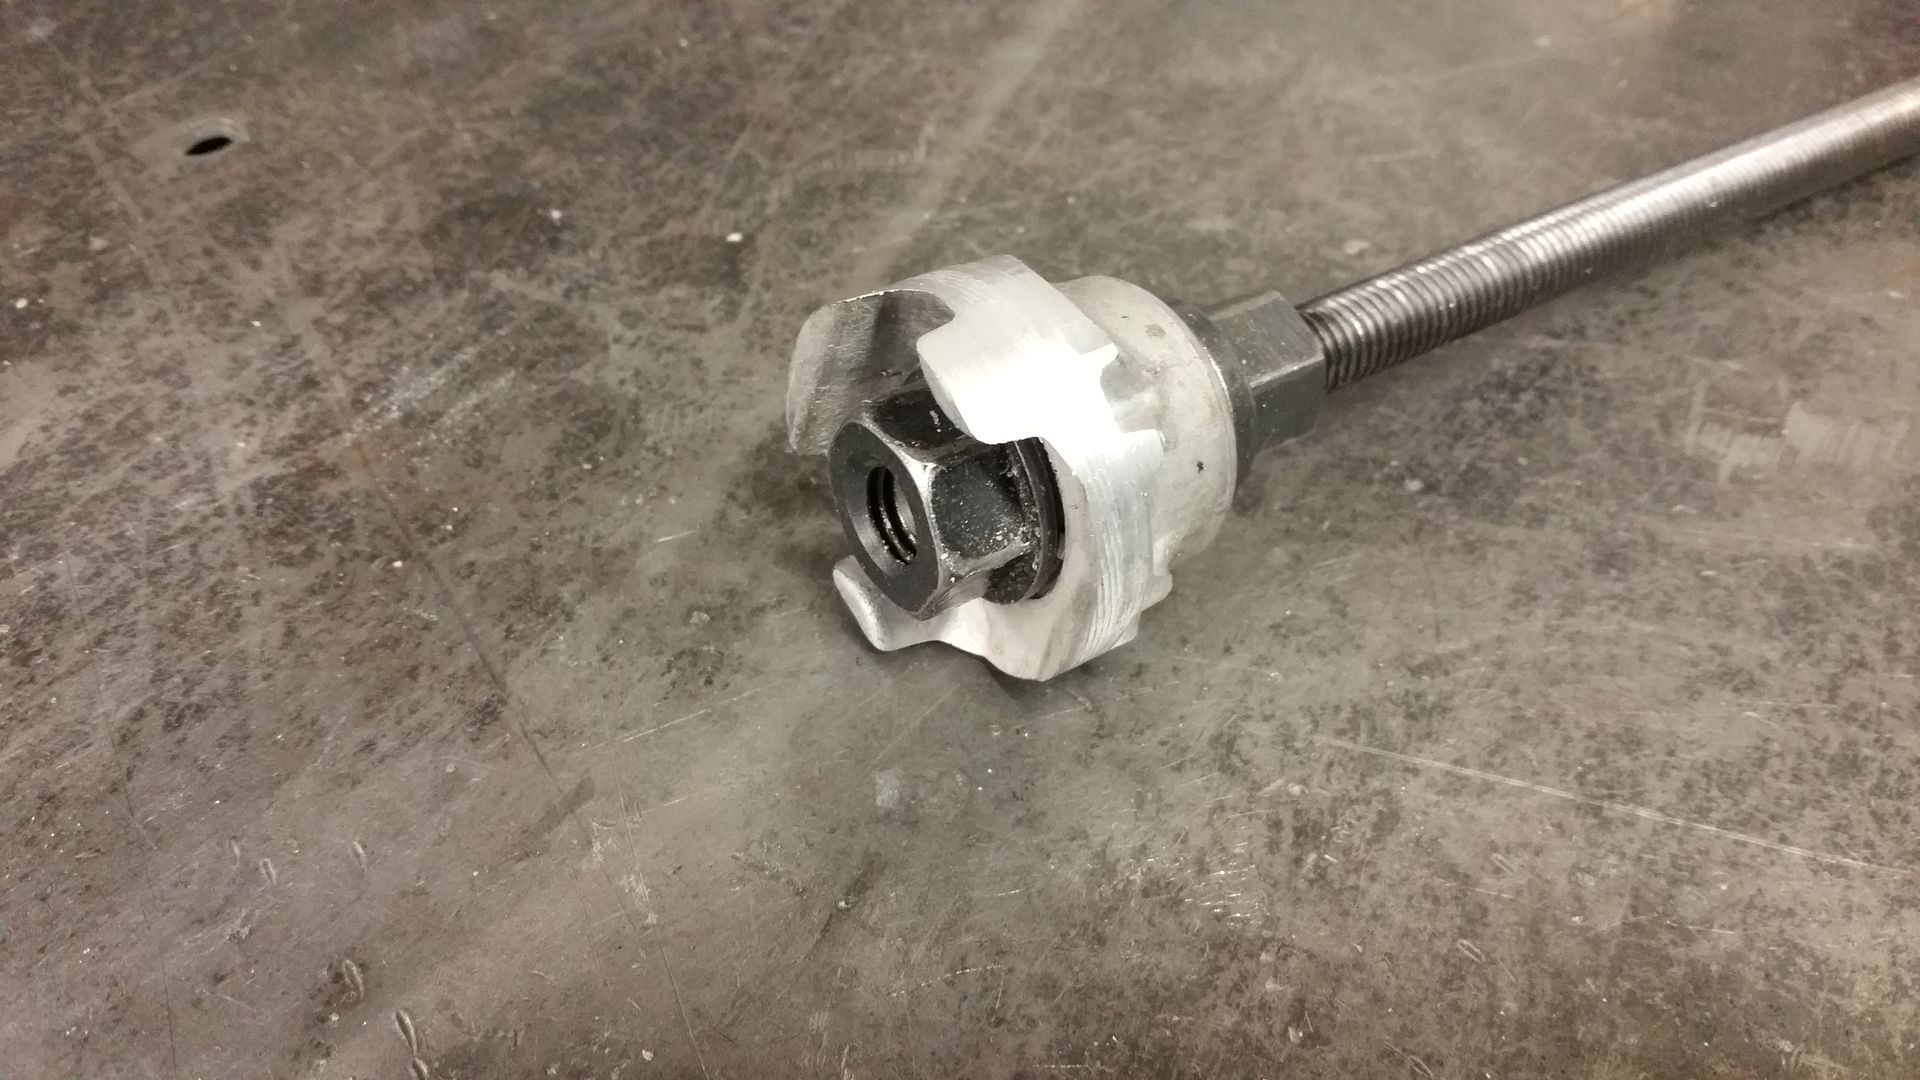 new ring 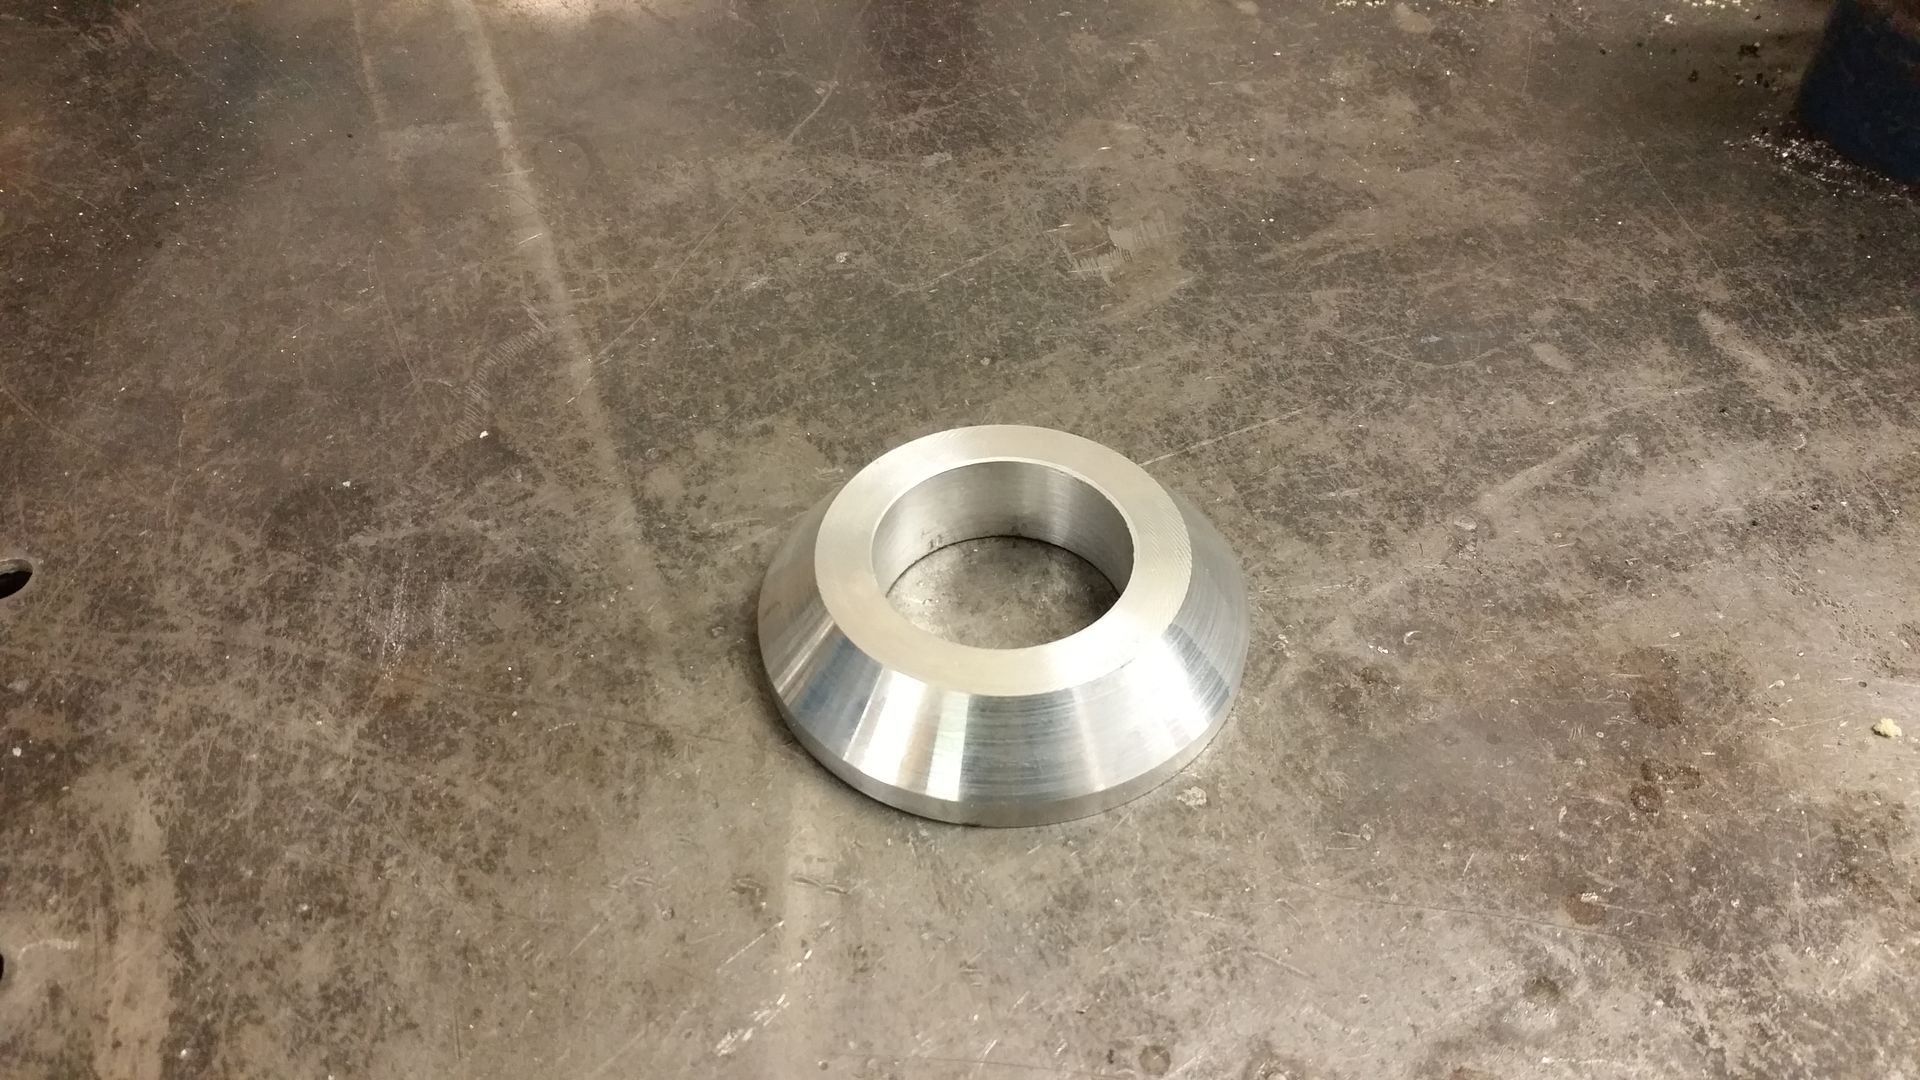 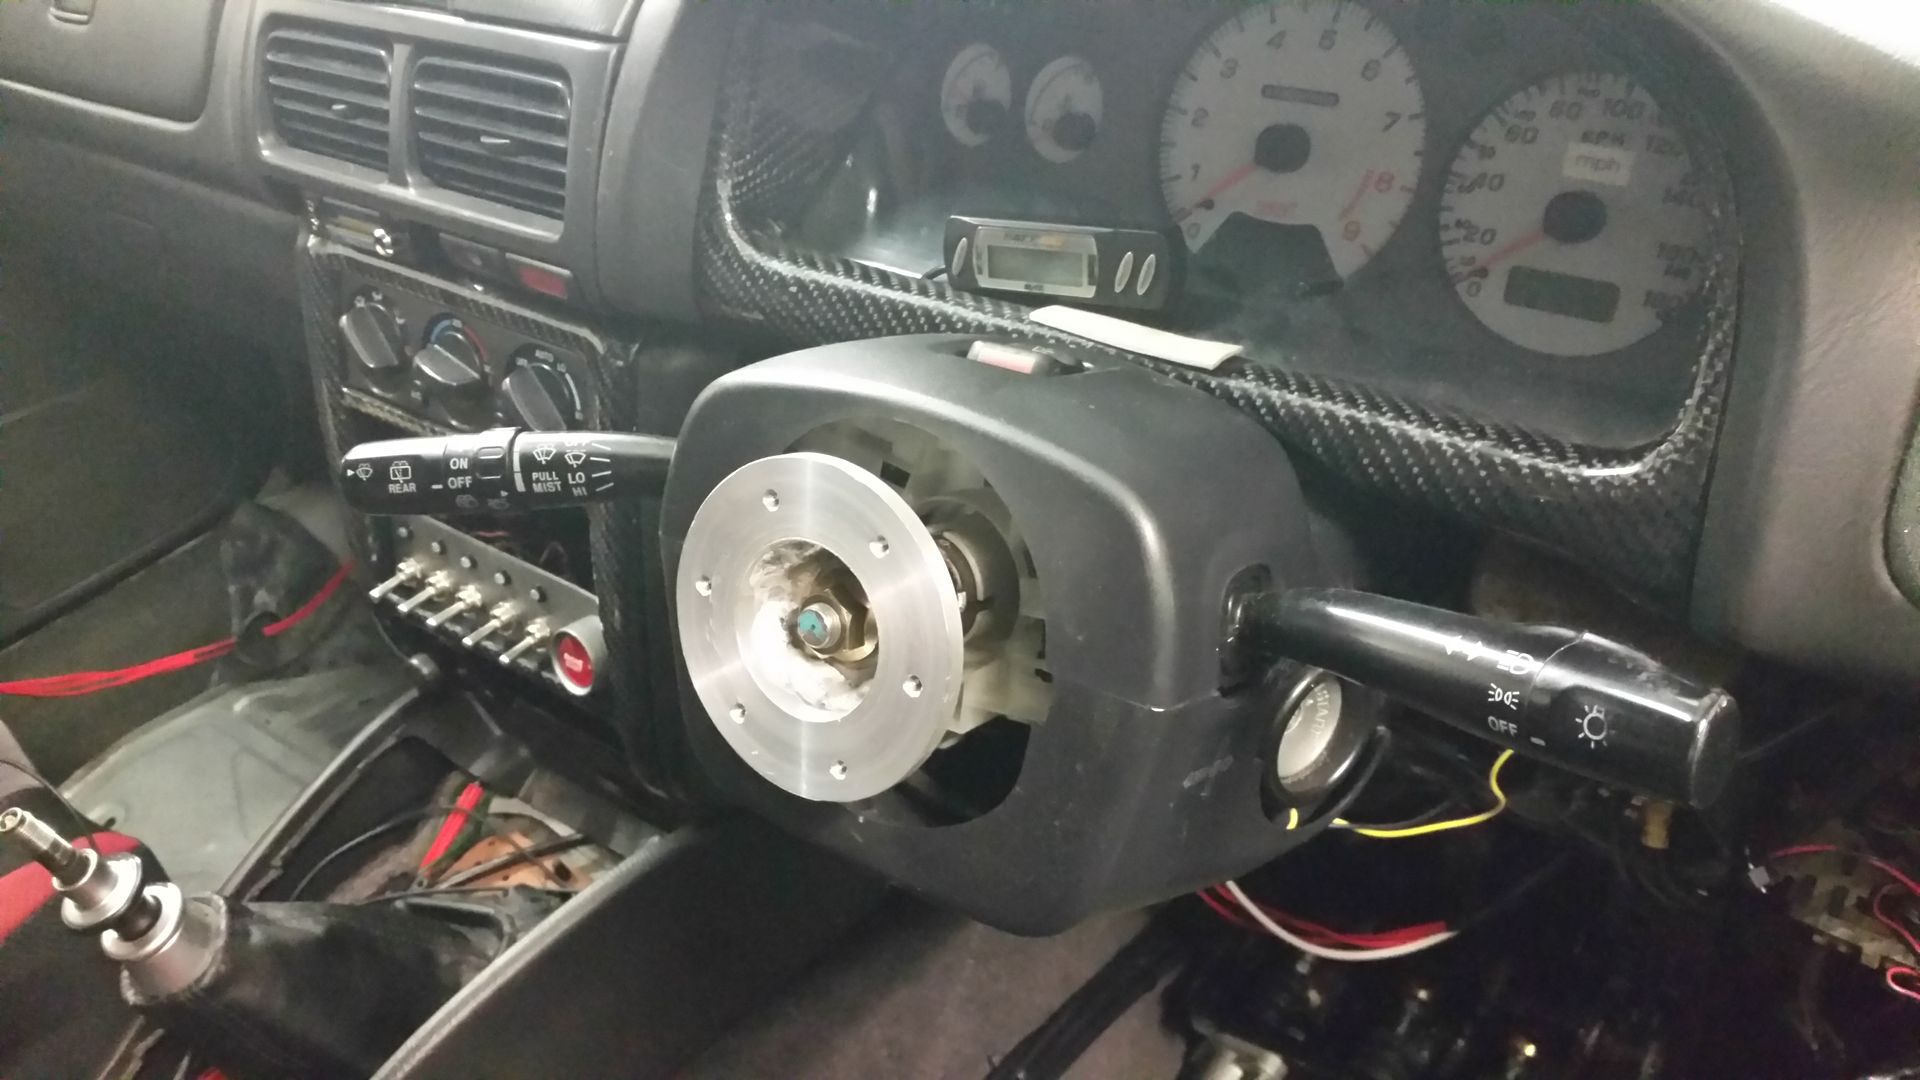 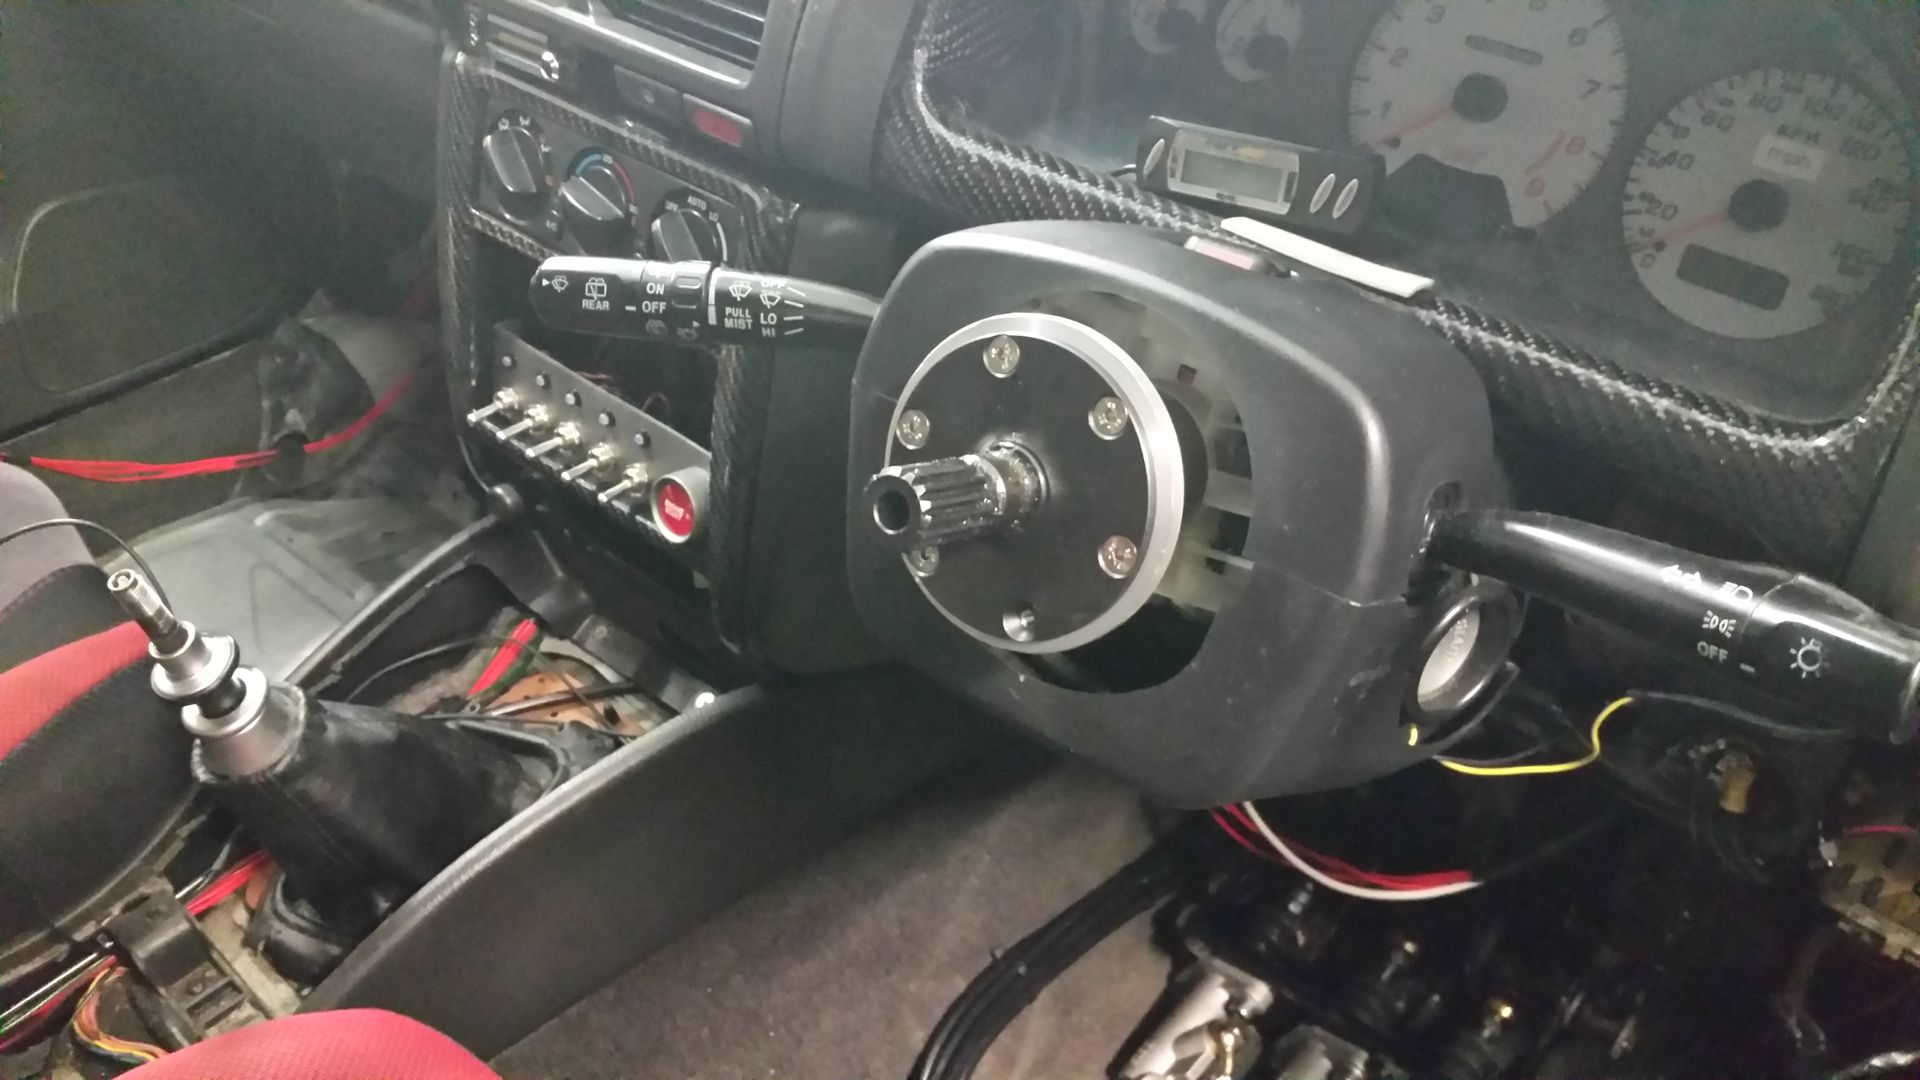 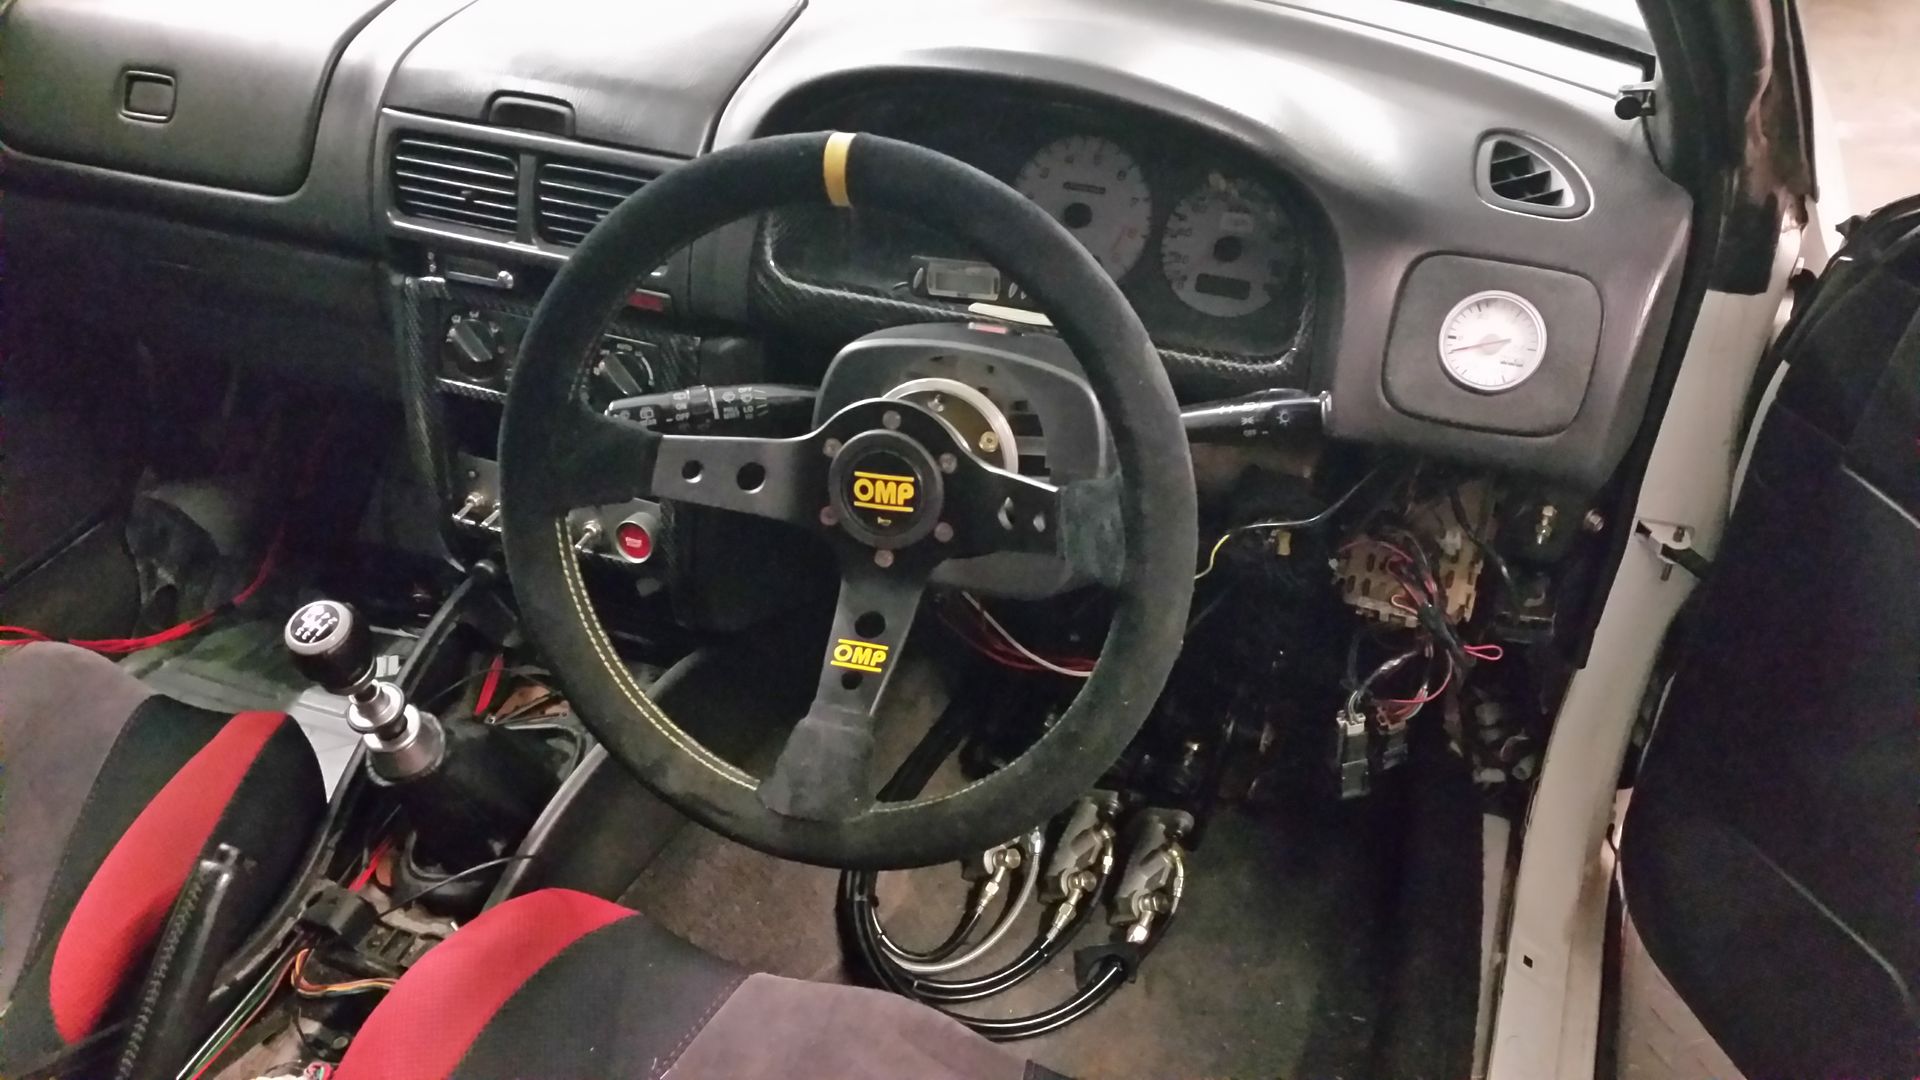
|
|
#46
|
||||
|
||||
|
Love a bit of custom work as you can get a better finish looking forward to the next phase of updates .
__________________
Maintained by Hypertech and Mapped by Andy Forrest 1998 UK Turbo , 1998 Terzo , 1997 JDM Type R the money pit , 2004 black WRX STI Type UK , 2004 blue FSTI |
|
#47
|
||||
|
||||
|
Quote:
Quote:
Thanks guys, next update should be start up The tyres are the 180. Bit more ware in them hopefully. I'll let you know how I get on with them. Quote:
Quote:
Last edited by seventune; 11-02-2015 at 12:29 AM. |
|
#48
|
||||
|
||||
|
woowww great project
 i would like to see one video of this superscooby 
|
|
#49
|
||||
|
||||
|
that feeling you have with the pedals?
compared with oem |
|
#50
|
|||
|
|||
|
Thanks dude. It is a different feel on the pedal compared to OEM but not unpleasant. A big factor in that is getting the cylinder size correct.
|
 |
| Currently Active Users Viewing This Thread: 1 (0 members and 1 guests) | |
|
|