
 |
|
#1
|
||||
|
||||
|
Here's some piccies and a step-by-step guide for those that are interested.
Parts List : 1. STi 7/8/9 Intercooler (Approx £250). 2. Re-circ Dumpvalve for above, should hopefully come with No.1 3. STi 7/8 Left Hand Bracket/Stay (£20) 4. MY00 Samco Hoses, Turbo (Approx £60, but I expect you already have these) 5. Samco Superflex 32mm hose (Approx £27, for 1m) 6. Short piece of Alluminium Extrusion (Approx £4, B&Q) 7. Small piece of Alluminium 5mm plate 8. A few M8 Nuts & Washers Total Cost : £301 (if you already have the MY00 Samco's) Tools : 1. 12mm Socket 2. 12mm Spanner 3. 10mm Socket 4. Large Flat Blade Screwdriver 5. Hacksaw 6. Coping Saw 7. Electric Drill 8. 3mm Drill bit (for pilot holes) 9. 8mm Drill bit 10. File or dremmel to tidy cut/drilled edges. INSTRUCTIONS : Clutch Fluid Reservoir Modification 1. Remove Standard Intercooler, including all associated Hoses and brackets. 2. Remove heat shield from Clutch Fluid Reservoir. 3. Remove Yellow lid from clutch Fluid Reservoir and remove fluid from reservoir using a Syringe. 4. Remove Jubilee clip from base of Clutch Fluid Reservoir 5. Remove Plastic Reservoir, ready for modification. 6. Modify/shorten clutch fluid Reservoir by cutting approx 20mm from base 7. Refit Reservoir and Jubilee clip and re-fill with removed fluid. 8. Refit Lid and heatshield Shortened Clutch Fluid Reservoir 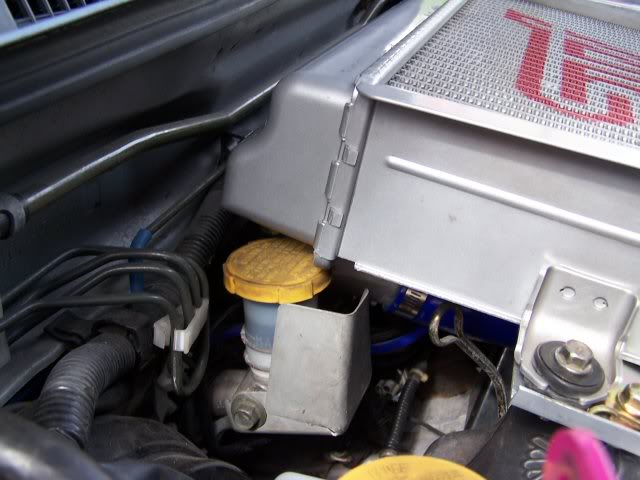 Coil Pack Height Modification 1. Remove HT Leads from Coil Packs, taking note of order. 2. Remove Coil Pack from inlet manifold by removing the 3-Off 10mm bolts. 3. Using a Right-Angled coping saw cut approx 5mm from each of the 3 aluminium coil pack posts. 4. Refit Coil Pack to shortened posts, Refit HT leads. 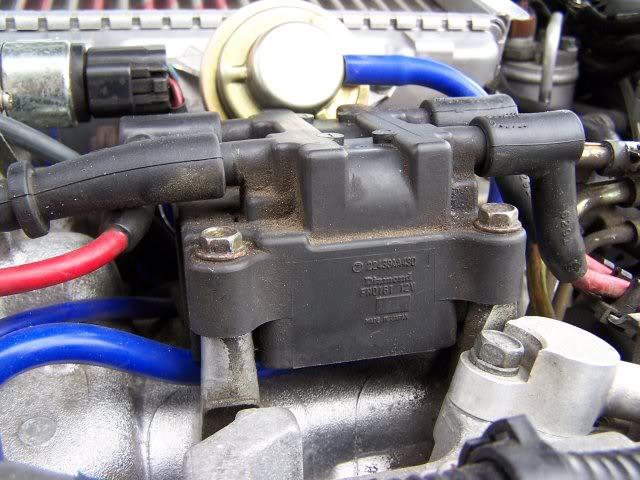 Samco Inlet Modification This allows the Intercooler to fit closer to the throttle body and hence provides better bulkhead clearance and allows the cooler to sit at a more standard height. 1. Shorten the Intercooler to Throttle Body Samco by approx 5mm. Samco Inlet Trim 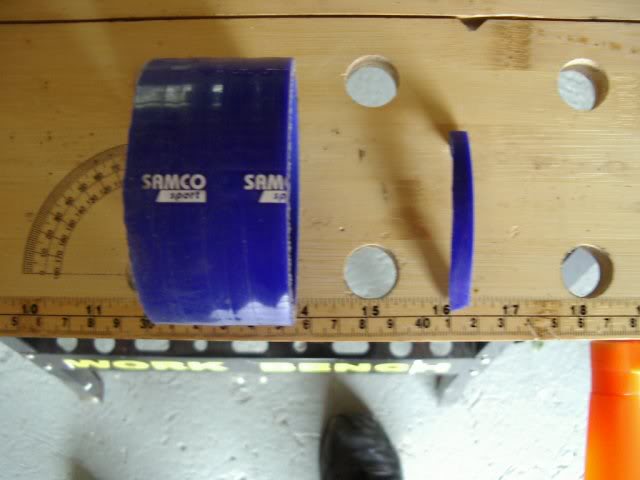 Samco Y-Piece Vs STi Originally I fitted a 90 degree elbow to the Sti Alloy Y-piece, as recommended by alot of other people that have done this. However, this did not fit too well and caused the Samco to twist and kink slightly. The problem appeared to be that the MY00 Samco bends slightly upwards and sits closer to the Intercooler. I thought about attacking the standard MY00 Samco in order to get a better fit. But.....when inspecting the 2 types of induction pipework I noticed that the size/spacing looked the same between the STi Alloy Y-Piece and Samco Y-Piece. Infact the Samco appeared leass restrictive. Hey presto a quick swap and the MY00 Samco and Alloy fitting are on the STi Cooler and looking like they will fit. 1. Swap MY00 Samco Y-Piece onto STi Intercooler…..then place STi 8 Alloy Y-piece on Ebay 2. Adjust Samco Y-piece slightly (see photo) to provide a better fit when attaching to Turbo. Although the Samco is not tight up against it’s preferred marking, there is plenty of material to byte on with the Jubilee clips. Samco Y-Piece Swap Note : Image shows MY00 Samco Y-Piece fitted to STi Intercooler. STi Alloy Y-Piece is on the floor 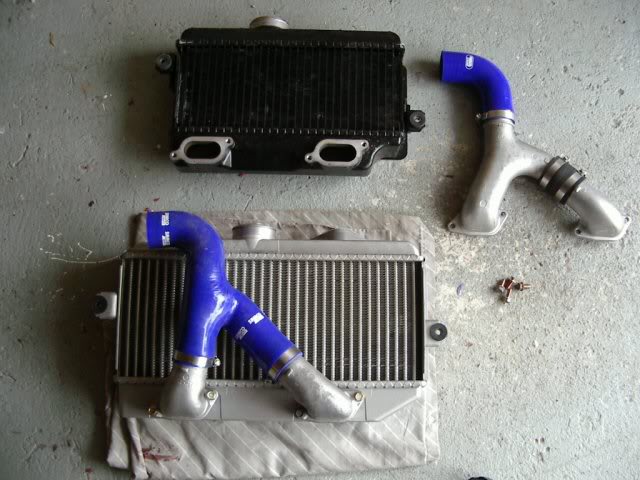 Samco Y-Piece Adjustment 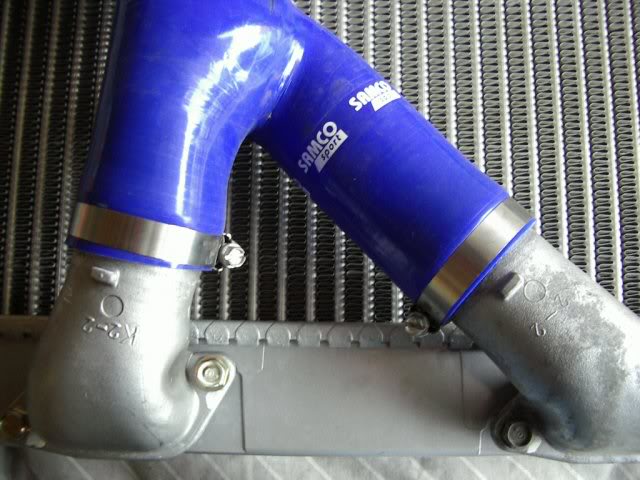 Samco Flexi Re-Circ DumpValve fitting 1. Cut Length of 32mm Flexi Samco (Approx 450mm) 2. Fit Flexi Samco to Dumpvalve ‘Hard’ return pipe. Flexi Samco DumpValve 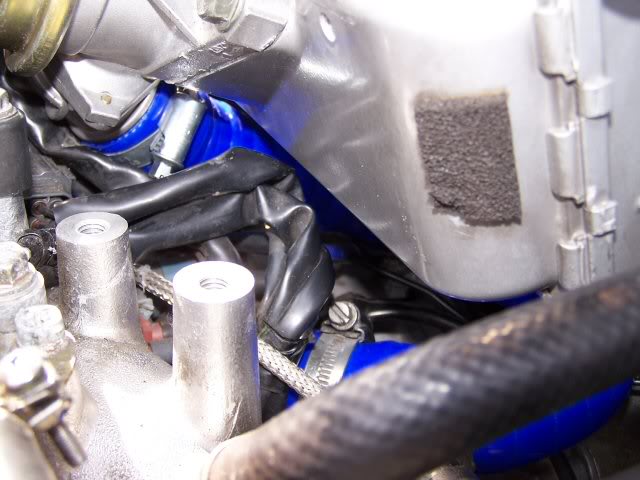 SamcoFlex2 SamcoFlex2  Fit Intercooler and Hoses 1. Fit STi8 Left Hand Bracket to gearbox. 2. Fit Intercooler to Throttle Body Hose, with loose hose clips. 3. Fit Intercooler into Intercooler to Throttle body hose (you won’t believe how much easier this is with the 5mm trimmed of the hose earlier) 4. While doing the above, also guide the Turbo Outlet Samco onto the Turbo, again remembering to have the hose clip already fitted loosely. 5. Once both throttle Body and Trubo hoses are on, pull the turbo hose on tight and secure hose clip. 6. Check Throttle Body connection is still secure, then tighten hose clips. 7. Loop the Samco Flexi from the DumpValve return hose, under the intercooler, to protrude in the vicinity of the Dump Valve. 8. Secure DumpValve to Samco Flexi, then Secure Dumpvalve to Intercooler. Intercooler Hoses Fitted 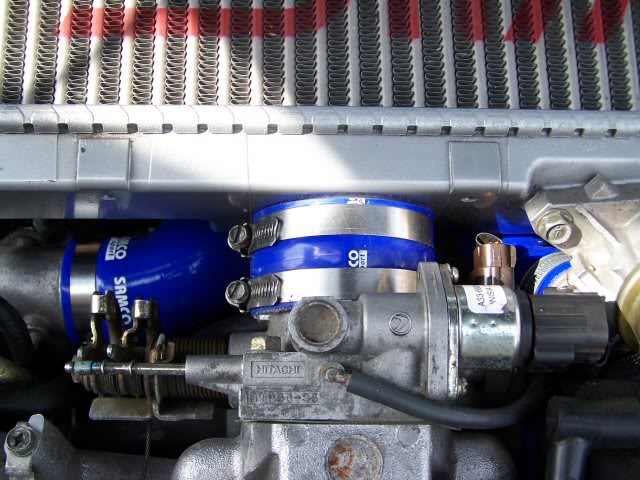 Left hand bracket/Support 1. Cut Length of Alluminium Extrusion, trim and Drill 2-Off 8mm holes. For this it is best to make your own measurements as each application may differ slightly. 2. Secure Alluminium Extrusion Bracket to STi 8 Bracket and Intercooler. I fitted this to the underside in order to allow the Intercooler to sit lower. Alluminium Extrusion 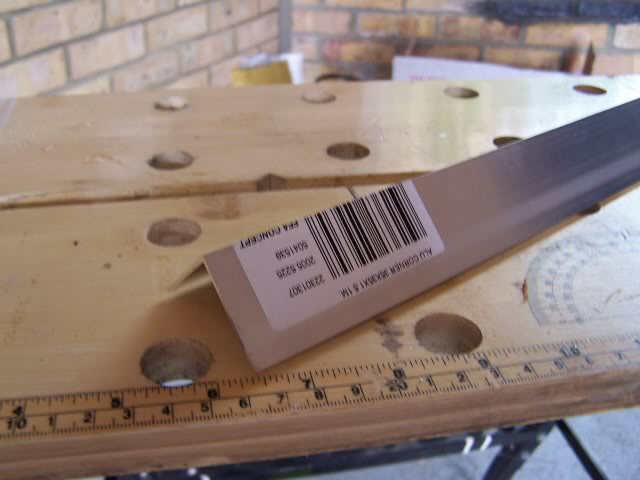 Left Hand Bracket  Right Hande Bracket/Support 1. Place Bracket on floor and hit with hammer (see picture). This should bend the centre of the bracket slightly in order to clear the edge of the intercooler. 2. The bracket can be bent in 2 directions in order to get it to line up with the existing holes. However I didn’t want to bend it too much so made a spacer as shown below Bending Bracket 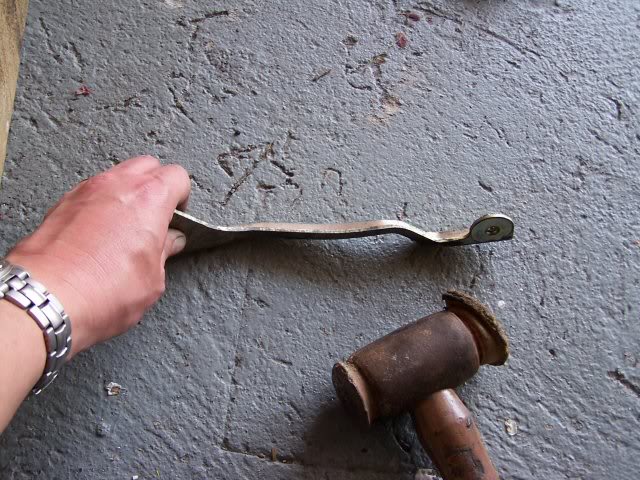 Spacer  Right Hand Bracket Fitted 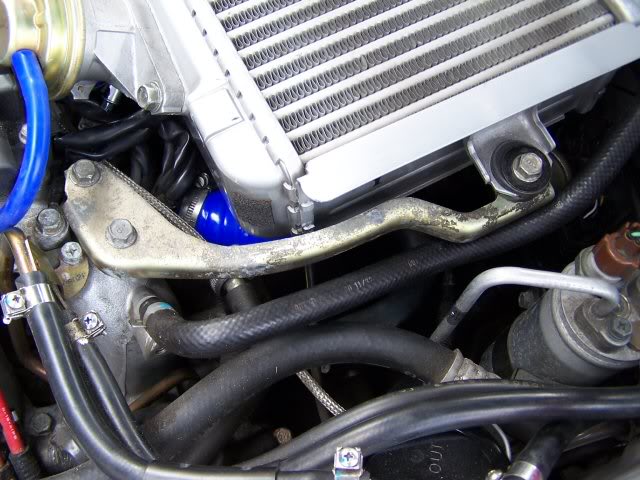 Finished Article, with Strut Brace 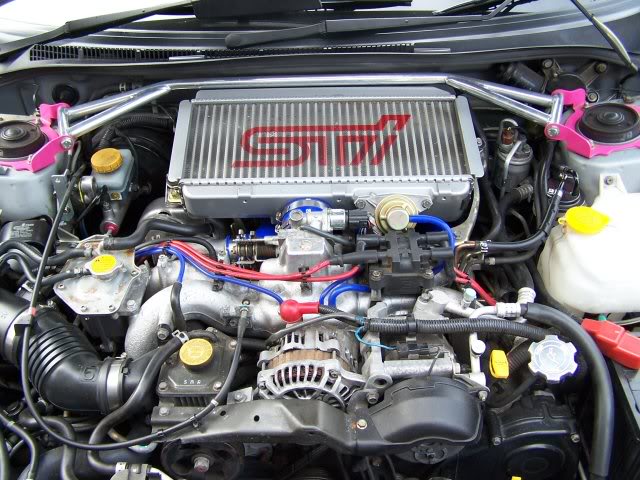 1. It may be required to pack between the Left/Right Brackets and Intercooler with Spacers/Washers in order to ensure the underside of the intercooler does not bang on the Bulkead/Gearbox bracket. I used 2-3 washers. Running Report..... After a bit of settling time the cooler was fouling slightly on the bulkhead when starting/stopping the engine, this was being caused by the Flat Four side to side movement. Investigation found 2 problems : 1. One of the hose clip screws on the turbo To Intercooler Samco was fouling on the 'Right Hand Side' of bulkhead webbing surrounding the gearbox support, under the intercooler SOLUTION : Turn Hose Clip round i.e make sure both hose clips have their adjustment screws on the outside edges. Don't fit Hose Clips this way, but rotate 180 Deg  2. The Left hand Intercooler Alluminium connection i.e where the Samco connects to the Intercooler (see above image), was also fouling the bulkhead webbing surrounding the gearbox support. this time on the 'Left Hand Side'. SOLUTION : place length of wood against webbing, and twat it with a hammer to bend it back a few millimeters. I can now flex the intercooler left/right/up and down without securing the brackets and is does not foul anything. Once the brackets are fitted it won't move as much, so problem solved. Last edited by Dyney; 20-02-2010 at 08:11 PM. |
|
#2
|
||||
|
||||
|
Images fixed after Photobucket broke them
|
 |
| Currently Active Users Viewing This Thread: 1 (0 members and 1 guests) | |
|
|